Saturday, February 15, 2014

A Little bit of Fairy Dust....

Hello and welcome all, thanks for stopping by.  The other day I got a parcel From Memory Maze and I was like a little  child opening a Christmas present.  Oh where to start!  The wee fairy girl really took my fancy. 
There was so much to choose from!  Let me show you what I created.


* * * * * * * * * * * * * * * * * * * *

Beautiful


This was such a fun project to create.  I started by covering each piece of the shadow box with patterned paper and then inked the edges with so distress inks.  After I put the box together I started decorating it with lots of yummy embellishments.


The fairy was covered in a light layer of gesso and then I applied distress paint to the dress,  and Gelato  to the other  different  parts.  Once the paint was dried I embossed the wings with very glittery embossing powder.   


The vintage frame I got a little distress ink around the edge of the frame and added the sticker.


The vintage frame has been dipped into hot melted embossing powder in the melting pot.


  I cut he sign and light off so I could colour them.  Once I attached the post I glued back the sign and light which have been coloured with Gelatos and then clear embossed.


I then attached the vines and flowers.  If you look close you can see lots of lines of glue, which has been sprinkled with glitter to look  like frosted spider webs.


Here is a side view of the shadow box,  it sits lovely :-).  If you get a chance to play with one of these shadow boxes do it!

* * * * * * * * * * * * * * * * * * * *

A Fairy Garden.


 After making  the shadow box I had all this pretty papers left over had needed to do something with it. 
 So I created this card.


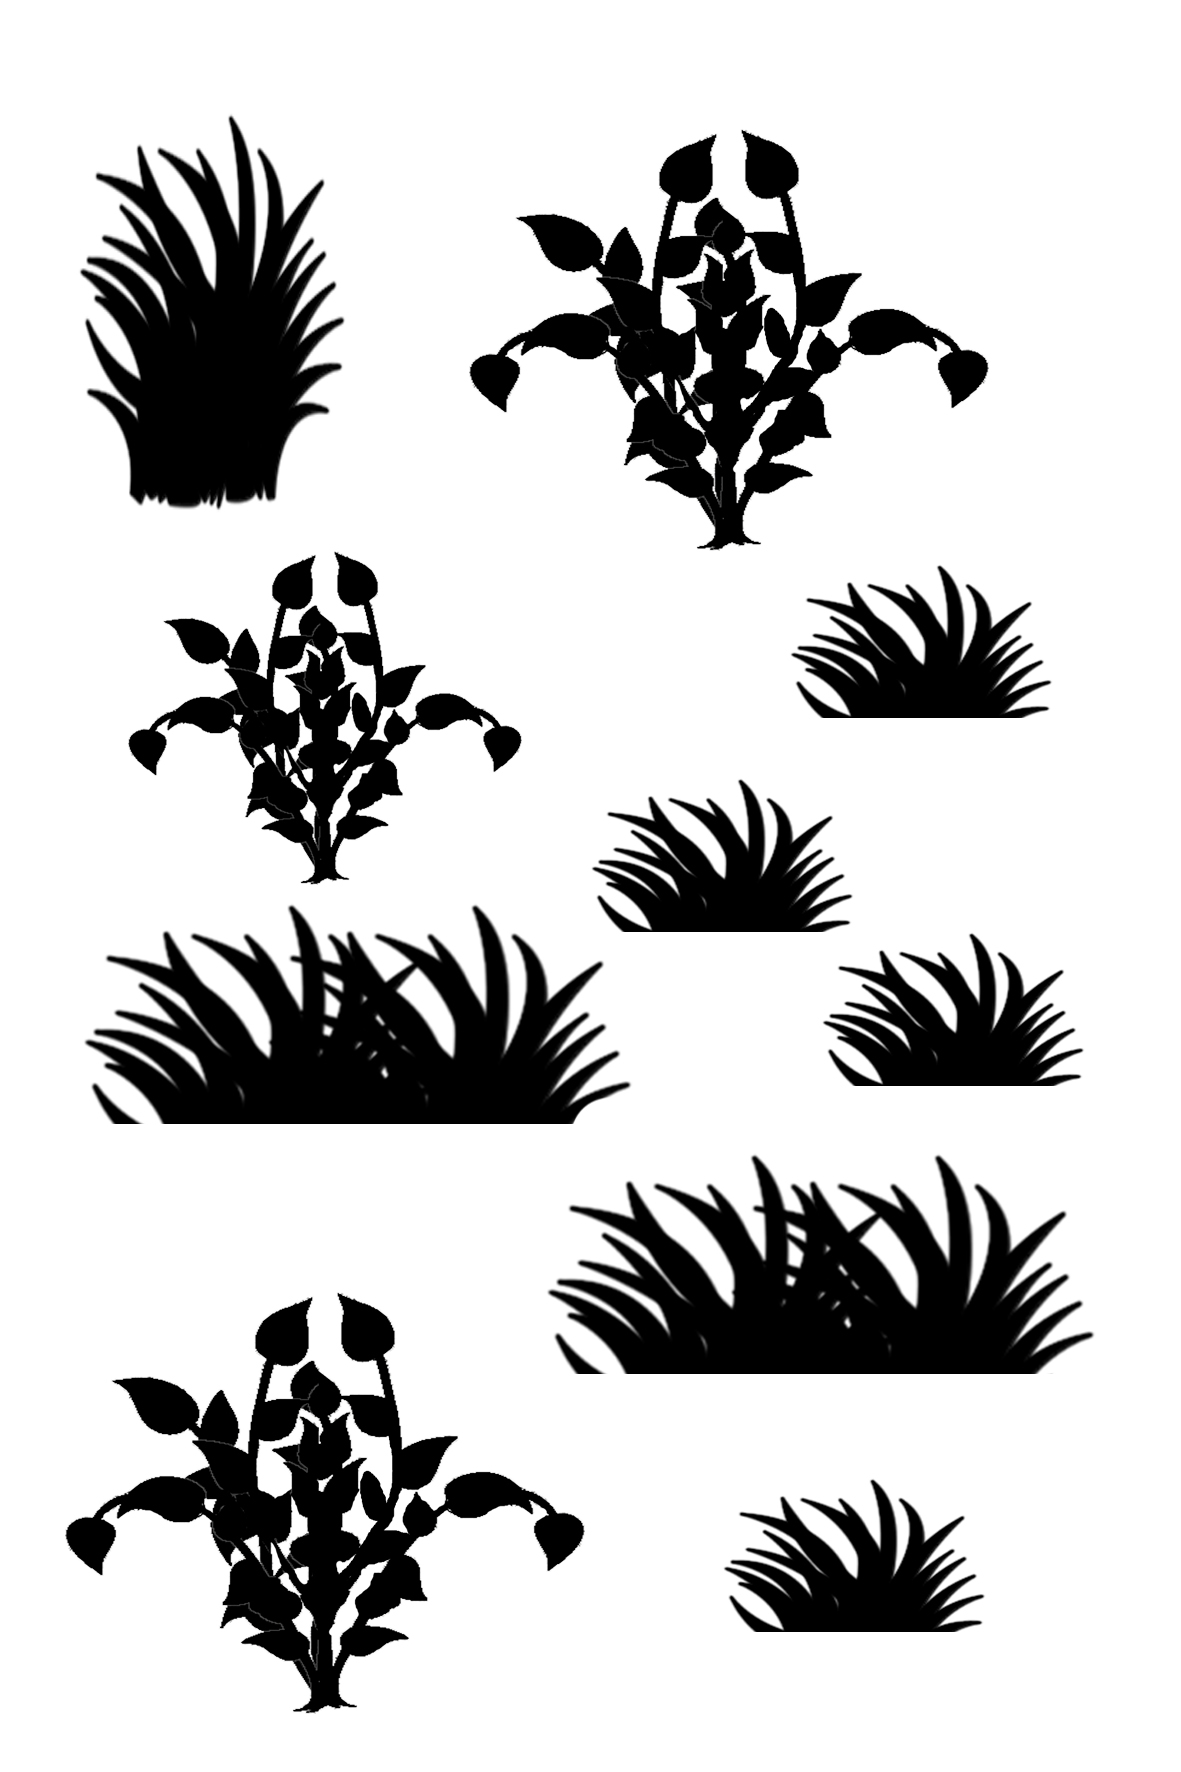
The reeds have been coloured in Gelato's and then I added clear crackle to the foliage and for the reed heads I glued some tiny beads.


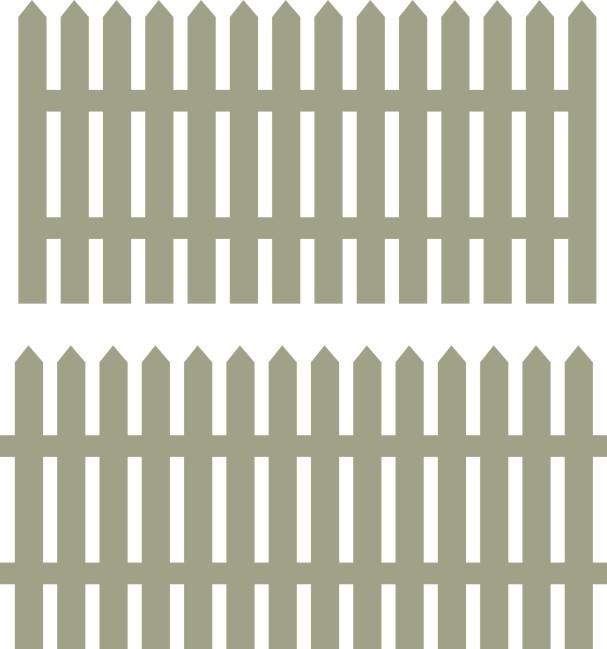
In the back ground you can see the fence which has been dipped in the melting pot and then coloured with metallic rubs.  I layered the memory maze chipboard with cut outs from the paper.  Glittered the fairy butterfly wings and butterflies.


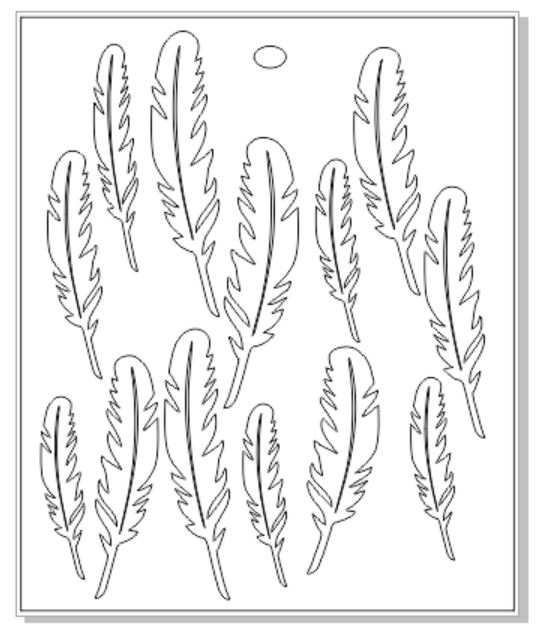
Memory Maze Chip Board used....fancy tags large  210 x 295 min buy 3
                                                                   Fancy Tags Large


Wrought iron fence set


Memory Box Oval


A fairy in my garden sold 3\'s  100 x 120


                                        Vintage Lamp Post

                                                                    Vintage Lamp Post


                                                         Reed Corner small   Sold in 3\'s

                                                                        Reed Corner


Thanks for stopping by today,  I hope you enjoyed my share.  Take care and happy scrappin  xox  Donna
                                               

.


Wednesday, February 12, 2014

It's time to say goodbye ...

Sadly, this will be my last post as part of the Memory Maze design team. It's hard to believe a whole year has passed since I started on the team. I really do hope that I have managed to bring each and every one of you some creative inspiration at some time or another. Behind the scenes, the new team are in full swing and already creating up a storm! I'm sure you will all be wowed by their work real soon. 

I have two layouts to share for my last post.

PeekABoo I See You


This girl never ceases to make me smile with her fun loving personality, even when I am mad at her I can't stay mad for long. I recently got her some new sunglasses and she wears them upside down. It's very cute!


I used chalk ink to colour the title being careful to leave the glasses. I then simply used a black sharpie to colour them in.


The other half of the title was coloured with the same colour chalk ink.


The heart frame I covered in some patterned paper. I just simply glued the piece face down and trimmed around the edge once it was dry.

Memory Maze products used:


....................................................................................................

Hugs & Kisses


We had a little mini shoot one morning to get a photo to send in our Christmas cards. I always like to scrap these photos too and like that they look great not as a Christmas themed page. 


I used a wrought iron chipboard piece which has been painted with some twinkling h2o's.


The title was a combination of ink and h2o's. I used a scrap of card to mask off the '&' while I inked the rest. Then it was easy to go back and and colour the other area with a fine waterbrush.


I used 2 of the vintage frames for my pics. They are a great size for 3x4's I just had to trim a little off the height. I painted these with distress paint and then added a row of machine stitching for some extra detail.

Memory Maze products used:


....................................................................................................

Well that's it from me. I really do appreciate you all stopping by over the past year. Thank you for all the lovely comments too.

Farewell and keep creating
Amanda xx


Sunday, February 9, 2014

Farewell Post

Working with the Memory Maze Design team has been wonderful. This is due to the talented people on the team and the great products that Memory Maze Designs has. So here is my last post and even though it has been fun, I am feeling a bit sad that it has come to an end but I do have other exciting adventures to look forward to!
AUSTRALIA DAY MATES
My grandsons are both so gorgeous but then I probably am a bit bias!
I left the map as raw chipboard and used marker pens to colour in the letters and scribbled around the edge of the map to create a waters edge. The plain background was decorated using the Memory Maze mask and Distress Paint. When it dried I moved the mask slightly off the paint and sprayed again with Glimmermist in "denim," which is similar in colour to the background so it ended up with a slight watercolour effect. The distress look on the bottom of the layout was achieved by turning the mask over when I had painted the top part of the page then pushing down to press the paint and ink onto the cardstock.

 
I made this as a 2 page layout because as usual I have lots of photos I wanted to use. I tied the two layouts together by using the same mix and match papers and colours.


The red is marker pen, the white and blue is Smooch in azure and moonlight with illuminate over the red. When it all dried it was coated with Dimensional Magic.

I used the negative from "beachboys" and saved the letters for another project. It was then sprayed with glimmermist in sapphire.
 
MEMORY MAZE PRODUCTS
Australia Day   LO329
Mate
Beachboys   GO245
Mask   bricks
 
Other products used
Bazzil cardstock, Paper Inklings-Australia Day & Aussie Flag, corrugated card.
................................................................................................
1ST DAY OF SCHOOL
It is always an exciting time of year when the children or grandchildren go back to school...especially for the parents!


Marker pens are so versatile and easy to use on detailed pieces of chipboard because you can direct where you want the colour to go. I coated the title itself with Dimensional magic so it would be glossy and stand out from the books.

The arrow was painted with Smooch in lettuce, the frame with Distress Stain in black soot and the zig zag was covered in paper and inked along the edges.

The 2 stars with coated with Distress Stain in brushed pewter and layered with foam dots to adhere them to the layout.
 
MEMORY MAZE PRODUCTS
1st Day of School   NO133
Arrow (set)   LO199
Stars (pinked star set)   LO263
Frame
Zig Zag
 
Other products
Bazzill cardstock, Bo Bunny-Grease Monkey Rivet, tag, washi tape.
......................................................................................................
 
Thankyou for the wonderful opportunity to be able to share my love of scapbooking with you all.
Feel free to have a look at my blog anytime to see what I have been up to.........                                                         
  heartsoul-scrap.blogspot.com
Happy crafting from Susan.


Thursday, February 6, 2014

A little bit of Love

Hello to all our MM fans.

With February be the month of love I thought why not do something with a heart on it.

"Tomorrow Yesterday Today"


12" wooden frame with hanging heart.


MM  Ion corner has been coated in gesso then distress stain used along with pink and green paints.


Super cute MM bike was first covered in gesso then using sprays and inks to create all the shading and blending.


MM fence was also covered in gesso then white crackle paint added here and there, once dry distress ink was added using a blending tool so that it only covered some areas giving it more of a rustic look.


Lot and lots of texture on this one including paper, texture paste, crackle paint and sprays.

Memory Maze products used

Picket Fence

Picket fence

Vintage Bicycle and basket of flowers  150 x 120  sold in 3\'s
Vintage bicycle with flowers

Ion

Ion corner

...........................................

"Little love bird"


This gorgeous little bird house in a money box, can you believe it, money has never looked so good.


MM micro bike has been gesso'd then coloured in with black texta then purple paint


Cute little vine was also gesso'd first then using paints and inks to create the colours


MM Tree branch also treated the same way.


MM tree & fence


MM cute feathers popping out of the top and a little bumble bee.


Small MM grass added to the front.


Memory Maze products used

Picket Fence
Picket fence - L0145

Micro feathers sold 3\'s
Micro feathers - S0747

bicycles Micro 64 x 89 sheet
Micro bicycle

Tree with Swirls (Small)
tree with swirls small - S0021

Bees 100 x 120 sold in 3\'s
Bee's

Mini grasses 100 x 120
Mini Grass

Birds in garden 100 x 120 sold in 3\'s
Bird in a garden

.......................................

That's all from me for now see you all again later in the month

Linda xxx