Saturday, March 21, 2015

A boys canvas...no flowers allowed! with Jan Mackenzie.

Hello everyone and welcome to my canvas with boy rules!

This is a photo of my son at graduation and I was given strict instructions that I was not allowed to add flowers as this is his to add to our family wall.
As my wall is quite vintage with cream colourings I have coloured the canvas with first a coat of cream acrylic paint and then added a dabber in a lighter cream colour.
Cherish canvas


The MM chipboard scrolls have been painted with white and  gold and then I have added embossing powder to the top one and oven baked it for 2 mins to get that weathered look.


I have added some coordinating hand made papers from the Memory Maze range.

I have then added some embellishments just to bring out the flourish and made it the star!

Memory Maze Supplies:
Cream embossed rose handmade paper


Thank you for joining me and happy scrapping!

Jan MacKenzie
2015 Memory Maze Design Team Member.


Wednesday, March 18, 2015

Cute as a Button canvas (video) & Perfect layout by Toni Herron

I am very excited and honoured to share with you today my very first video tutorial. It features a beautiful photo of my best friend's children in their Fijian Bula shirts, based on a 24x33cm canvas.
There are some fun techniques and lots of Memory Maze goodies used, so please do follow this LINK for more information.

Cute as a Button


Memory Maze products used:

Butterfly Flourish 2
Many Hearts
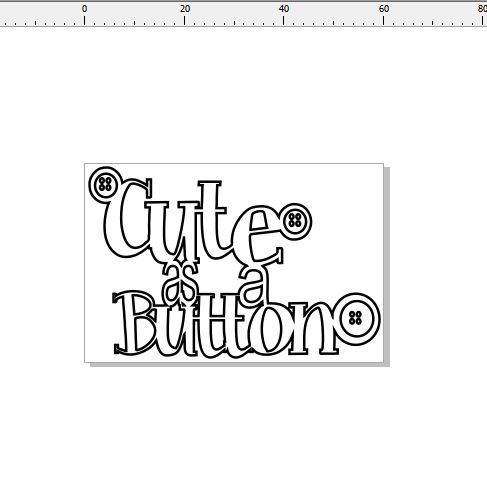
Cute as a Button
Perfect


The second project I am keen to share with you today features a touching wedding photo moment. This layout took 5 different mist sprays, impasto medium paste with the Memory Maze stencil and 3 different cardstocks just to make the base.


Memory Maze products used:
Perfect 

Wrought Iron 42
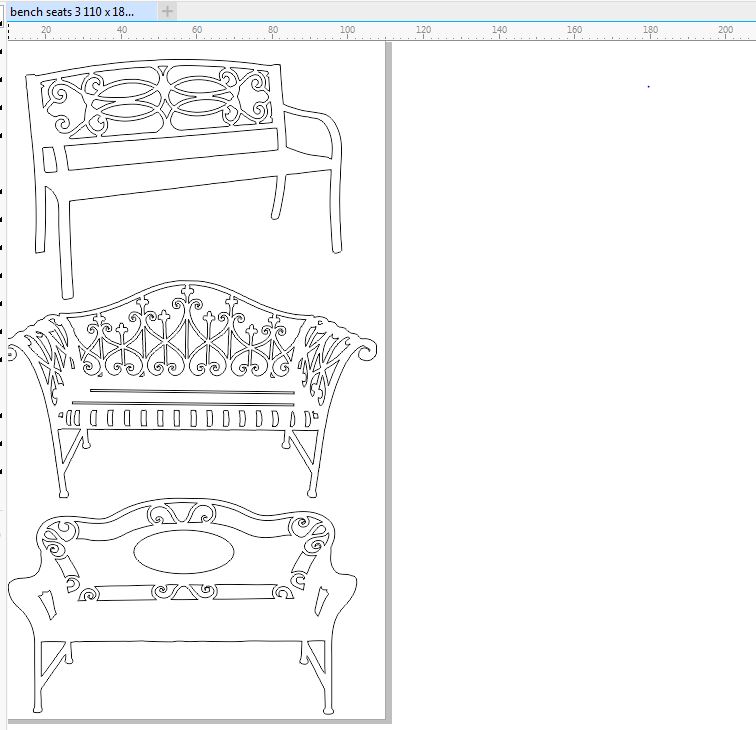
Bench Seat Wrought Iron

Thank you for dropping by today. I hope you've found some inspiration to have a play with some Memory Maze products yourself this week..

Until next time, Happy Scrapping. Toni..


Sunday, March 15, 2015

A hint of Africa with Sally McIntyre.

Wow can not believe how much fun I have had in the last few weeks. Lots of inky fingers, Gesso on my clothing and face, and gloss everywhere.


My first piece is called Out of Africa,and allows space for 3 photos in one of our new across the page frames.
This was so much fun.

Out Of Africa


 Initially I have sprayed over  the stencil with metallic ink spray that I make from food coloring and water with a touch of  perfect pearl powder . This was onto a piece of paper in light greens that I wondered why I ever bought it.

I have then applied this to a spotted embossed paper .
My giraffes (yes I  have a thing about giraffes) I did with stamp pads of various colors  onto  a piece of glad wrap, with dots of gold perfect pearls.
To accent the giraffes, I used a black stamp pad,and perfect pearl dots.


A few torn edges helped add the effect I was looking for.

My frame is one of the new across the page frames that allows for 3 photos. I love the way you can use it either way. I colored it by taking a piece of tulle and using a stamp pad too add color in the tiny dots. I then added clear gloss.


Below is the completed page.


Now I have decided to add all to a larger canvas. 
I have added random dots with Gesso and a new stencil and  strings for effect.


Added some green ink dots with a pipette and a quick random spray.


I added the huge maxi butterfly which I sprayed with Gesso and then inks as before to the piece .


Just loving it. I know a couple of grand kids who will find photos for me.
   
Memory Maze supplies:


My next post is called Happy Days

Really all about Giraffes again?


This time I have used texture paste to the frame to  add dimension before coloring with a yellow stamp pad. Edging with grey.


The giraffes I  covered with paper and added accents with a black stamp pad.
I then cut paper into 3 mm. strips and rolled around a pencil for effect.
Added a  title colored with ink and gloss and metallic tops to the frame.


 This allows for adding 3 photos to your layout .

Memory Maze supplies used:
Across the page frame

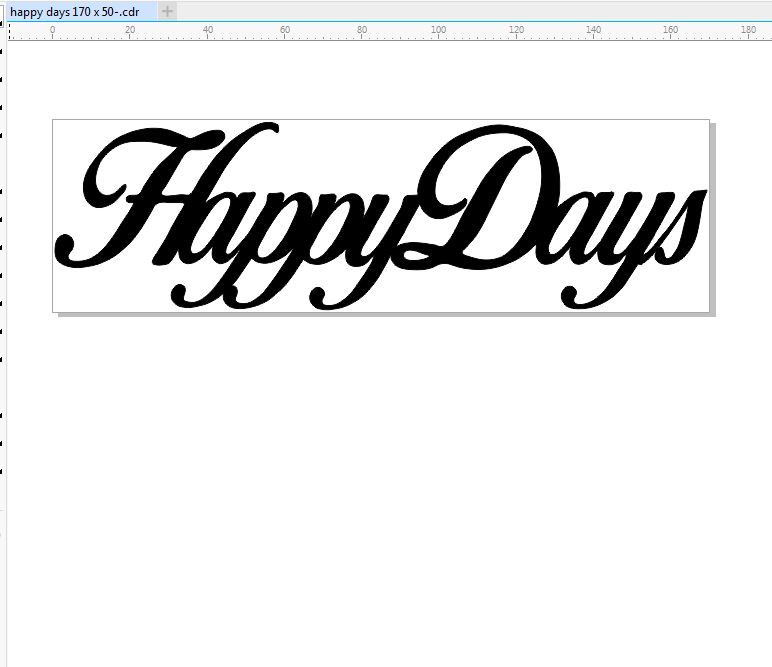
Happy Days

happydays 170x50 min buy 3

Sally McIntyre
2015 Memory Maze Design Team

Friday, March 13, 2015

Textured chipboard with Alicia Barry

Thanks for visiting the Memory Maze blog. We are here not just to show you pretty examples using chipboard, but also to show you lots of techniques that you can try yourself at home. 

You are so loved

My first project today is the result of one of our Design Team challenges. We were tasked with altering one piece of chipboard in three different ways. I began with a 12 x 12 chipboard frame which I covered in Gesso. This primes the chipboard to be able to hold lots of material and product on top.


I applied some pieces of lace and some plastic mesh in various places across the chipboard and secured this with more Gesso. 


Next, I adhered some flowers and metals trinkets, and a chipboard tree (on its side) with more Gesso over the top, and once dry, I sprayed random sections of the project with paint mists in shades of teal. This really helped the texture to stand out. 


Next up, I stenciled over the top of the chipboard with glitter texture paste to create the dots. I also added some touches of Glitter Glass. Finally it was time to finish off with the photo red flowers and paper embellishments.


Memory Maze Supplies used:


Captured Moments.

Next up I have a layout. One of the big trends to come out of CHA was  gold foil. There were quite a number of companies featuring it in their new collections. I have created a layout using foiled and glittered  papers from Kaisercraft. I used some Metallic Lustre paint through a Memory Maze stencil to enhance the background. I used the same paint to cover my chipboard title to emulate the gold in the papers. 


Memory Maze supplies:

Dots and stuff  poly template  8x8 sold in 3\'s

Thanks for visiting


Alicia Barry
Memory Maze DT member 2015


Tuesday, March 10, 2015

Autumn is now here - Kim Kendell

Hi everyone and welcome to my Memory Maze blog post. 

Mother and Daughter

We are finally finished with summer and are now well into autumn and the seasonal colour changes are starting to happen which is what has inspired my 1st layout I wish to share with you


I have used the following Memory Maze products

and
Carefree Canvas

My second share is a a 4 x 4 canvas created using the following chipboard pieces


Corner flourish butterfly


So many of my smiles 

For my final share I would like to share a layout that I have made using a rectangular frame that I have cut in half and the added to each side of the page to create a flow, I have also used a beautiful border and left it raw.


Memory Maze used 


Thank you for coming to view my upload I hope I have inspired you to create something wonderful with Memory Maze

Kim.
Memory Maze Design Team Member 2015


Monday, March 9, 2015

Just B You

Just B You Title

I have used three different techniques on this piece of chipboard.
  1. JUST has been inked, then I have added glossy accents which has been dried with the heat gun to give it a distressed effect.
  2. B has been painted, then I have again added glossy accents which has been dried with the heat gun and I have added some clear bling.
  3. YOU has been covered with Washi Tape.
Just B You layout


Memory Maze Chipboard used:

Just B You
Butterfly Plate

Corners Geo Pkt 10

Male Birthday Card

Chipboard has been sprayed with Silver Colour Shine.


Memory Maze Chipboard used:

Tools


Sunday, March 8, 2015

Teal is The New Black

Hello everyone.

Wow what a week it has been so far. I hope everyone is well and is enjoying our posts so far. There has been some fantastic work put up by the Design Team. It is definitely an honour and a privilege to be working with such a talented group of crafters.

This week I have been working with some gorgeous papers and chipboard. I am loving teal at the moment and this collection, coordinated with mustard is simply divine.

Teal and Mustard layout.


 I went without electricity to my house for 8 days so I had a lot of crafting time but had to rely on the basics. I went back to the basic techniques of using ink pads and Gelatos that don't need anything to be added to them.


These flourish pieces are so fine and detailed and are gorgeous up close.


This large corner flourish looks great covered in silver Gelato and has a slight shimmer to it.


I love adding charms to my layouts. they add just a little touch of bling without going overboard.


Memory Maze supplies:
Corner Geo
Corners Geo


Picture Perfect

Here is my second post for the day. For this layout I worked with a background stencil. I wanted to cover the entire background and was a little worried that the edges of the stencil would be very distinct once I had covered the entire piece of the cardstock but some strips of paper covered these lines and you would never even know that I was using a small stencil.


 The mist on the stencil is beautiful and really makes the design pop.


I have used a large chipboard flourish, a mini birdcage, butterfly and a bicycle. On the butterfly and the mini birdcage I used a gorgeous colour of Smooch. This product is just like painting your fingernails and is so much fun to use.
For the bicycle I used Twinkling H2O. This leaves the piece with a slight shimmer once the light hits it.
The large flourish was covered in gold  Distress embossing powder and has a beautiful slight antique, crackle to it.

Memory Maze supplies:
Mini butterfly flourish 1 (50 x 50 ) pack 10


Thanks so much for coming and having a look. Make sure you keep coming back every couple of days to have a look at some of the gorgeous work the ladies are producing for your viewing benefit.

Mel
XXX
Memory Maze Design Team Member 2015