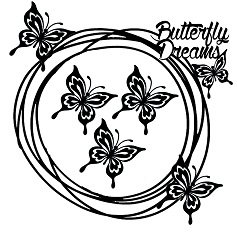
Hi everyone Candy here again bringing you all an 8 x 10 inch canvas using Memory Maze chipboard pieces. From my stash I grabbed a 8x10 inch canvas I also had a Kaiser craft wooden fancy frame I wanted to use as well, so I glued these together and then covered them with printed tissue paper. Make sure you use something like matt medium as you need these to be strong.
It was very dark so I gave the canvas a light coat of gesso. I used a mask from Memory maze and texture paste to cover the top of the frame. I sprinkled some clear embossing powder over the top while it was wet and heated it, trying to make bubbles for extra texture. I then sprayed with Lindy's sprays I used four colours start with the lighter colour first. I lightly went over the top of the texture paste with some gold leaf paste. Just give it a bit of bling.

I then used the grape vines, butterfly and bird cage coloured them all with Prima chalk inks. Then on the leaves I added some glitter to these. Then covered the rest with Dimensional magic. I added some black stazon around the edge of the canvas to give some dimension. I then added flowers, leaves and sprays of flowers to the side and added the words Dare to Dream.
Products used
8X10 inch canvas, Kaiser craft wooden frame, Tissue paper, Texture paste, gesso, matt medium
Lindy's sprays - Wake me up before you go gold, Rusty lantern lime, Time Travel Teal and Steam punk sepia.
Prima chalk inks - Garden grass, Teal Damask, Copper and Blossom bud
Clear embossing powder, Distress glitter - Shabby shutters and Victorian Velvet
Gold leaf, dimensional magic, black letter stickers, Black staz on, Green Tara flowers, leaves and silver spray flowers
Memory Maze products
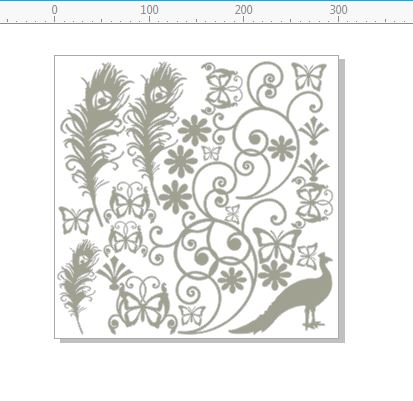
Grape Vine

Bird Cage

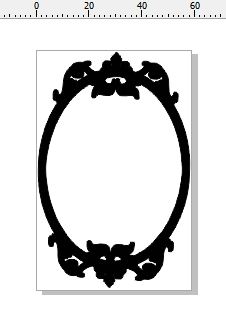
Butterfly Frame
Crackle Stencil
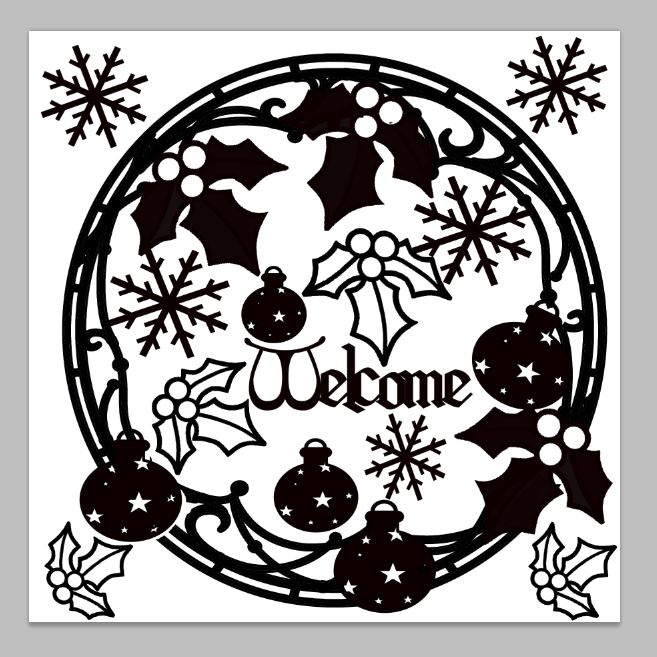
Merry Christmas 3x3 Canvas
With Christmas is just around the corner I thought I would create another smaller canvas.
I have used a 3x3 inch canvas along with a Memory Maze Christmas Ornament. I covered these with some scrap Christmas paper from Kaiser craft. I then used prima inks to cover the fancy frame, holly leaf then using dimensional magic again to give a bit of dimension. Gluing all these together with a strong glue adding a few gold beads and gold glitter to the Merry Christmas to finish this off.

Product used
3x3 inch canvas with stand, Kaiser craft Twig and Berry Collection paper,
Lindy's sprays - Green with Envy, Queen of hearts red
Prima ink pads - Rose bud and Moss Lawn
Gold glitter, Dimensional Magic and some gold beads
Memory Maze Products
Christmas Bauble
Bird Cage
Butterfly Frame
Crackle Stencil
Merry Christmas 3x3 Canvas
With Christmas is just around the corner I thought I would create another smaller canvas.
I have used a 3x3 inch canvas along with a Memory Maze Christmas Ornament. I covered these with some scrap Christmas paper from Kaiser craft. I then used prima inks to cover the fancy frame, holly leaf then using dimensional magic again to give a bit of dimension. Gluing all these together with a strong glue adding a few gold beads and gold glitter to the Merry Christmas to finish this off.

Product used
3x3 inch canvas with stand, Kaiser craft Twig and Berry Collection paper,
Lindy's sprays - Green with Envy, Queen of hearts red
Prima ink pads - Rose bud and Moss Lawn
Gold glitter, Dimensional Magic and some gold beads
Memory Maze Products
Christmas Bauble