Showing posts with label DT Tania Ballestrin. Show all posts

Monday, September 25, 2017

Vintage Clock Tag by Tania

Hello again, hoping you have all had some time to create over the weekend. I've been playing with lots of goodies, and made this Mixed Media Tag using the gorgeous, Memory Maze, Vintage Clock as my centrepiece.

Vintage Clock


I started with a Prima, Julie Nutting Tag, I love the size of these, lots of length to work with. 


I gave both the tag and the Vintage Clock Chipboard piece, a rough coat of Black Gesso, using a sponge.


When the Gesso was dry, I used the Tim Holtz, sanding tool, to sand over the surface of the tag.


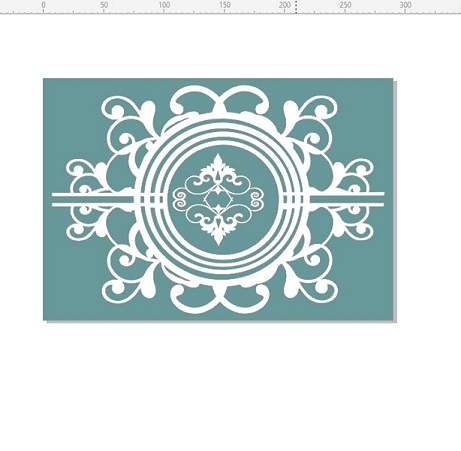
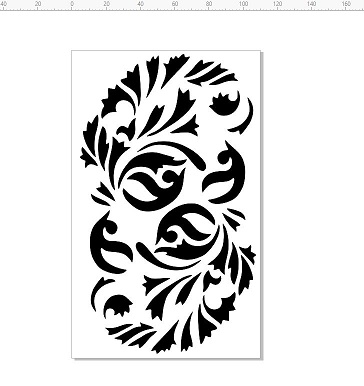
Next, Using this gorgeous stencil from Memory Maze, I sponged some Distress Stain in Metallic, Brushed Pewter, over the entire tag.


I sanded over the top again, once the stenciling was dry. Then I started adding some layers of embellishments.
I used some gauze and coated it with black Gesso, some cotton, and some Micro beads. There's some metal embellishments, pearls & Liquid pearls. The flowers were all coloured with Metallic Distress Stain.


The doily was needed to break up all the dark areas under the clock. Here you can see, I painted the middle of the clock with some awesome Art Alchemy, acrylic paint, and added an Antique Pearl in the centre.


One more close up of the Micro Beads..


I hope I have inspired you and given you some ideas for all your stand out pieces of chipboard from Memory Maze.
Thanks for stopping by!
Tania
Memory Maze Design Team


Sunday, September 10, 2017

Unforgettable Nan, Mixed Media layout by Tania

Hello again! I've been having some mixed media fun with a layout about my beautiful little Nan, who passed away in 2003, 2 weeks after my daughter was born. I came across some pics I had scanned a few years ago while sifting through old pics at Mum's. I decided it was time to record the memories of my Grandparents.

My inspiration definately started when I chose this awesome chipboard piece to work with!

Flourish circle frame 290 x 200 mm 


Everything fell into place from there. It made me want to scrap a vintage photo. (This photo would've been taken, roughly about 1940!)

I used Kaszazz Watercolour paper for my background, it's thick and can take a lot of wet mediums! Then I went to town with my new Distress Oxide inks!! Wow, just love them. I used them as watercolours, by tapping them onto a small piece of transparency film and spraying with water, then smooshing on my page. There's about 4 colours there, and I love the effect after you add several colours on top of each other. You can see the colour on the right of the photo below.


I did some stenciling with this: 

Oct 005 Leaves and floral stencil


And this:


micro dots stencil 4x4 or 100 x 100 


(It's very subtle as I used some Metallic Distress Stains.)

I have tried to show you different angles of the Flourish Frame, to see the colour I added to it. I used Lindy's Starbursts in a dabber and some of the Colour Shots powders and sprayed with water.


 It came up a treat!

 I knew I needed to do lots of journaling on this page, so I have stuck an envelope behind the photo. I glued the flap down and slit the top, so as to keep the envelope fasteners on show, then I can slip my journaling into the envelope without having to worry about accessing them.


There are lots more layers over the Oxides and stenciling. I did some background stamping, added torn pattern paper strips, washi tape, a tag, and one of my favourite pieces is the packaging from a 'Typo' purchase.


I finished off with some Liquid Pearls from Ranger, in Gold, just around my cluster of flowers and embellishments.
here is the final result!


Thanks for joining me, hope you will give Distress Inks and Oxide inks a go as watercolours, you wont be disappointed!


Memory Maze Design Team 2017


Monday, August 28, 2017

Mini Butterfly canvas with Tania

Hi everyone! It's my turn to share a project with you today, using some more awesome Chipboard bits from Memory Maze!!!
I've made a mini canvas for you this time, and it features an absolutely, fabulous, and large butterfly!!!


I gave my canvas a mixed media background, by using some spray inks, Distress Oxide inks and  stamping. Then to add some more layers, I did some stenciling and  texture paste. Washi tape added another layer, and then to build up interest under the butterfly, I added some lace and coloured hessian.

The gorgeous chipboard butterfly, was first painted in gold, clear embossed and had black ink added to the edges. I felt it needed something more, so down the middle, I added some gel medium and tiny, pink, micro beads. To make sure they set, I then added some Dimensional Magic on the top!!!


I finished off with some Tim Holtz quote stickers, and felt that was enough. Hope I've inspired you to use some of these awesome larger Chipboard elements on a project!!!
See you next time!
Tania
Memory Maze Design Team 2017