Showing posts with label wire stencil. Show all posts

Tuesday, October 9, 2018

B Fearlessly Authentic by Suzanne Franin


Hey Everyone Suzanne here

I started to do 5D Diamond Paintings and thought I'd like to put one in a frame and use a bit of mixed media with it
So for this Memory Maze Blog post this time I used another owl LOL what can I say I'm a bit obsessed with them   
With all the Memory Maze products I used silver leaf


I stared by adding a paper frame around the canvas 5D diamond Painting (which wasn't easy just saying)


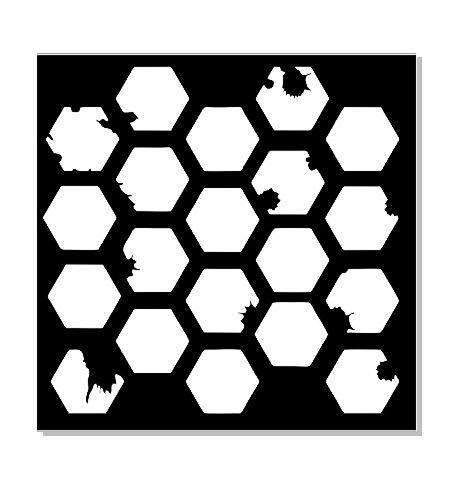
I then used Mini No 5 Wire Stencil with texture paste once it dried I used Colour Blast Colour Shimmer Dusts in Lollipop, Sunshine and Peacock


Here you can see both the Wrought Iron 40 with the silver leaf which I glued with the Helmar Tacky Craft Glue 


Which I also did on Heart from the Globes and the B Fearlessly Authentic
Under neath the heart I used some Charms Creations hearts from two different packs and a paper clay piece that my mum made for me  


Here you can see some Petal flowers I've had for ever and thought this would be a perfect project to use them on 
I also used some metal that I've had in my stash 
The little bottles are filled with extra beads from other 5D Diamond Paintings I've done
And you can see the Super Pinned Bling there how pretty is it 
I also love flair buttons and am getting quite a collection and now thanks too It's and Bits Craft Supplies I've found a whole lot more to add to my collecion


This gorgeous tree of life was from a friends store that was a broken item she had
She thought of me which I'm so thankful for because it's so pretty and was perfect for this project


Memory Maze Products I used


Thank you for visiting and I hope you come back soon x

Sunday, August 13, 2017

Steampunk ATC's, by Tania

Hello everyone. It's my pleasure to be back again with another post for you, using some cool chipboard cogs and more!! I made some ATC's this time, and I really had fun with these!!!


I used Distress Oxide inks to make my backgrounds. Love these!!! I started with an A5 piece of white card, and used the cogs stencil to add some white Distress Paint to the white card. (The white Distress Paint acts as a resist for my next layer.) I applied Vintage Photo & Walnut Stain Distress Oxide ink, with a blending tool and sprayed with water several times for the Oxidization effect.)

You can see the 1st layer of white paint has resisted the brown inks.


After several layers of Distress Oxide inks in a few different colours, I used the Wire stencil in reverse, (Spray the stencil and stamp it onto the card, instead of spraying through it), with some Black Dylusions Spray ink for an added layer of interest.
I cut down my background sheet into 3 pieces. The official size of an ATC, (Artist Trading Card), is 2.5" x 3.5", so I cut 3 pieces of black card stock, this size to use as a mat for each ATC. 


Before attatching to the mats, I did some stamping onto the cards, with some arrows, cogs and clocks I had in my stash. Using a paint brush and watered down , white paint, I then flicked some paint drops on there too!


The next step was to colour all my chipboard pieces. For this I used black Distress Paint for the Bowler hat, moustache & cogs chipboard.


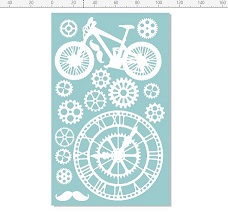
And Metallic Distress Stains for the remaining cogs from the bike, cogs, clock and moustache set.


Then it was just a matter of arranging everything in clusters on each card, adding some metal embellishments, thread and black gemstones. 
To make them complete, I found some cool quote stamps and embossed them in black, on white card!!!


Here's some more pics, I hope I've inspired you to give these little ATC's a go. The possibilities are endless with the amazing array of chipboard pieces from Memory Maze!!!


Tania Ballestrin