Saturday, February 9, 2019

Memory Maze acrylic numbers

Hello crafty friends, Sarah here with you today to show you the amazing large acrylic numbers from Memory Maze.
I am just about to kick off a marathon effort to complete my 2017 family pocket style album. I pulled out the albums and they had a few scratches on them from being moved around the last couple of years. What a better way than covering up some of these dings with these large acrylic numbers.
The numbers are 100mm in height and are cut from a lovely 3mm acrylic. The acrylic comes in a number of coours and can be seen on the Memory Maze website here. These numbers would be great on any scrapbook layout, pocket page, on cards, journal pages or off the page projects. They look fantatsic on any project coupled with Memory Maze other 'pocket pieces'. Check them out on the Memory Maze website here.

Monday, February 4, 2019

Teach our Daughters by Suzanne Franin

Hey Everyone Suzanne here

This week on the blog my project for Memory Maze is about our daughters I saw this quote and it just seemed right (yes I love using quotes I have adult children so it's hard to get photos LOL)
Don't forget to check out the rest of the blog for more inspiration and new products that are being release all the time 


I started off painting the edge of the inside of the canvas with Azure Impasto (not a colour I would normally use but I need to use other than the ones I always use LOL)


I used the Noughts and Crosses Stencil around the edge of the canvas with some Heavy Body Gel
I wasn't happy with Azure so I painted everything with Dylusions Calypso Teal


I then used the Mini Divided Heart Stencil in the centre of the canvas randomly which I then painted with Colour Blast Colour Shimmer Cube - Snow White for some shimmer in the background


I then use some more Colour Shimmer Cubes in a variety of colours but the ones I used on my canvas were - Deep Water, Sunshine, Rose Petal, Punch and Bling


I used the Snow White Shimmer Cube on the Words Fancy Awesome, Spectacular chipboard and some Bling Colour Blast Embossing powder


I used a card from my stash of Project Life cards that I never use and you can see some fabric I've had that for a while 


These are some Prima flowers that a friend gave me so I had to use them and I love flair buttons and this one is so true with the quote


Then I used some little white Kaisercraft flowers on the canvas as well cause I love flowers 


Memory Maze Laser Cuts products I used


Thank you for visiting and I hope you will come back soon x

Sunday, February 3, 2019

Beautiful with Candy

Hi everyone today I have created another 6x6 inch card for
you using the Memory Maze chipboard designs.


Using a 6x6 inch card base
Cut one piece of pattern paper at 5 7/8 x 5 7/8 inches and another at
5 3/4 x 5 3/4 inches.
 Distress using an edge distresser or your scissors around all the edges.
Tape the bigger pattern paper down first then the second using foam tape to give some
dimension.

Tear a piece of pattern paper approximately 2 inches wide.
Distress around the edges of this piece. 
Cut a white doily in half and tape one half to the left
 and one to the right sides of your card.
Tape the 2 inch pattern paper over the gap of the doily.

Cover the butterfly tag with pattern paper and cut away the butterfly at the top of the tag.
Ink around the edge of the tag and using foam tape, tape over the 2 inch strip of 
pattern paper.

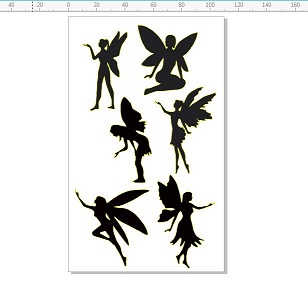
Now for the butterfly, word and the fairy. Cover well with
white paint or gesso.
While they are wet cover generally with clear glitter
Leave to dry well.
When dry gently add some ink around the edges.

Place your butterfly back in the space it came from, using foam tape
to lift up.
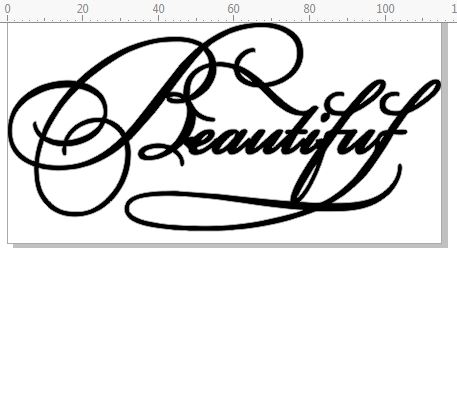
Glue the Beautiful word down and then the fairy.
Add your flowers, leaves and the white liquid pearls to the corners of your card.

Memory Maze products


Beautiful


Other products
6x6 inch card base
Pattern paper, purple glitter paper
White doily, assorted flower and leaves
White liquid pearls
Ranger distress ink shaded lilac
White gesso or paint, clear glitter
Edge distresser
cutter and scissors
Double sided tape and foam tape

Thank you for visiting
Candy Chelepy 
2019 design team


Saturday, February 2, 2019

Love you to moon an back

Welcome to my Memory Maze  blog post, today I will be sharing a canvas with you .

Love You to the Moon and Back

This amazing chipboard piece Love you to the Moon and Back is perfect for my pictures of my nephews an niece.

To make the chipboard piece pop on the back ground I have used the heart stencil with texture paste an Tattered Angles Chalkboard Mist, Cornflower Date, Tomato Cerise, Fairway, Alaska Salmon.

The chipboard piece Love You to the Moon and Back I have used Dina Wakley Acrylic Paints, Lime, Gilt,  Ancient, Lemon, Ruby, Penny, Black, Magenta, Sterling and Turquoise.

When dry I then went over the chipboard piece with Glossy Accents .


I used the following MEMORY MAZE products: 


Thank you for checking out my memory maze post
Jason Anesbury 2019 Memory Maze Design Team Member. 

Tuesday, January 29, 2019

Help by Suzanne Franin


Hey Everyone Suzanne here

My project for the Memory Maze Blog was created around the quote

Make sure you visit the Memory Maze Laser Cuts Store and see what's new 
And check the blog for all the latest inspiration the Team have created for you 


I had a timber frame and painted it with some Colour Blast Heavy White Gesso so that the Dylusions Paint in Cherry Pie


I used 3D Matte Gel through the Swirl Stencil onto some plain card once it was dry I painted that with Cherry Pie as well


When that was dry I scrapped some of the white gesso across the raised pattern so you could see it


I painted the Wrought Iron 22 with some Art Alchemy Fresh Orange and glued it down with the Helmar Premium Craft Glue


With the Feather Flourishes I used the Art Alchemy Fresh Orange again and then glued them down with the Helmar Premium Craft Glue


I then added some flowers, a flair button and a journal card


Thank you for visiting and I hope you will visit again x