Thursday, July 5, 2018

Lovely Moments- By Leanne Nankervis


Hi Everyone!
Leanne here to share another project with you today, using Memory Maze Laser cut products.

Lovely Moments Layout
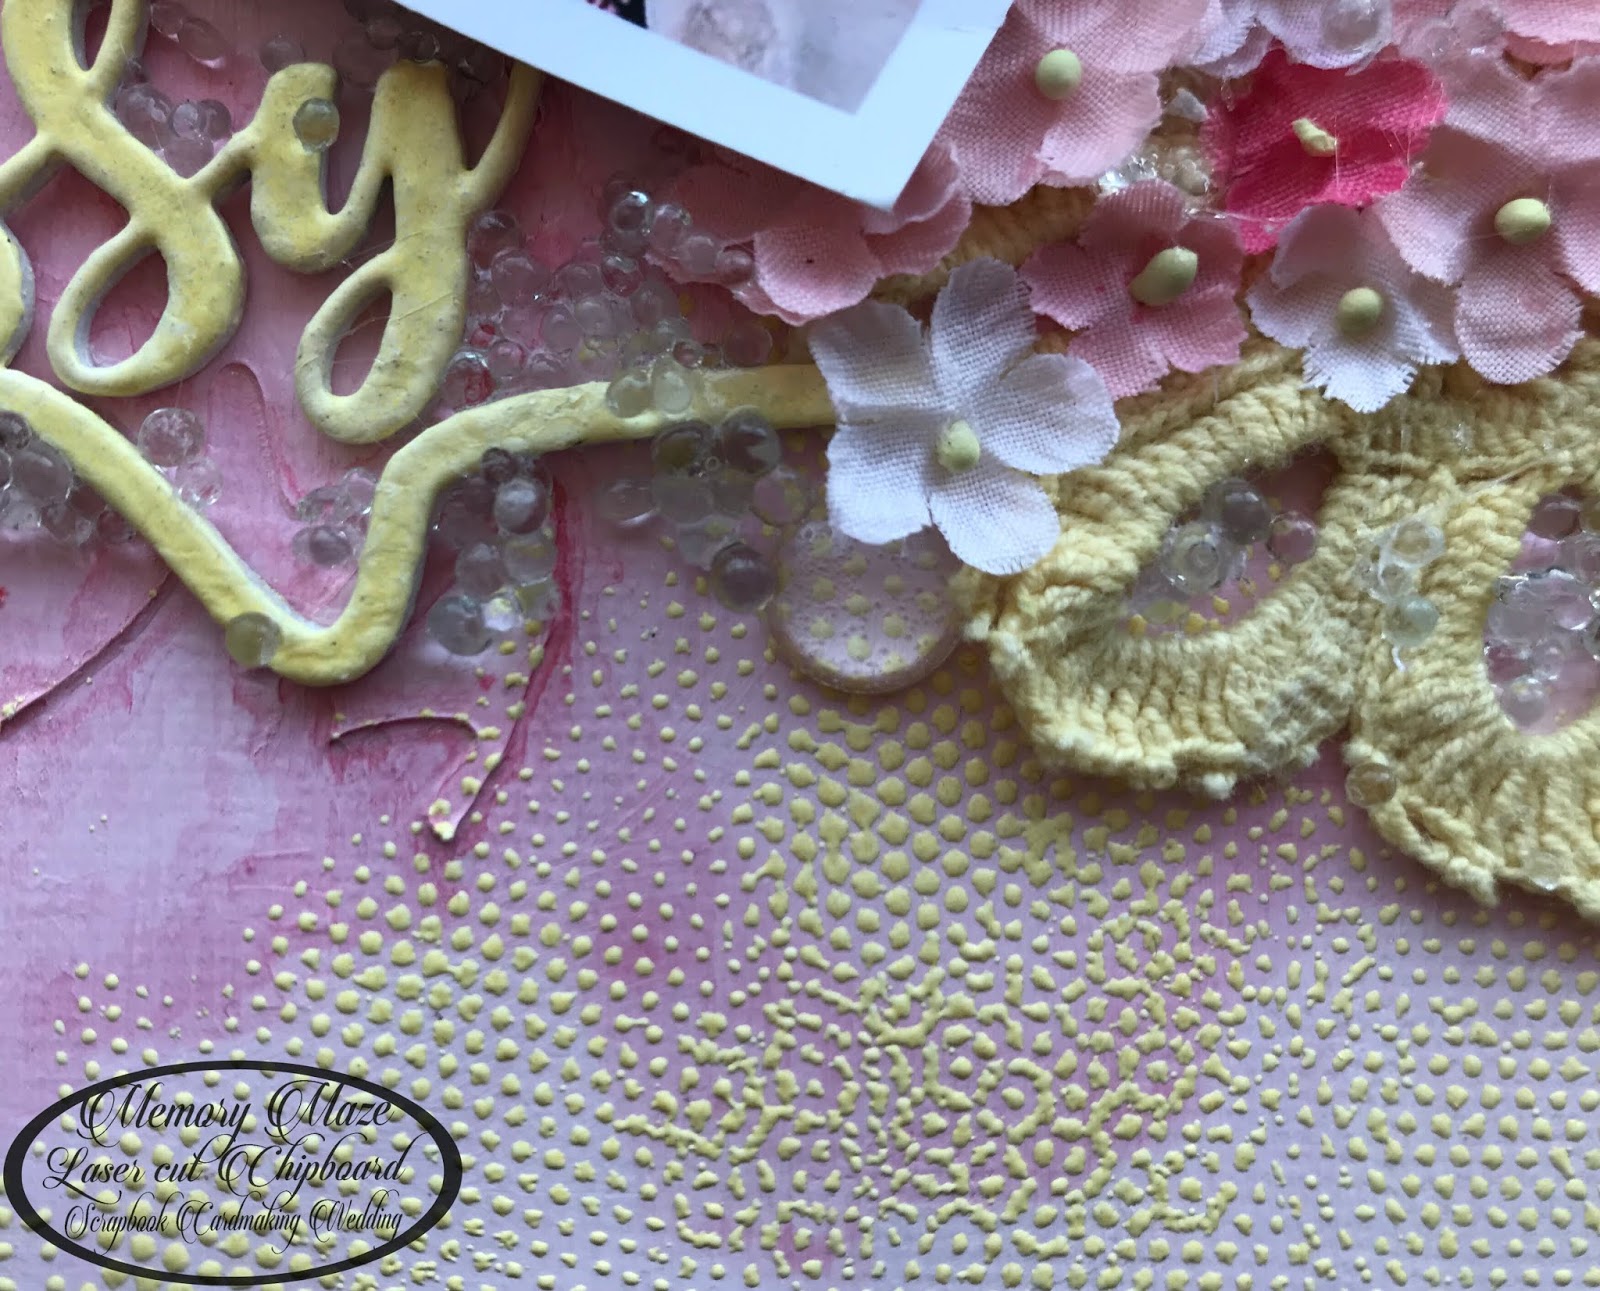
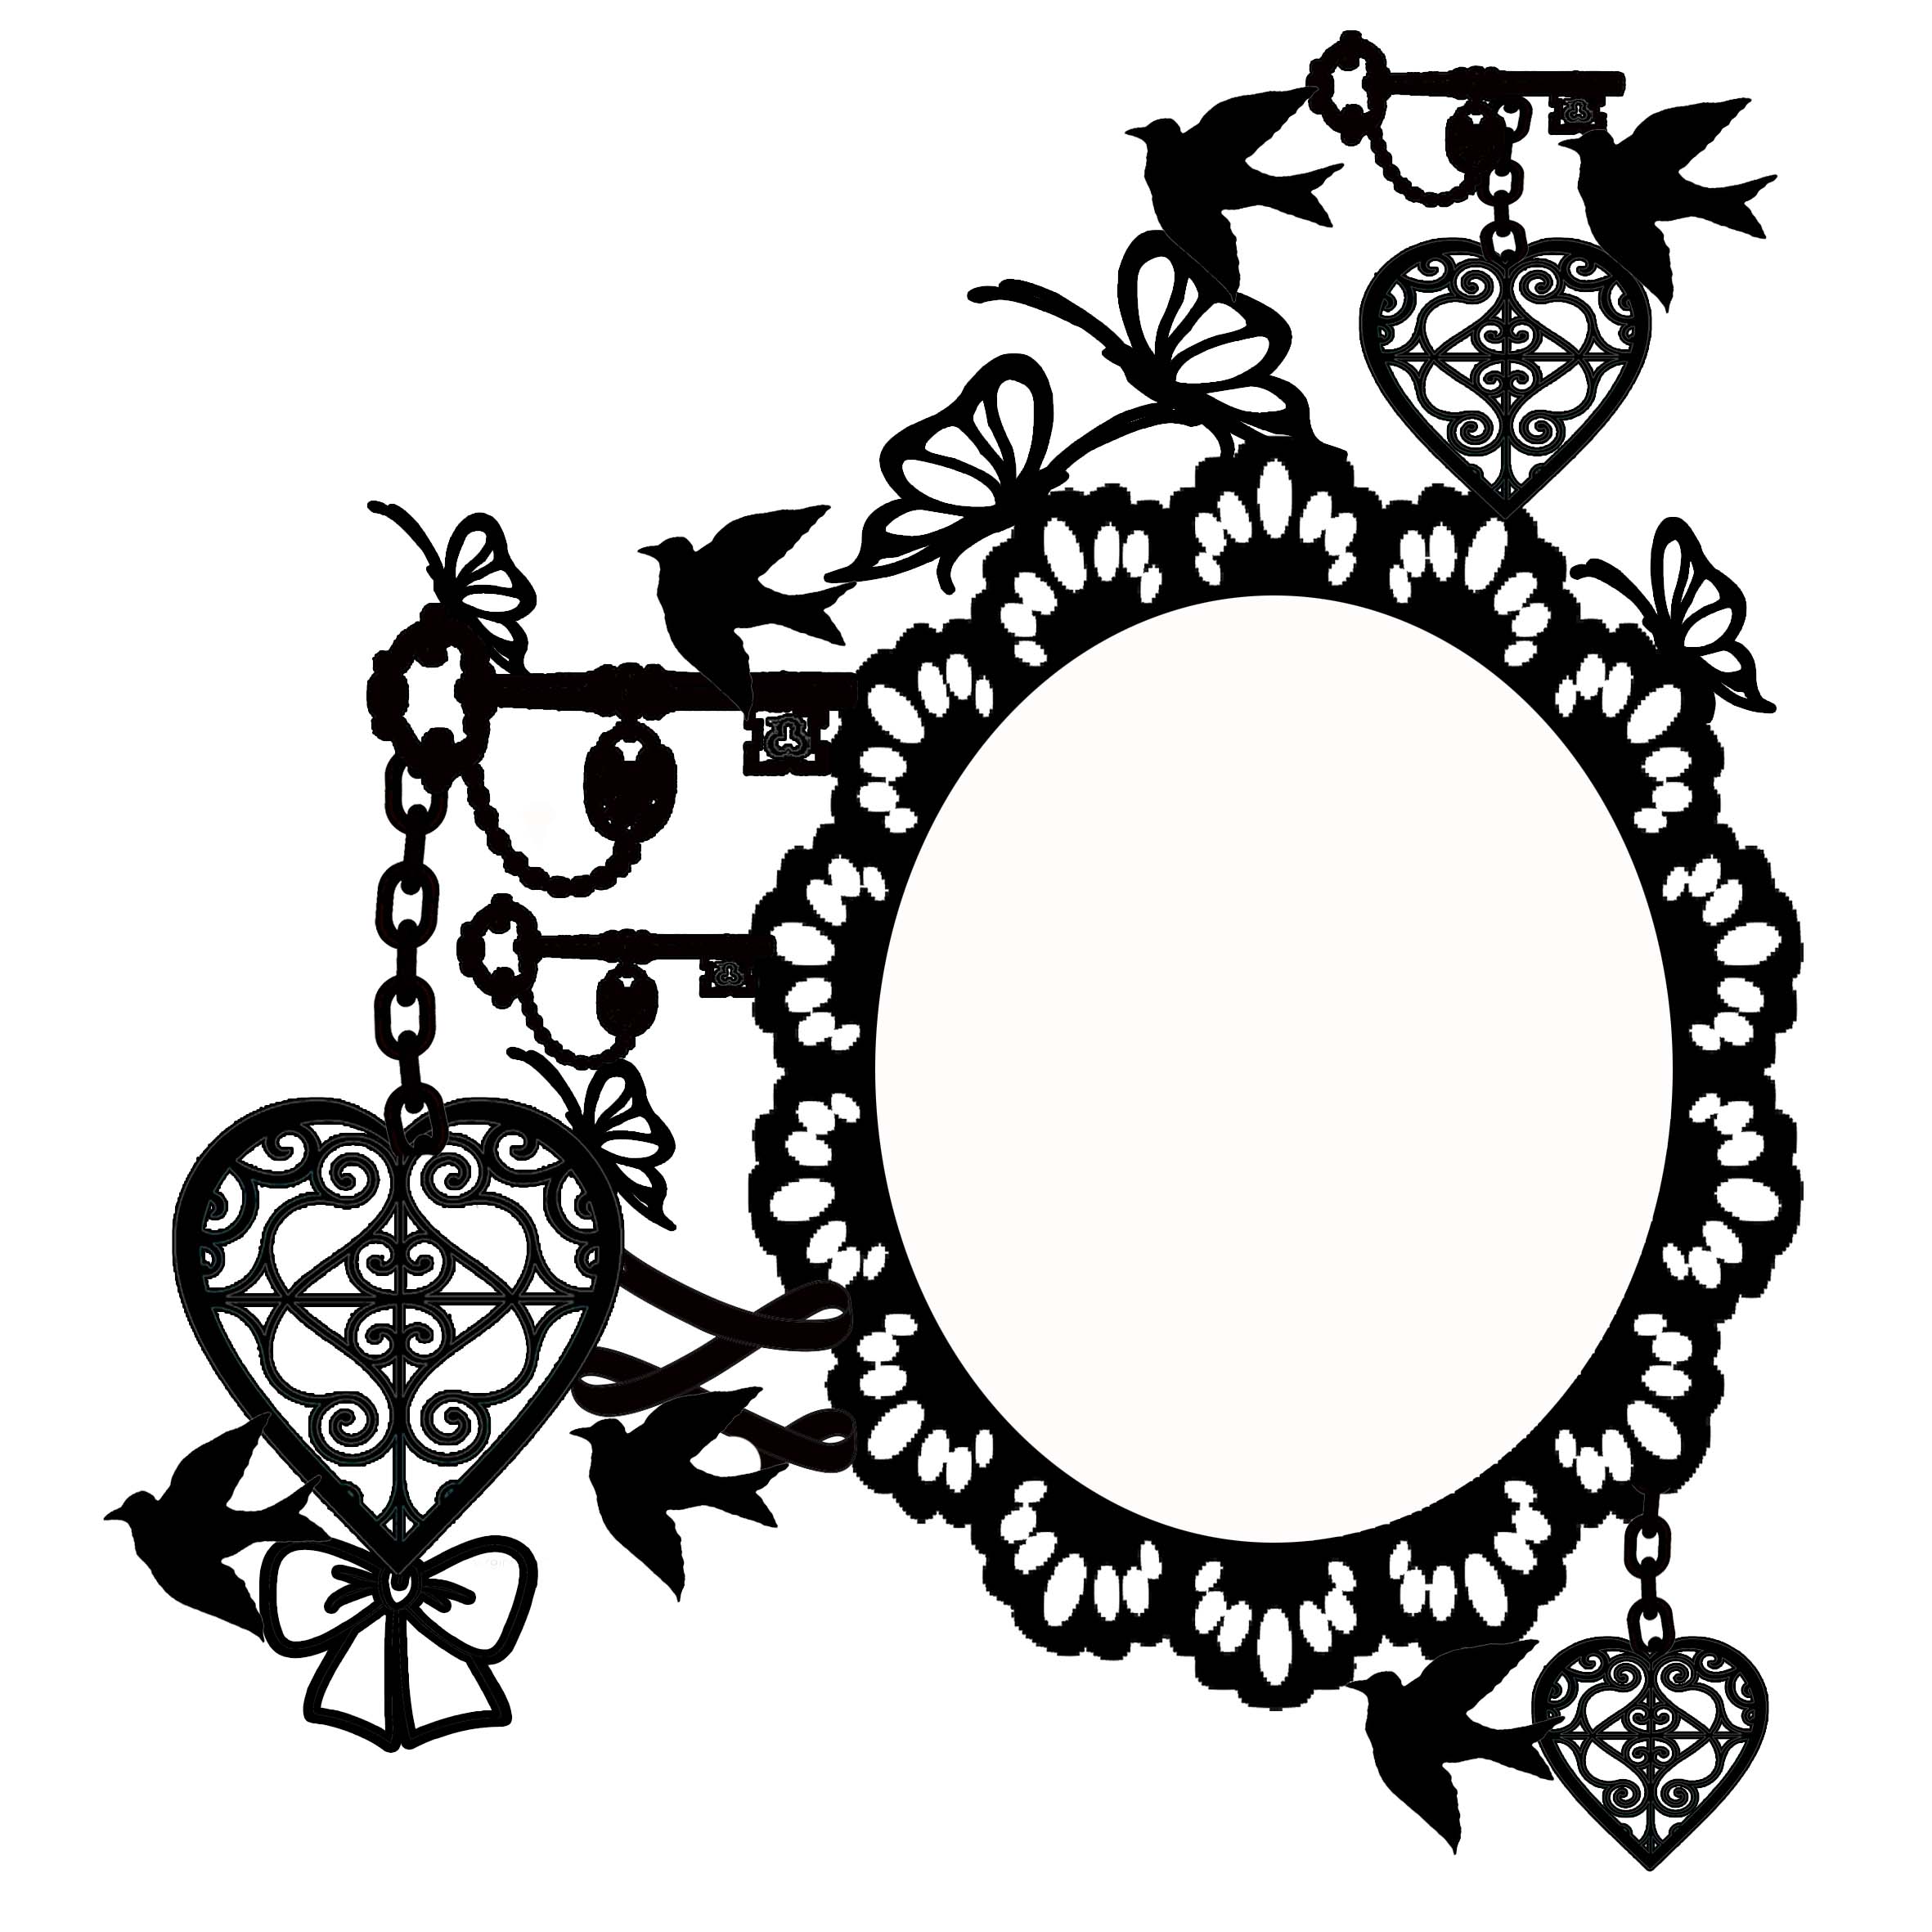
Today I'm sharing a shabby chic layout,  I created with one of my wedding photo's, and my Persian Cat that I used to have. We had to have wedding photo's with him, he was such a beautiful boy miss him so much. Well it was 16 years ago, how time flies. I have used the beautiful fancy frame from Memory Maze, along with a smaller oval frame. I have used Kaisercraft papers and flowers from Blossom Tree Creations, along with some favourite flowers from 49 Market and D-lish Scraps.


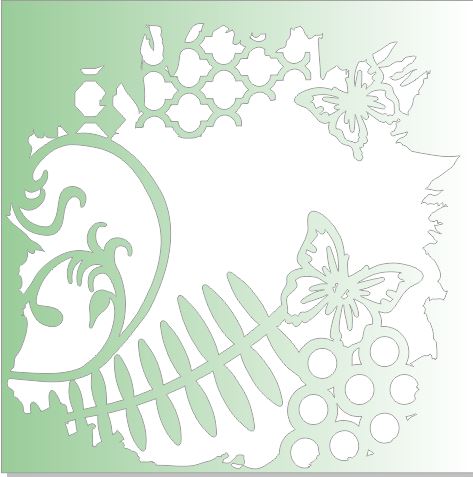
The fancy oval frames I embossed with Stampendous embossing powder in aged ivory and mixed in a white with gold guilded embossing powder.

 The small ornate oval frame I embossed the same way as the large fancy oval frame.


Memory Maze supplies used:

Fancy Ornate frame
Thanks for stopping by the blog today!
Till next time happy crafting!
Leanne Nankervis
Design Team member 2018

Monday, July 2, 2018

Meant to Be by Suzanne Franin

Hey Everyone Suzanne here

Here's my latest creation for the Memory Maze blog
Make sure you check out the Facebook page fore everything that's new and up and coming 

I love the Green Grunge stencils that Memory Maze make and they have so many different ones the one I used -Grunge Stencil 3 has the flowers, the circles and then a few bits of greenery 

I used texture paste on the background of the canvas which was the perfect size for the stencil


I used Lindy's Magical Shakers - Grab a Guy GoldBlack Forest BlackMagnolia Magenta Gold, and Autumn Maple Crimson over the background layering each colour until I was happy with the background I had


I used the Hexagon Grunge Stamp and the Circle Stamp randomly over the canvas including the edges


Here you can see chipboard flowers these are from the  Sweet & Sassy Chipboard set and I covered them with Orange Inka Gold for an extra pop I also rubbed the orange over the corners of the canvas and the top of the stencilled area
I also used a vintage frame under the photo


I used a couple of cogs from the Bike, Cogs, Clocks, Moustache and some from the 12 x 12 All there is is Cogs I love that they both have different cogs in them

I added some flowers to soften the canvas a little and some micro beads for extra texture


Products I used from Memory Maze


sorry no picture


Thanks for visiting I hope you come back soon xx

Sunday, June 24, 2018

Awesome Autumn with Sarah

Hello crafty friends, Sarah here with another scrapbooking layout for you with a number of gorgeous Memory Maze goodies.
This layout today is of my youngest son playing in the crunchy Autumn leaves! Love the expression on his face...he was having so much fun! The background of this 6x8 inch layout is from my gel press plate. See my previous blog posts to learn more about this. I often print on a whole lot of papers and later use them for project as they fit - I loved the multiple colours in this paper to compliment the colours of Autumn.

The layout came together simply with the photo adhered to the background, the 'awesome' wood veneer word from Memory Maze as the title with some letter stickers. There is a range of new wooden veneer words from Memory Maze this month. Be sure to keep an eye out of the website for these. The Australian birds on a branch chipboard pieces was inked with black archival ink and clear embossed.
The range of birds and chipboard pieces in this theme can be seen on the Memory Maze website here. This layout was quick and easy to come together. I hope you enjoyed it.
If you are interested in any of the Memory Maze products, be sure to contact your local craft store or Memory Maze for your local stockist where we can place our local sales reps in contact with them. The new products for June can be found on the website at http://www.memorymaze.com.au/

Saturday, June 23, 2018

Sweet & Sassy by Suzanne Franin

Hey Everyone Suzanne here

My turn on the Blog today 
With this layout that was inspired by these two little cuties
(my son in laws niece's)
They are such gorgeous girls 

Make sure you check out the our Facebook page for what's happening with the Design Team and be able to keep up to date with the latest products 


I used the Swirl Stencil on the background using parts of it twice on the page under where I put the photo


I then sprinkled some Lindys Alpine Ice Rose Magical Shaker over the background spraying water as I go until I'm happy with the colour and the amount of where the colour got into the grooves of the stencil


I then stamped with a background stamp into some versa mark ink then I used some Butter Zing Embossing Powder over the background and over the title 


I did two coats of the embossing powder on the Sweet & Sassy Chipboard title to make sure it had a good cover


I then added a yellow doily I had in my stash and lots of little flowers


I've had these metal clips forever and the colour was perfect and just added that little extra something the layout needed on that side 


Then I added lots of little glass pebble rocks all over the page for that little extra dimension and thats it

Memory Maze Products I used

Thank you for visiting and I hope you will be back soon xx

Wednesday, June 20, 2018

Mixed Media Chipboard tags with Sarah

Hello crafty friends, Sarah here with you to showcase the amazing chipboard tags by Memory Maze. There are 18 different designs and can be found on the website here.
These chipboard tags are 130x50mm and are ideal for tag swaps, creating bookmarks or an off the page project. For this post, I used Distress Crayons to jazz up the tag. Lets have a look at the naked tag first so you can see the full design.
Firstly I adhered some die cut shapes to the tag. This creates texture and interest on the tag. I then covered the whole tag with white gesso. Gesso acts as a primer and because I wanted to move the distress crayon around on the the tag, gesso was the best base for this to easily occur. I applied three colours of Distress Crayons to the tag and smudged them using a baby wipe. I then applied some stamping using black archival ink.
I applied a little more gesso with my finger over the die cut area to add some defined areas and finished off the tag by adding some Prima Opal Magix wax in Vintage Silk to add some shine...beautiful! Outlined the edges of the tag with black ink.
Here is an example of a tag, a different design, where I did not add the die cut pieces at the beginning and did not apply gesso to the background. The colours are not as bright but I like it for a varied effect. I added a small photo to this one as a little memento piece.
If you are interested in any of the Memory Maze products, be sure to contact your local craft store or Memory Maze for your local stockist where we can place our local sales reps in contact with them.

Tuesday, June 19, 2018

Handmade 8x8 Album

Hi everyone Candy here
sorry I have been awal for a while but been away
on holidays then when I came home no computer.
So hopefully all good now.
So today I have created an 8 x 8 inch album using
some  A4 chipboard as the cover.


I used 2 pieces of the A4 chipboard and cut an 8 x8 inch square from both.
using one of the left over pieces cut a piece at 4 x 8 inches this piece is for the spine.


Lay 2 pieces of white 12 x 12 inch card stock beside each other and
tape together. Using tape, tape around all edges and middles of your card stock
and lay onto your white card stock.
Centering the smaller one (spine) in the centre of the card stock.
Laving about 1/8 inch between the pieces.
This allows the book to bend.


Mitter the corners of the card stock


Use your bone folder to go around the edges of the book 
and then gently bend your pieces to fold over the edges.
Add some tape to these edges and tape down. 
Crease the center spine and also gently bend not to crack your card stock.


Cut 2 pieces of white card stock at 7 3/4 x 7 3/4 inches and also a piece at
3 3/4 x 7 3/4 inches this one is for the centre spine.
Tape down using plenty of tape as this will be opened and closed
you need it to be strong.
Now your base is finished.


Memory Maze products 


Other products

White card stock
Good strong glue or wide double sided tape for strength

I have included a video of the album all covered
and ready for embellishing etc
Sorry if this is a bit shaky I had my phone in my hand


Thank you for visiting
Candy Chelepy
2018
design team


Monday, June 18, 2018

Adorable-by Leanne Nankervis


Hi Everyone!

Leanne back to share another project with you today, using chipboard from Memory Maze Laser cuts.
Today I'm sharing a father, daughter layout! one of my favourite photo's of the both of them.
I used the Misty Mountains paper range from Kaisercraft, flowers from Blossom Tree and 49 Market, and opal magic paint from Finnabair. And the Adorable arrow title, hearts stencil and acrylic hearts from Memory Maze. 

Adorable
Using the Misty mountains paper, I stencilled the hearts then added layers to my page, I created my flower cluster to the bottom left of my photo.


The Adorable title I painted in the Finnabair opal Magic Rose/Gold


The small hearts I painted in the same Rose/Gold colour

Memory Maze supplies used:


http://www.memorymaze.com/product_info.php?products_id=21371

Thanks for stopping by the blog today
Till next time happy crafting!
Leanne Nankervis Design Team Member 2018