Showing posts with label rubber stamps. Show all posts
Wednesday, April 10, 2019
All the Moments by Sarah
Hello crafty friends, Sarah here with a double layout showing you how you can easily create a mixed media background using Memorymaze stencils and stamps.
I started these pages in my Vicki Boutin Junque Journal by spreading texture paste through two Memorymaze stencils. This journal is for my son to showcase some of his photos at kinder with his friends so I wanted to add colour and texture.
The stencils by Memorymaze are of a great quality and are fantastic and durable for any mixed media project.
One dry, I sprinkled on some Brusho powder and spritzed with water. These really make the page pop and highlight the textured areas.
Using some Memorymaze rubber stamps, I then applied some black ink to create more background texture.
Once this was done I got to work on matting the photos with black cardstock. I then adhered them down, adding some of the word die cuts from the Cocoa Vanilla Midnight collection. I also used some strip sayings from my stash.
Here’s some close up shots from the finished layout of that gorgeous texture. Please be sure to check out the Memorymaze website for the full range of stencils, stamps and much more at www.memorymaze.com
Sunday, February 17, 2019
Mixed Media backgrounds with Sarah
Hello crafty friends, Sarah here with some mixed media backgrounds I have been working on this weekend. These are great for art journal pages, to use for cards or in your scrapbooking.
Using a range of stencils and stamps from Memory Maze, I firstly brayered on acrylic paint to create the first layer. I then used stencils and stamps with coloured ink and paint to add further layers. Here are a small selction of my favorite stamps for this kind of project. I love the flexibility of rubber stamps - being able to bend and move them to stamp on the page. The full range of stamps can be found here.
For this background I used some bubble wrap and applied some white embossing powder to make it pop on the darker background. The mini stencils offered by Memory Maze are perfect for this - they are 4x4 inches or 100X100mm in size and are great to easily manouevre around a wet background.
Here are some of my favorite stencils (I love them all, but these are very versatile for creating backgrounds or for mixed media projects).
I like to work on many pieces at the one time so I dont have to get my paints and inks out at various times. Here is another background using some Memory Maze stamps and stencil. I have also used other stamps from my stash for these backgrounds, including Paper Artsy and Aall and Create. Paint used here is from Dina Wakley.
div class="separator" style="clear: both; text-align: center;">
I hope you enjoyed this project. Stay tuned for some layout ideas coming up using these backgrounds in my memory keeping! Until next time, dont forget if you are interested in any of the Memory Maze products, be sure to contact your local craft store or Memory Maze for your local stockist where we can place our local sales reps in contact with them. The range of products available from Memory Maze are available online here.

Saturday, June 2, 2018
Mixed Media Layout 'My Boys' with Sarah
Hello crafty friends, Sarah here with a mixed media layout for you today using a number of fun ways to add to the background of your scrapbook layouts or memory keeping formats.
The background of this 12X12 inch layout was created with acrylic paints, printing with the 6 inch round gel plate and distress crayons. To create a watercolour affect, the crayons are applied to the background page and 'activated' with a wet paint brush. For this layout, I have allowed them to drip off the page for additional texture.
I stamped onto the background using the Distress Crayon to colour the stamp. I used Darkroom Door, kaiser and Memorymaze background stamps.
The layout was finished off by some marks with my Posca Paint pens, and background script stamping (Kaiser) with black ink. The chicken wire chipbaord pieces are from Memorymaze and have been coated with Finnibair metallic wax paste. The shimmer this wax provides is awesome!
The chicken wire chipboard comes in a larger size, 12x12 and a 150mmx150mm piece as shown here. Black stencilling with acrylic paint was added for contrast. The layout was completed with a doodled border using a black fineliner. If you like this layout, I'd appreciate you leaving a comment below.
If you are interested in any of the Memory Maze products, be sure to contact your local craft store or Memory Maze for your local stockist where we can place our local sales reps in contact with them.
Sunday, May 27, 2018
XOXO with Sarah
Hello crafty friends, Sarah here with another 6x8 inch scrapbook layout using some Memory Maze acrylics, chipboard, stamps and stencil.
This layout is of my younger son cuddling our puppy - it's just adorable and I wanted the photo to be the main focus of the layout with a subtle but effective background. I used a brayer to create the various colours in the background, taking the palette from the photo - mainly reds with a bit of blue. I then used Memory Maze rubber stamps coloured with Posca paint pens to stamp on the background.
The title was also coloured using a white Posca paint pen. The title is a chipboard piece that can be found online here. I added some stencilling with black paint to the layout using the Noughts and Crosses mini stencil.
I finished the layout with adhering the photo and heart acrylic embellishments. I love how the red hearts compliment the colours in the photo.
I hope you enjoyed this layout and will give this mixed media look a go on your projects. If you are interested in any of the Memory Maze products, be sure to contact your local craft store or Memory Maze for your local stockist where we can place our local sales reps in contact with them.
Saturday, May 19, 2018
Gel print tutorial with Sarah
Hello crafty friends, Sarah with you today with my greatest love....gel prints using a number of layers but in just one single pulled print....lets take a look...
For these prints, I have used my 3X5 inch gel plate and the idea is to add layers on to the plate, allowing them to dry in between. I have broken this down step by step as below;
Firstly, apply your paint on to the plate and begin by adding some layers - here I have used some bubble wrap and the Memory Maze noughts and crosses stencil.
I then applied some paint to my rubber stamps and added this to the plate. The range of Memory Maze rubber stamps can be found online here.
Then using another of the Memory Maze mini stencils, I applied a darker contrasting colour.
A bit more stamping and now to let it dry.
Next we apply a thin layer of white paint. This must be thin otherwise it will only pull off the last layer added to the plate.
Press a piece of cardstock or paper firmly over the plate, rubbing all over to ensure there is good contact between the paint and the paper. Pull it up gently to reveal the print.
This is so much fun! Stay tuned for more projects where I do a similar technique on various sized Gel plates! Lets take a close up look at this print.
If you are interested in any of the Memory Maze products, be sure to contact your local craft store or Memory Maze for your local stockist where we can place our local sales reps in contact with them.
Saturday, May 12, 2018
'School Camp' with Sarah
Hello crafty friends, Sarah here with you today for Memory Maze Lasercuts, using some of the new Pocket Pieces for a school camp layout.
This layout was created by brayering colour on to the background of the 6X8 inch piece of cardstock. I then applied some light stamping using Memory Maze rubber stamps with black archival ink. The range of Memory Maze rubber stamps is huge, but I especially love the background stamps that can be found here. A few of my favorites are pictured here;
The 'school camp' acrylic piece is one of the newest Pocket Piece range. The acrylic is 3mm and is a gorgeous, crisp white finish. The pieces is 70x47cms in size and can be ordered in a range of colours. In addition to this, the new acrylic chevrons and little birds are just adorable! They can be found along with the other new May products here. If you are interested in any of the Memory Maze products, be sure to contact your local craft store or Memory Maze for your local stockist where we can place our local sales reps in contact with them.
Friday, March 30, 2018
Product Highlight: Stars, dots and spots
Hello crafty friends! What would be one of the most versatile shapes to use on your crafty projects? Stars! Whether they are big, small, made of different materials, they are one shapes that stands the test of time!
Today we take a look at some of the most popular products that Memory Maze has involving stars....well also dots and spots, but mainly stars! The image above is the round rubber stamp (37x37mm) designed by Memory Maze. Let's jump right in....though I should mention that there are many more products online here.
In regards to stencils, we have the 100x100mm pocket stencils, all the way up the 13x15 inch star stencil, suitable for the largest of gel plates.
A multi photo star frame is a popular choice - great for a full page layout or an off the page project.
Another option for your projects is a background star stamp and some chipboard, wood or acrylic stars, as pictured below. These are great for cards, layouts, off the page projects etc.
If you are interested in any of the Memory Maze products, be sure to contact your local craft store or Memory Maze for your local stockist where we can place our local sales reps in contact with them.
Sunday, March 25, 2018
Fun in the Sun Mixed Media layout with Sarah
Hello crafty friends, Sarah with you today with a fun scrapbooking layout using some gelli prints and this amazing title, stencils and stamps from Memory Maze!
This layout is of my youngest son at the beach when we were holidaying at Mallacoota. Whilst the day was sunny but not particularly hot, he enjoyed wading in the rock pools and playing on the sand with his brother. I just love this photo. The title 'Fun in the Sun' can be found online here. I painted this black and applied Dimensional Magic to create a shiny finish.
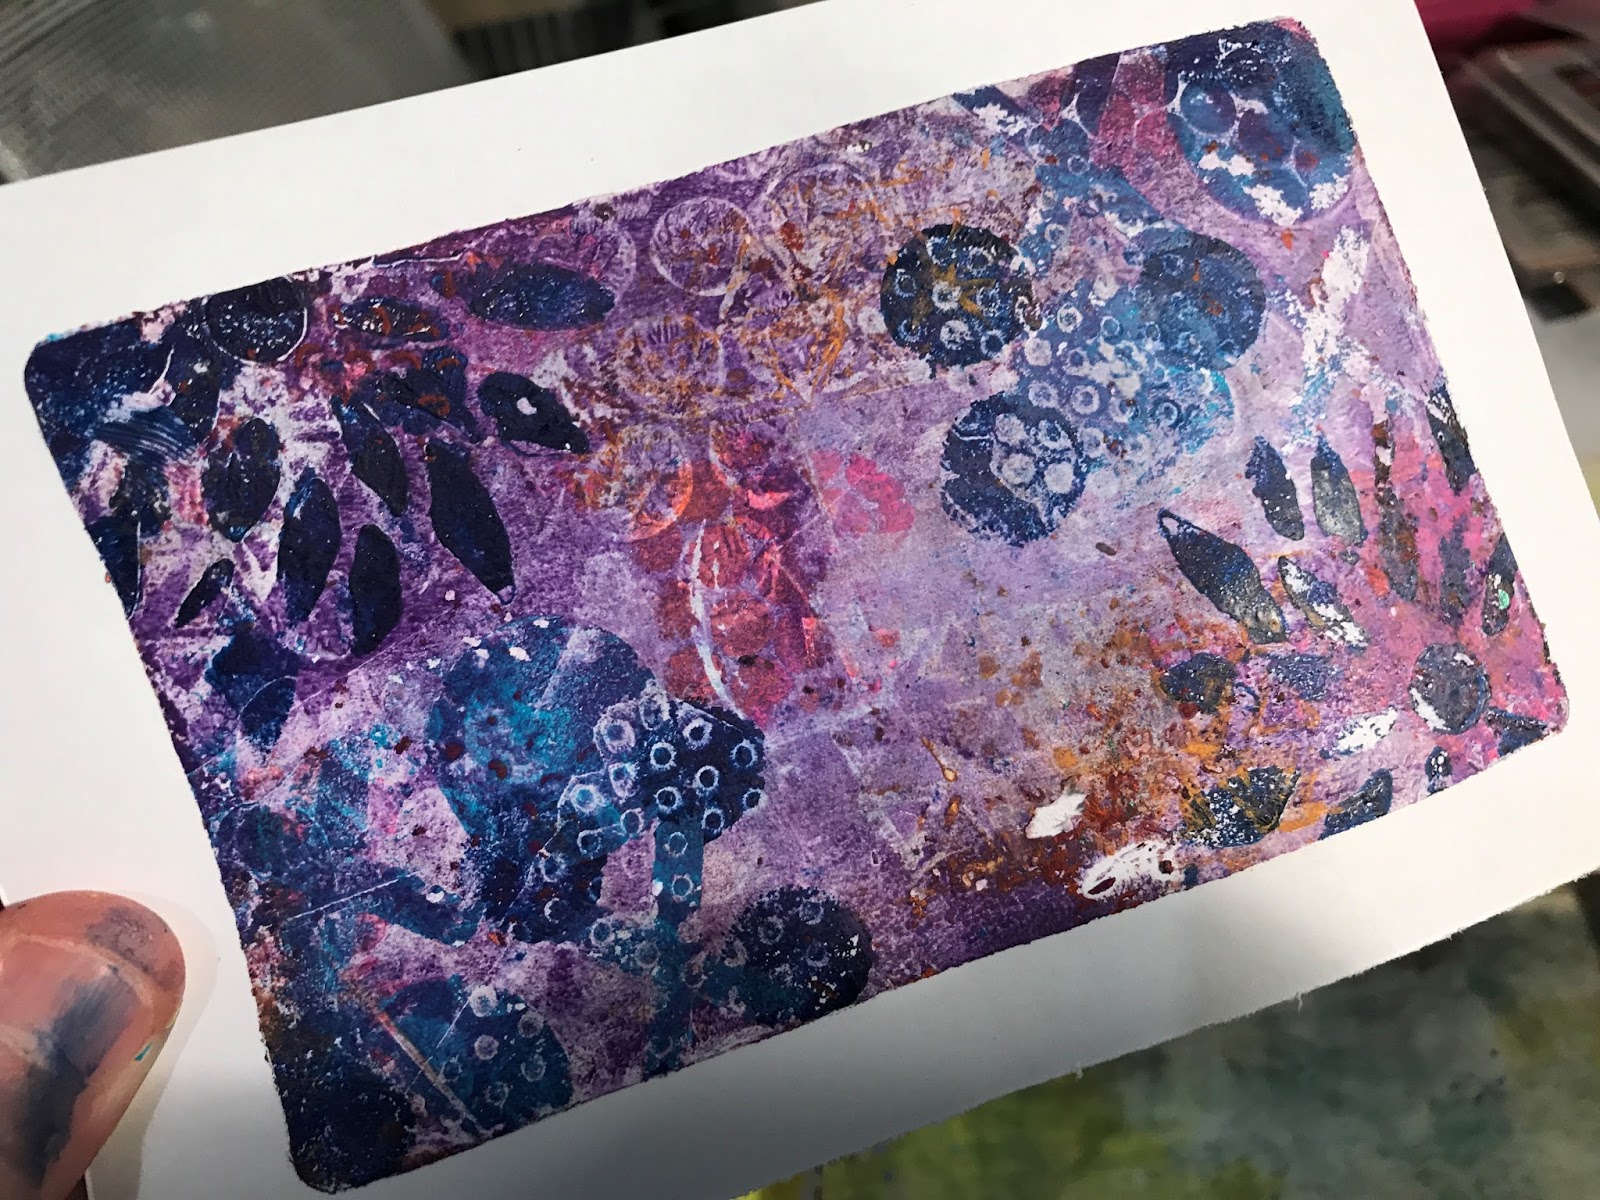
If you haven't seen gelli printing before, be sure to google it and check it out. There are many YouTube clips demonstrating the fabulous projects you can make. Using a gel plate which enables you to create a unique mono print with out a printing press.For this layout I used an 8X10 inch plate. You use various paints on the gel plate with stencils, stamps etc and make prints on paper. Once of my favorite papers to print on is deli paper and this is what I've used for this layout.
Deli paper is a semi-translucent, thin paper that works well with layers and on various projects. As I use my gel plate, I use deli paper to roll my brayer on to off load any excess paint. As you can see by the pictures below, I have created quite a stash of it. 
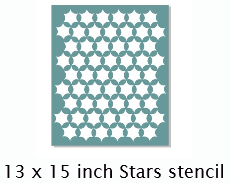
These papers are delightful on their own as you layer (and brayer) the colours on. They are also fabulous torn up and used on layouts, cards and in art journals. Some of my favorite Memory Maze stencils used in designing the paper for this layout are the All Hearts, Checkerplate, Skin 1 and Diamonds. The range of these 8X8 inch stencils can be found here. I tore pieces of the deli paper and adhered it to my background cardstock using Gel Medium. It is important to put gel medium on to the background cardstock, position the piece of deli and then put more gel medium on top of the deli paper - thats what helps it have a translucent effect once dried. I also used some Colour Blast paste through the Glass Bits stencil. Once dry, apply stamping with black ink to create further texture to the background. I used Memory Maze background and composition rubber stamps - the range can be sought here here. Some of my go-to favorite background stamps are the Grunge xxx, spots, Vintage background spits and spots and Vintage peace. Lastly I mounted my photo on to black cardstock and adhered it to the layout. I hope you enjoyed this layout tutorial and will give gelli printing a go - all you need is your Memory Maze stencils, stamps and a gel plate! If you are interested in any of the Memory Maze products, be sure to contact your local craft store or Memory Maze for your local stockist where we can place our local sales reps in contact with them.
Subscribe to:
Posts (Atom)