Monday, August 31, 2015

Altered Frame and card - Candy Chelepy

Hello everyone
Today I am bringing you all a short tutorial using an old picture frame from my stash.
And some wonderful chipboard pieces from Memory Maze.
Go and check out the blog, some really yummy creations on there from our very talented design team
ladies.


Now go grab a cuppa and sit back and watch my video


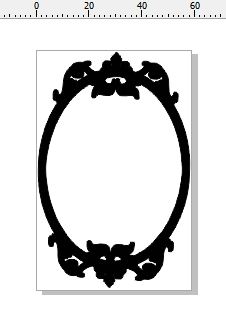
Product from Memory Maze


Border 1  Flourish  2 per pack page border flourish  2 sided  24


Vintage Clock


Now for my card
I just painted the aeroplane with brown paint and then covered it with some
 Dimensional Magic.
 Remember don't shake that bottle or you will get heaps of bubbles.


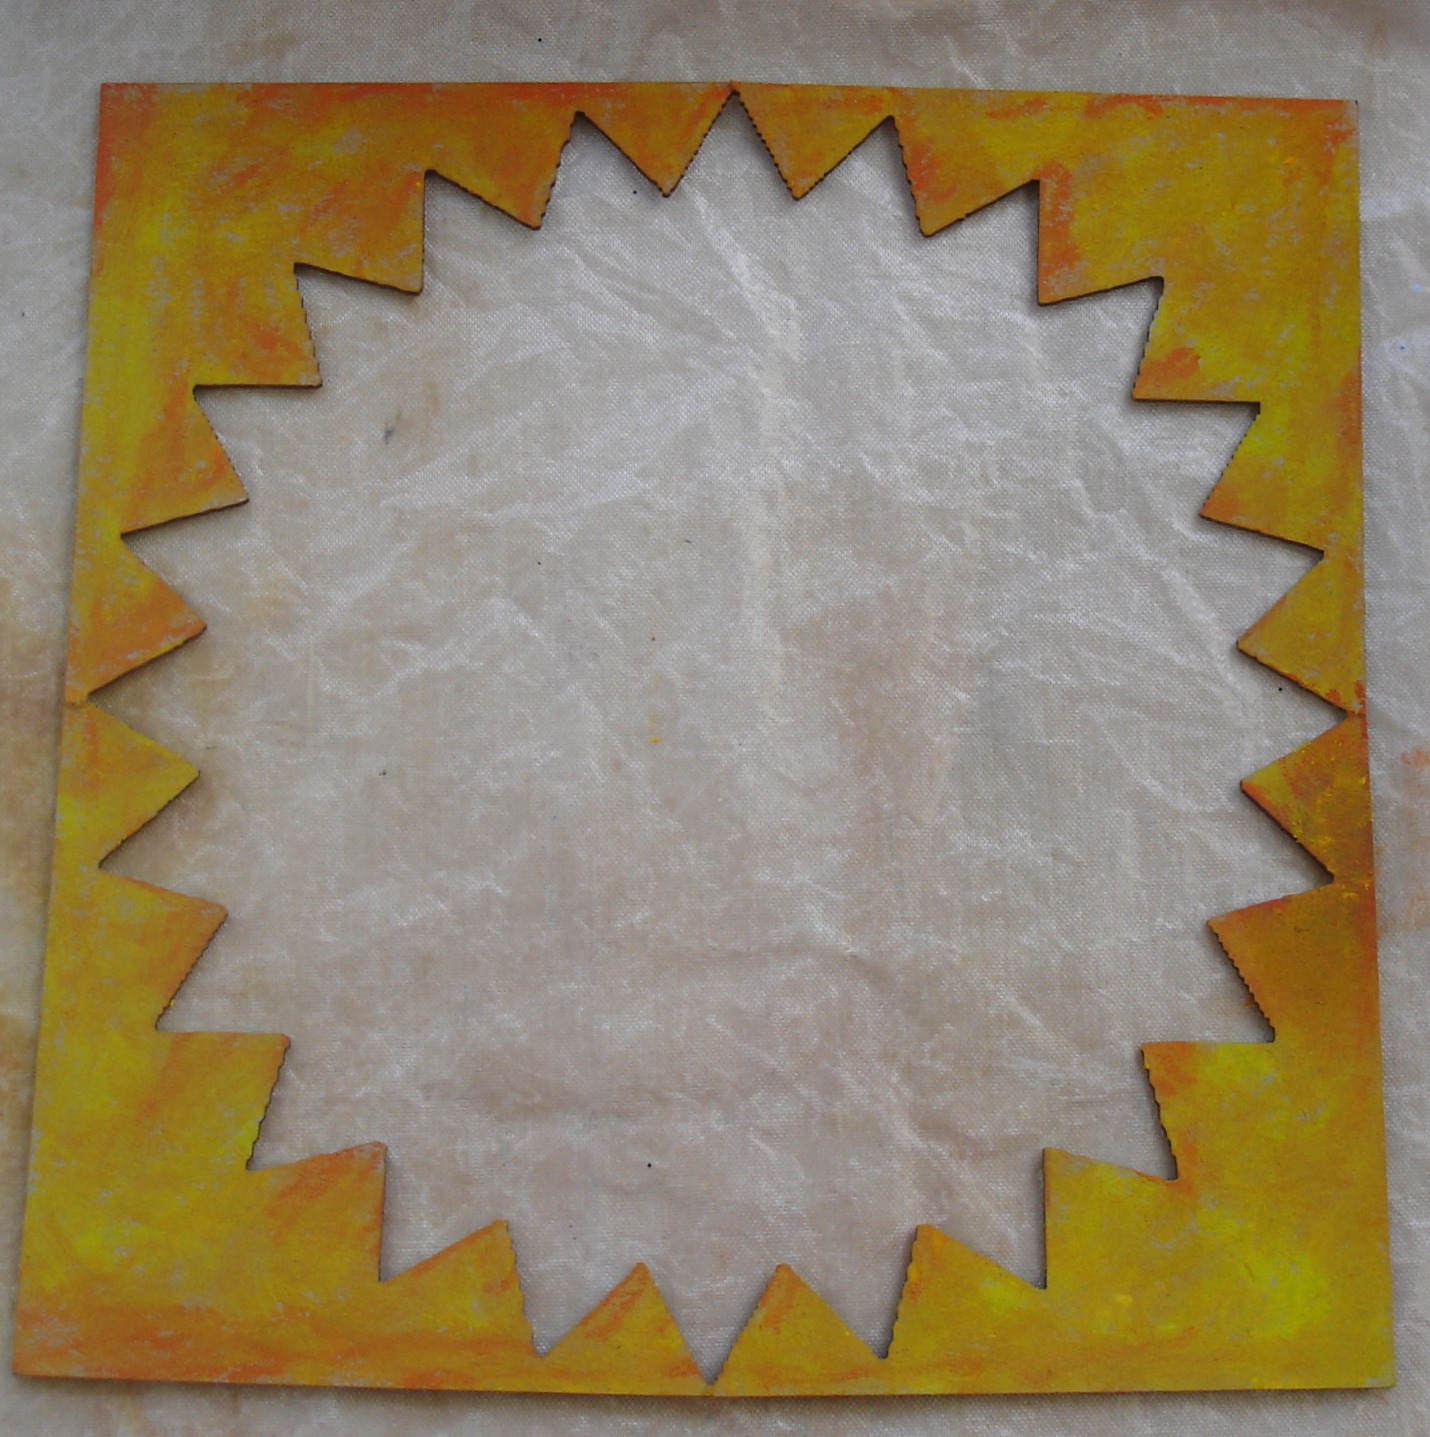
Product from Memeory Maze


Aeroplane
Aeroplane , plane,biplane mini pack 10
Thank you for visiting
Candy Chelepy 
2015 Design Team

A BIT OF NOSTALGIA & FATHER'S DAY CARD by Liz Hocking

 Liz is on the blog today, fathers day is just around the corner ,


Hello Bloggers,

Well another month nearly over and Christmas will be upon us before we know it.  I have recently been getting my granddaughters' albums up to date to include their great grandparents.   


FAMILY

For this layout I started with a sheet of old patterned paper that I have had for some time and applied some Gesso and a little bronze coloured textured paste. I then used the Memory Maze 'flower' stencil and applied it with textured paste to the patt. paper.

I had lots of fun using Gelatos to colour the flowers and they came up a treat, don't you think?

I then used the negative chipboard 'sunburst' and applied gesso and gelatos and some Modge Podge

Once this was all done, I started with my favourite part of any layout, building it all up with embellishments.  I just had to work on the Memory Maze chipboard 'Family' which I used metallic melts.  I so love the effect that these melts give to chippies, they either can be heated flat or you can make them 'bubble'.

and here is the end result.
Memory Maze products

http://www.memorymaze.com/product_info.php?products_id=19091

http://www.memorymaze.com/index.php?cPath=128


Family
 http://www.memorymaze.com/product_info.php?products_id=18666

FATHER'S DAY CARD

Well with Father's day coming around quick in the southern hemisphere, I thought I would try something different.  I usually do not place chipboard on my cards, but with this lovely grand father clock from Memory  Maze I would not resist using it.  I then treated it with
Art Extra Vagance Textured Paste, Gold crackle.

Then with some new patterned paper I set to putting my card together and here is the end result.  I was so happy with the effect the crackle medium had on the grand clock.

Memory Maze Product.
http://www.memorymaze.com/product_info.php?products_id=17033


Thank
you for visiting today and trust that you have been inspired.

Liz Hocking 
Memory Maze Design Team 2015


Wednesday, August 26, 2015

A little beachy thank you with Thandar


Hello Everybody,
Summer is almost over here in the United States. Yet, I am not done with scrapping my summer pictures 

My beach Layout 

I would like to scrap a picture of a sail boat that we saw on the beach, using seashells that were picked up from the same beach. Intricate Wrought Iron Flourishes are perfect to accent the photos and bring out the details in there. Here is what my layout looks like.


Memory Maze supplies used:


Quick and Easy "Thank You" Card 

I have recycled a thank you card and decorated with some chippies and flowers from my stash. Love the way it turned out! 


Memory Maze supplies used:


Thanks for visiting


Memory Maze Design Team 2015

Monday, August 24, 2015

Get Well Card & Beautiful Layout by Jodie Mason

I hope that this post finds you all well. Today I have a get well card and scrapbooking layout to share with you all. I hope that they will inspire you to get creating some of your own designs.

Get Well Card

My mother recently had to undergo a procedure to have some carcinomas removed, so I wanted to make a card for her that would help to brighten her day. I loved the idea of being able to add a hanky or tissue to a card (especially for a get well theme)! So I decided to make a little 'hanky holder' to attach to the front of the card. From a scrap sheet of chipboard I cut two pieces that were 1.5cm * 3cm and one piece that was 3cm * 4cm. These were glued together (so that one of the shorter pieces was on either side of the longer piece) and then covered with paper and a piece of lace stuck to the front. This was then glued down in place and once dry it was ready to have the hanky inserted.

Get Well card with hanky holder.

Alternative view of the hanky holder.

On the inside of the card there was plenty of space for the kids and I to write on, but I still wanted to add a 'little something' to give it a bit more pizazz. With the hearts chipboard I stamped it with my Versamark ink pad and covered this with Stampendous embossing powder. This has a combination of white and gold embossing powder and fine gold glitter through it, that provides a wonderful coverage over the chipboard. I stuck this to an off cut of paper from the front of the card and then cut around this.
Inside of the card.
Memory Maze supplies used:

Beautiful Layout

Today I wanted to create a layout that was fairly simple in nature and that you did not need a huge amount of supplies for. So with a few pieces of card and paper, flowers and pearls, a bit of lace and a few scrapbooking staples this layout came together. The background flowers and verse were stamped in Versamark and then with a soft dry brush had pearl ex powders dusted over the top. I wanted the chipboard piece to be bright and colourful (like the picture) and to have a fun feel to it. I grabbed my liquid pearls and stickles glitter glues in colours that matched and just dotted them all of the piece.
Layout

Close up of the Beautiful chipboard piece showing the dimension that was added to it.

Alternative view of the chipboard piece.

Memory Maze supplies used:

Thanks for visiting

JODIE MASON
Memory Maze Design Team 2015

Thursday, August 20, 2015

Little Mr Attitude (video) & Wedding card - by Toni Herron

Well hello crafting friends. I do hope that you have been having a lovely week. Toni here today and  I would like to share with you something that you may have seen before, but with a twist!
My first project is a mash up between "Pocket Letters", Project Life and Scrapbooking. I hope you enjoy it!

You can view the video tutorial I made for it here - http://youtu.be/D9Xk3xgVLBs

Little Mr Attitude

Pocket style layout


For more photos of this project, please follow this link to the video - http://youtu.be/D9Xk3xgVLBs


Memory Maze products used


My second project is a fun neutral feeling card.
Would suit maybe a beach or subtle outback wedding?! What do you think?
I love that you may never think certain pieces of chipboard would ever go together until you try them. Memory Maze produce so many styles that can easily be placed together on the same project. As many of you would know by now, I love to LAYER my chipboard pieces, so Memory Maze are the perfect go to items for me.

Wedding card


The making of this card was quite simple. Kaiser papers and Flowers, Memory Maze chipboard, some Peals, Washi and Twine. 
The title was lightly painted with a cream colour, then brushed over by Antique Linen distress ink. The swirl in the front was inked with Pinecone from Versamark. The side tribal flourishes are actually the off cut middle from another project, they have been lightly painted with White paint. 

Memory Maze products used; 


Leaves 

Thank you for visiting today
I hope you have found some inspiration from these creations. 
Toni Herron
2015 Memory Maze Design Team Member