Tuesday, August 28, 2018

Whoo by Suzanne Franin

Hey Everyone Suzanne here

This weeks project includes my favourite animal and you will see thatI use them a lot in my projects they are just so beautiful and I can only use so many pictures of people LOL 
I made a process video of this one on YouTube so please watch and subscribe to my channel, give me a thumbs up and leave me some feedback good or bad I'm happy for creative ideas

So I turned the canvas around and used modelling paste along the edge to cover the timber and staples
Then covered the whole thing with gesso as well as all my chipboard

With the Branch from the Young Wild and Free I painted it with Colour Shimmer Spray Leather, then the feathers that are cut out I used Colour Shimmer Dust Amber, Candy, Lush and Cobalt and the other feathers I used clear gesso mixed with Colour Mica Powders Polar, Cool Mint and Watermelon and the little leaf I used some Colour Paste Apple of My Eye 


With the Colour Mica Powders Polar, Cool Mint and Watermelon after the clear gesso dried the Colour Mica Powders dried with no shimmer so I went over them again with a little bit of the powder and water and the shimmer was back


Here I rusted the Owl Steam Punked and the cogs with some brown paint that I had mixed some fine sand with then add some Rusty Paper Paint randomly over them
I then added a Flutterby Design Flair Button (one of my favourite embellishments) to give him a heart and add some more detail to him


I used Colour Shimmer Dust Lollipop and Colour Shimmer Spray Sunshine on the canvas sides and background
I used some little white flowers and some glass cabochons randomly for some added texture


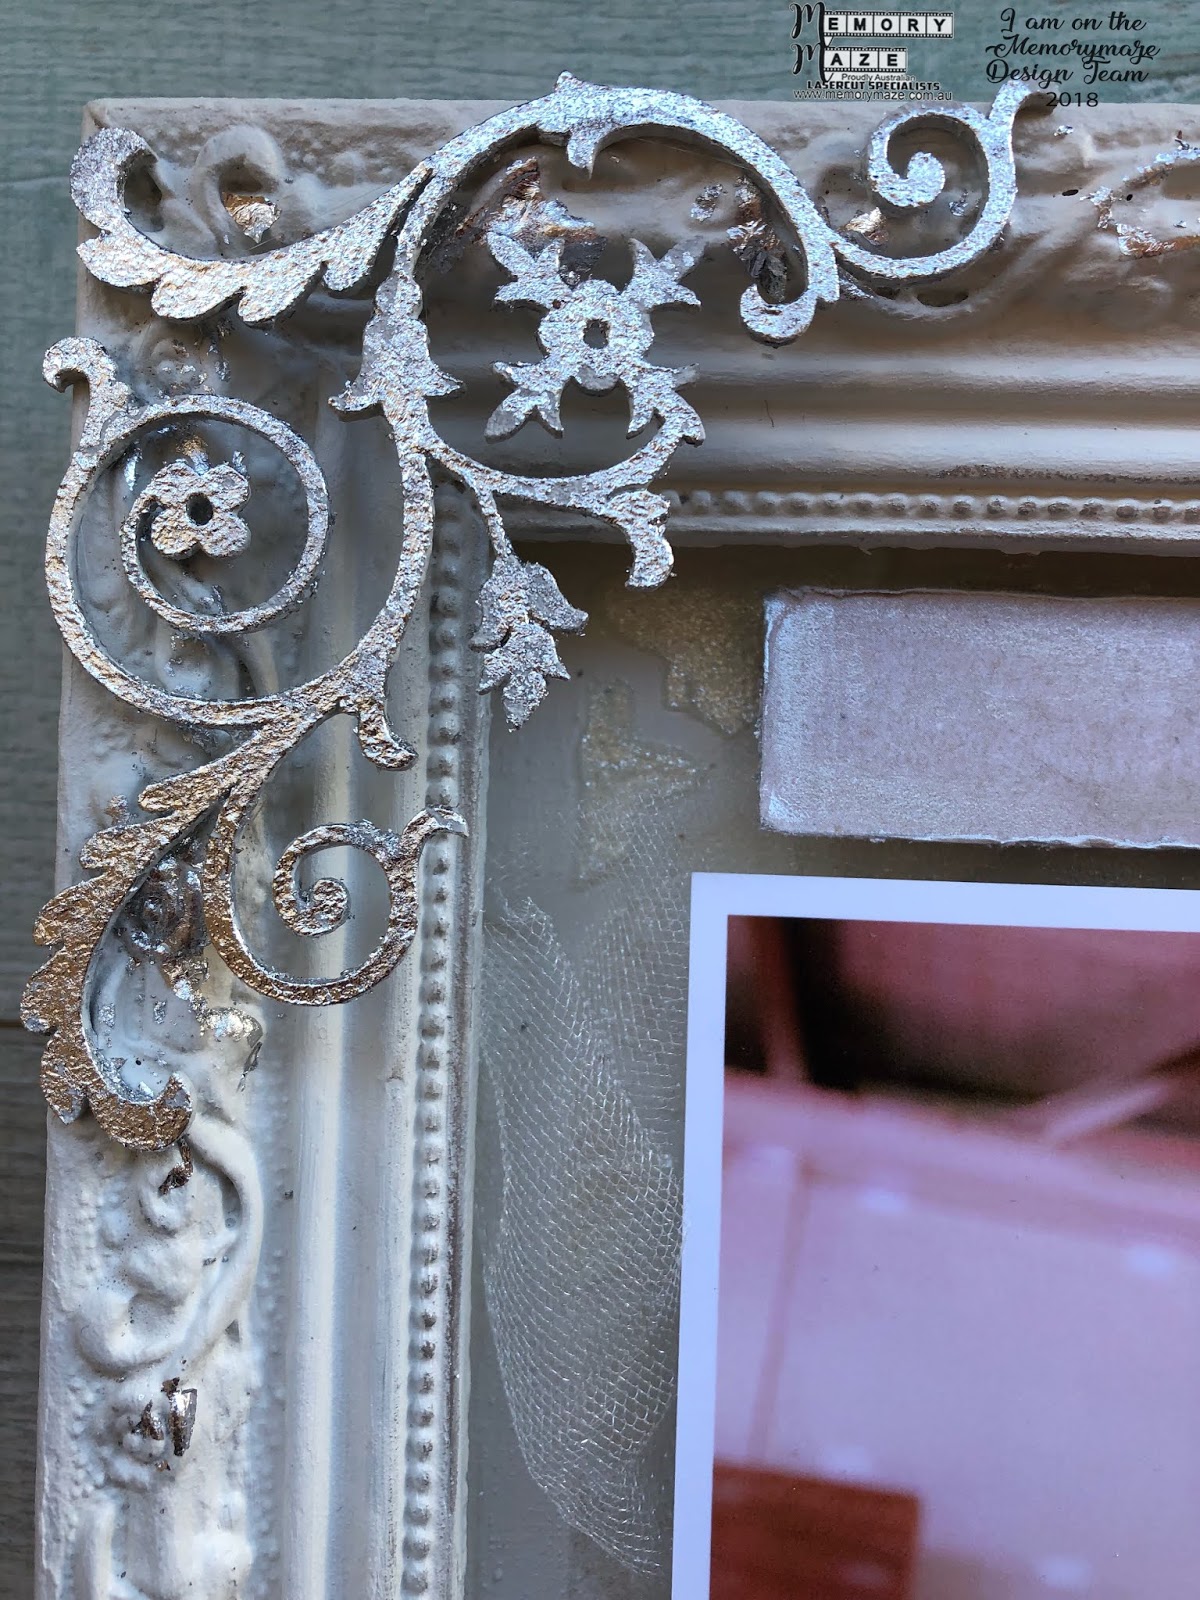
Here you can see the Mayhem chipboard which I painted with Colour Shimmer Dust Peacock
I added a metal piece across the middle of the canvas


I added the three different sized Finnabair Art Stones mixed with some Helmar Super-Tac Glue and stuck them in different places over the canvas with some more metal


Here you can see where I added some muslin to the background for another texture and more metal and flowers yes I really do love metal and flowers


Products I used


Thank you for visiting and I hope you will be back soon x

Two Layouts from Jason

Welcome to my Memory Maze blog today I will be sharing with you 2 Layouts. 

LAYOUT 1 GUS 

The word One of a kind I painted it with Dina Wakley paint Night .

These amazing stars I used Finnabair Matallique Gold Amber.

an Gus I used Dina Wakley paint Sterling.


I used the following Memory Maze Products


GLOUSTER ALPHABET

LAYOUT 2 CAPTURED MOMENTS

The Tidal Capture Moments I used Dylusion Paint Post box red than I went over it with a white sharpie for this effect.

With the frame I painted it with Dylusion paint Cherry Pie. 


I used the flowering Memory Maze products


Thank you for checking out my memory maze post
Jason Anesbury 2018 Memory Maze team member. 

Sunday, August 26, 2018

Merry Christmas....card making in a breeze

Hello crafty friends, Sarah here today to show you just some of the Memory Maze sentiments that are perfect for your cards.
Alot of stores are now getting in their Christmas stock and are starting to think about the upcoming release of Christmas collections. The card pictured above was a recent project I made for the Scrapping Fun Kits design team's August kit, using a chipboard sentiment from Memory Maze. What I loved most about this is that the chipboard already comes coloured! Simple and easy!
The chipboard 'Merry Christmas' pictured here comes in either the red or green card and is ready to go for the mountain of Christmas cards you need to make! Alternatively, Memory Maze also has a huge variety of plain chipboard sentiments that you can colour, ink, paint or leave neutral also. Here are just a few styles;
Did you know that Memory Maze also have sentiment sets and mini words available. These make card making a breeze. Here is a few of them, but please be sure to check out the website by clicking here to check the range out.
If you are interested in any of the Memory Maze products, be sure to contact your local craft store or Memory Maze for your local stockist where we can place our local sales reps in contact with them.

Saturday, August 25, 2018

One by Suzanne Franin


Hey Everyone Suzanne here

My project this week was centred around this frame I found at an Op Shop I love looking for different things this time I found some more frames 
It had no back to it just the frame and I knew I had this photo at home of my daughter and son in law from their wedding
I just love it, she was really upset after dancing with her father (she's a very shy person and was very embarrassed having everyone watch her dance) so when she finally got to dance with Dave he had to calm her down and the photographer caught him kiss her on the top of the head it's so beautiful  

I have a YouTube video of the process so please make sure you take a look and subscribe to my channel 


I attached the frame to a canvas with some Helmar Super-Tac Glue  


I then covered the canvas and frame with white gesso (the frame was painted white but not very well you could see it had been silver underneath)


On the canvas I used the Door Wire Stencil this is one of my favourite patterns and I used it with some Colour Paste Snow White I love how it has the shimmer to it 


Here you can see the shimmer of the Colour Paste Snow White


I used silver leaf on one of the Flourish's from the 12 x 12 Flourish Corner Set just for a pop as well as little bits on around the frame


This quote was on the Program that was handed out at the wedding and I thought it was perfect for this photo (well I could probably use it for a lot of the photos that were taken on the day)
I had a paper clay scroll and I used some silver leaf on that too


I had bought this Pearl and Bling pendant and was waiting to use it on something special
You know how you hang onto things just incase (well I do) well this was perfect for this project
I love metal and have a huge stash of bits and pieces and thought this double heart would go nice on the corner of the frame just right


I used some sheer material on the background which looks like bridal veil material just to add another  texture and layer 


And as always I added some little white flowers but before I put them in the frame I used some Colour Embossing Powder Snow White It's so pretty it has bits of bling in it ( the only bad bit is it gets everywhere so I have sparkles all over the place) 
I used another of my metal piece LOVE cause thats what these two have for each other nothing but love and it showed even more on the day
Around inner edge of the frame I rubbed some Inka-Gold Silver to tie the silver leaf 


Products I used


Well that's it for me I hope you enjoyed my project 

Thanks for visiting and I hope you will be back soon x

Thursday, August 23, 2018

New products; Japanese inspiration

Hello crafty friends, we have some more new products from Memory Maze Lasercusts to show you today. These are a set of stencils and chipboard sets inspired by Japan. All products shown are available on the website by clicking here.
These stencils are available in multiple sizes, which is selected at check out on the website. There is 4x4 inches, 6X6, 8X8 or 12x12 inches. The chipboard sets that are available, as pictured below are 100 X 180mm in size.
If you are interested in any of the Memory Maze products, be sure to contact your local craft store or Memory Maze for your local stockist where we can place our local sales reps in contact with them.

Wednesday, August 22, 2018

Canvas Love with Sarah

Hello crafty friends, Sarah with you today with another one of my mixed media canvas. This time it is a 12 inch round canvas - probably one of my favorite shaped canvas to paint.
Similarly to one of my previous canvas posts, I used the same approach and applied paint using an old credit card. Layering the paint with various toold give various textured and effects on the canvas. I used Dylusions paints for this project.

I then used a number of stencils to apply paint across the canvas. Keep adding layers as you wish, using a variety of stencils, overlapping the borders of the colours on the canvas.

For added texture, I sponged paint through punchinella, made marks using the edge of the credit card and using balck and white paint, applied random pieces of alphabet and Memory Maze number stencils - these are defintely a favorite.
I hope you enjoyed this project and if you are interested in any of the Memory Maze products, be sure to contact your local craft store or Memory Maze for your local stockist where we can place our local sales reps in contact with them.

Tuesday, August 21, 2018

New Memory Maze Products

Hello crafty friends, today we are excited to show you some of the newest words and wooden veneer pieces from Memory Maze Lasercuts! For use on your cards, scrapbook layouts or mixed media projects, these are the perfect addition!
There are some new words which are available in chipboard, wood or acrylic - 'Born to be Wild', 'Just Chillin Out', 'You Rock' and 'We R Family'. Let's take a look at a few of the acrylic colours available;
For more details about the size or other acrylic colours available, please visit the Memory Maze website by clicking here. The other exciting new product range is nested shapes - circles (100 x 100mm), triangles (100 x 90mm) and giant scallops, measuring at 200 x 200mm. These are amazing!
If you are interested in any of the Memory Maze products, be sure to contact your local craft store or Memory Maze for your local stockist where we can place our local sales reps in contact with them.

Monday, August 20, 2018

Mixed Media Board- By Leanne Nankervis


Hi Everyone!
Leanne here to share a project with you today, using products from Memory Maze Laser cuts. Today I'm sharing a mixed media board, I have used some of Finnabair's old papers for the background. Which I have stencilled and done some stamping to the background, I then sealed this with some matt gel medium. I assembled my chipboard pieces from Memory Maze, I've used rust pastes, impasto paints and metallic waxes from Finnabair to cover my chipboard pieces. I added a few metal embellishments to my chipboard composition.

Mixed Media Board


Memory Maze Supplies used:


Vintage Clock


Thanks for stopping by the blog today!
Till next time happy crafting!


Leanne  Nankervis Design Team Member 2018


Sunday, August 19, 2018

Happy 30th Birthday Card

Hi everyone
Candy here bringing you another 6x6 inch easel card
using Memory Maze chipboard 


I have left most of the chipboard pieces in there natural state.
To tie in with the colour scheme of this card.


The Happy birthday word piece 
I inked with the green chalk ink and the 30 I used the red ink.
Cover both pieces with some dimensional magic 
to give a little dimension and to stand out more.


Memory Maze products

Vintage Sign Post


Wire butterflies 100 x 120  min buy 3


Other products

6x6 inch cream easel card base
Assorted Prima papers
Ecru cotton lace
Green braid
Olive vine and brick wall Prima chalk inks
Dimensional magic
Rhinestones

Thank you for visiting
Candy Chelepy
2018
Design Team