Monday, July 31, 2017

'Sweet' By Elisa Ablett - a sad goodbye ...

Hi Everyone, 

Elisa here with my last post as part of the design team for Memory Maze. A sad goodbye as I have really enjoyed my time here on the team and can't thank Sally and the team enough for this fantastic opportunity....but I felt it was time to move on to new Scrappy Adventures!! Stay tuned.....

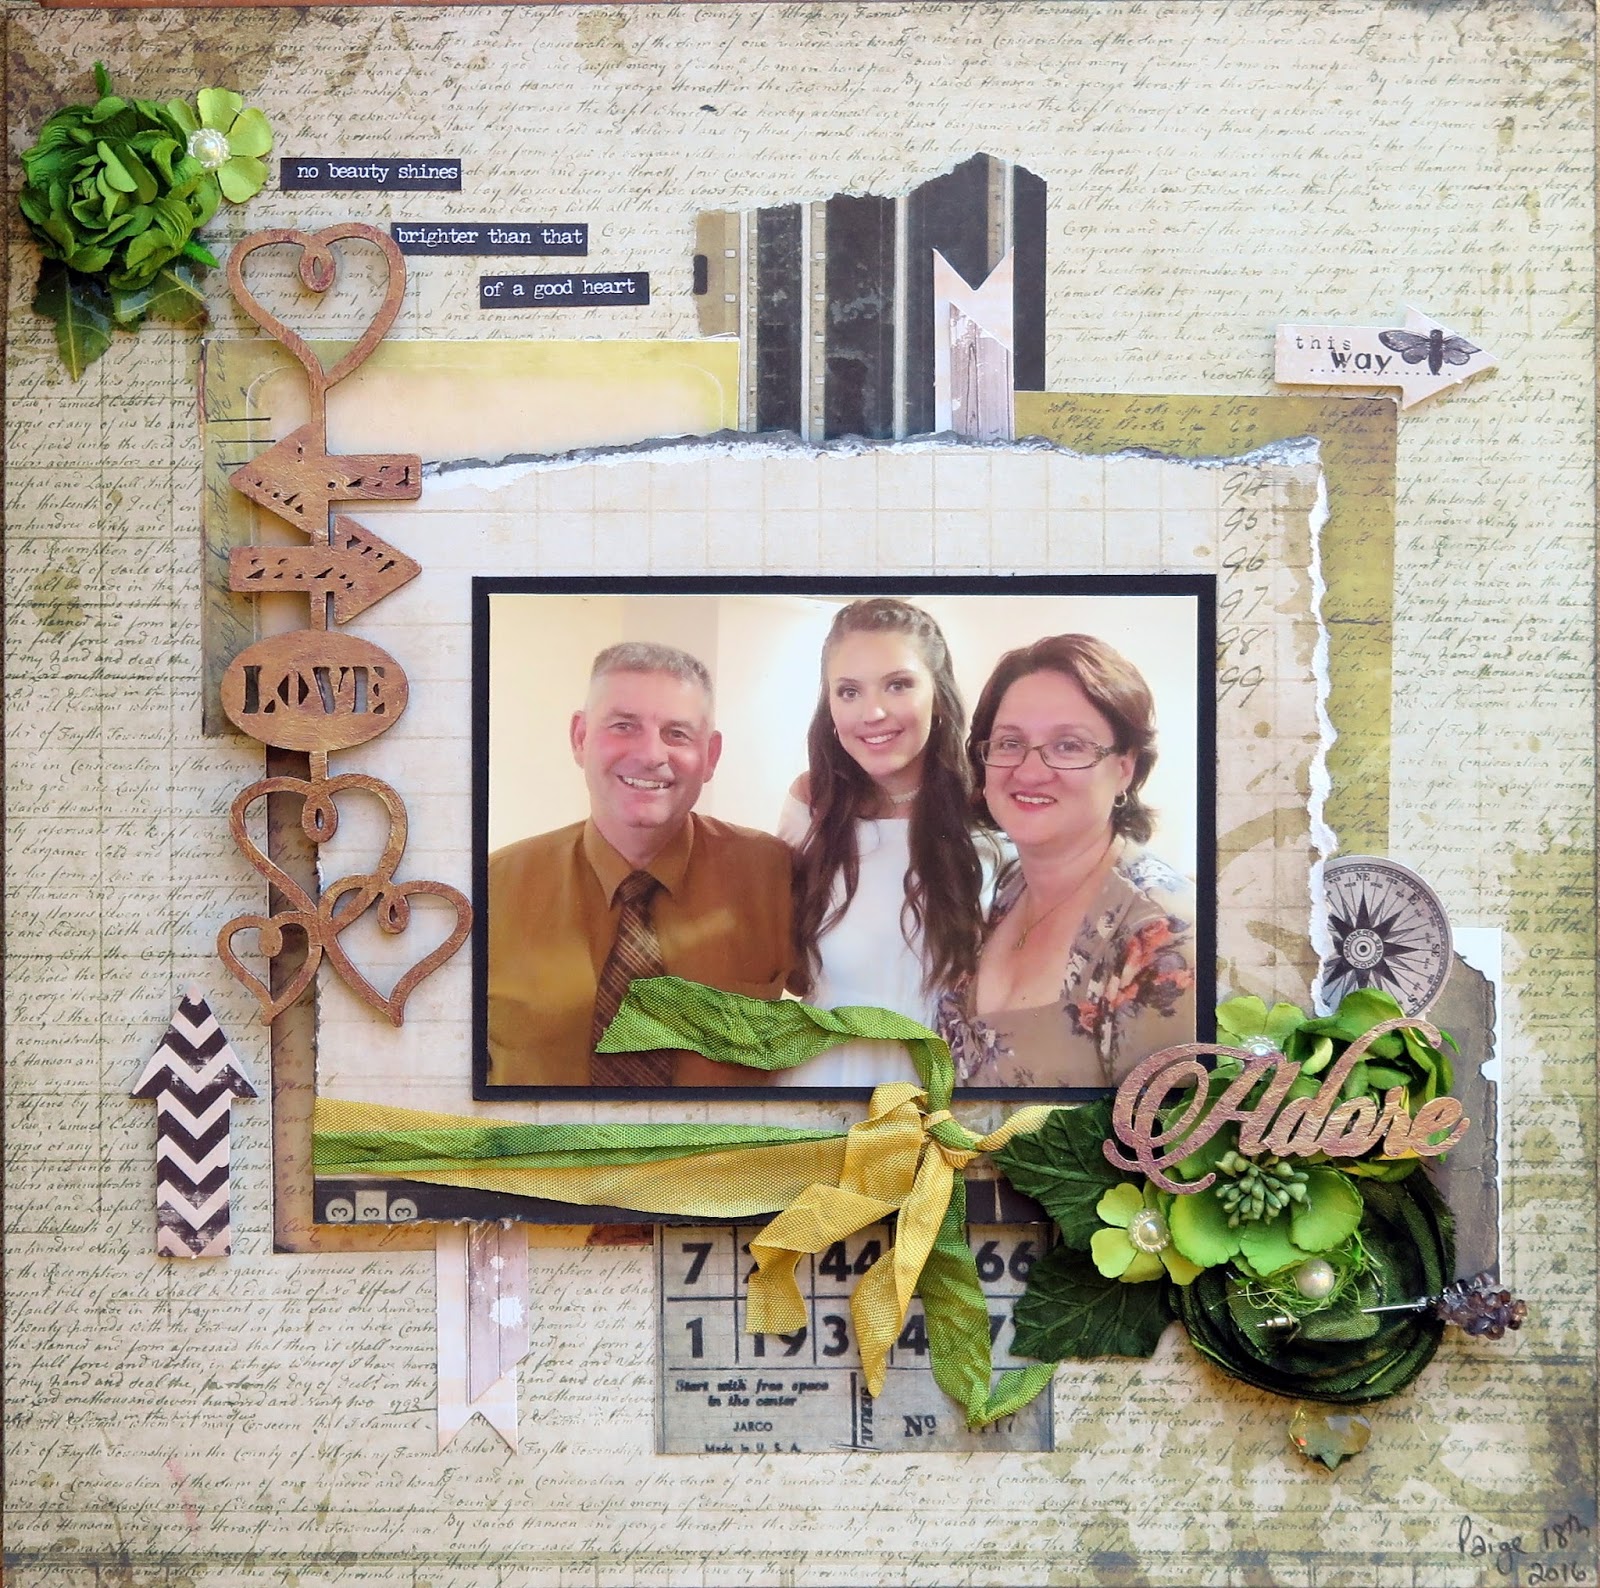
Here is my layout for today, a mixed media girly layout with loads of colour !

I coated all my yummy Memory Maze chipboard in white gesso spray (or just gesso or white paint) and set them aside to dry.

I created the background using Colour Blast Shimmer Dusts and Pastes plus a smidge of Colour Blast Sunshine Shimmer Cube as well and added some stamping and splashes of black ink.


Here are some close ups of the finer details!!


Memory Maze Products  - 

Leaves 100 X 150 sold in 3's


sweet


Small Wrought Iron 10  flourish min buy 3


Butterfly 2


Mini Stencils  micro dots   100 x 100mm  min buy 5 priced as eac


Well that's it from me today and a sad goodbye to all Memory Maze fanatics xx

See you all around online!

Elisa xx


Sunday, July 30, 2017

{little moments big memories}

Hi everyone Kylie here.....

Here to share another layout with your all - today I will be sharing a layout I created using the fabulous Memory Maze Ornate Frames - I love these frames there are 3 different sizes in the pack, I have used the largest frame to be the main embellishment for my layout.


Round fancy frames 285 x 285 set of 


I have painted the frame with Gold Acrylic paint to coordinate with my layouts colour tones which I have created using Acrylic paints and stencils with my Gelli Plate on Marshmallow cardstock.


I have placed my photograph ontop of the ornate frame which helps to lift and give my layout dimension which I love.


I hope you have been inspired by my layout!


Wednesday, July 26, 2017

Simple layered Layout


I love how easily chipboard slips into a layered project.
For this layout I have painted them with metallic acrylic paint, quick and simple.
I have used mainly 7 dots papers and various embellies. 


The chipboard I have used can be found in the web shop here.


Thanks for looking
Tracey


Monday, July 24, 2017

Magical Milestones layout by Tania

Hi everyone! I'm so happy to be here sharing my first post for Memory Maze as a DT member. I have such a gorgeous pack of goodies to work through and create with. My first project is a Mixed Media layout, with a watercolour background! I'm quite fond of this type of background.

I layered up with some stenciling and lots of stamping. The background stencil I used is this cool one from Memory Maze:

Inverse bricks by bricks small

Inverse bricks by bricks small


My chosen chipboard pieces are the Script mini words, title and the gorgeous set (6), of butterflies:


Wire butterflies 100 x 120

Wire butterflies 100 x 120  min buy 3

My watercolour background was made with a mix of watercolour paints and Dylusions Sprays mixed with water. I coloured all of my chipboard pieces with some Smooch Accent ink, which I have had in my stash for a long time! It's perfect for these pieces. Just a layer of Gesso first, then the ink goes on nice and smooth!!!


Before adding my photo, I added some paper layers and used some pocket cards and other bits of ephemera. 


I love these butterflies, can imagine a million more projects with them. Thanks for visiting!!!


Tania Ballestrin Memory Maze Design Team


Sunday, July 23, 2017

Cool kid with Candy

Welcome everyone to another month of creating.
Today I have used some mixed media on my layout. 


I firstly covered my cardstock with some clear gesso. 
Using a ruler and a black stabilo pencil I drew black lines
across the middle of my cardstock, some darker than the others.
Spray these with water and let run. Carefull not to make your cardstock
to wet. It will fall apart.
You can dry between water sprays if you like.


Use a pencil to mark where you want to place your photo,
then spray with some spray just around where your photo is to go.
Dry this well.


The chipboard I covered with versamark 
then a couple of coats of the embossing powder. 
Place all your papers, flowers and the rest of the embellies onto your layout.
And then splatter some white ink around.


Memory Maze products


Mask


Arrows Grunge


Stick frames


Junk yard diamond


Other products

White cardstock
Clear gesso
Ruler and black stabilo pencil
Light molding paste
Sprinklers lagoon spray
Spray water bottle
Fixative spray
Versamark and colour blaste Tangareen embossing powder
450 glue
Glass glitter midnight blue
White ink
Cocoa Vanilla You rock assorted papers
die cut emphemera, sticker sheet and cut apart sheet
Flair button

Thank you for visiting
Candy Chelepy
2017 Design Team

Tuesday, July 18, 2017

Superstar-by Leanne Nankervis

Hi Everyone!
Leanne here to share another project with you today, using Memory Maze Chipboard Products.

Superstar Layout

Today I am sharing a layout I created of my daughter Holly, It was superhero dress up day at school. She decided to go dressed as Wonder Woman, I created the background using dylusion paints. I stencilled over the background with versamark ink, then I used cosmic shimmer guilding flakes in gold and silver. I then used the Memory Maze star stencil with some whipped spackle for my background building the layers.

 
For my title I used the Memory Maze Superstar, I painted it in acrylic paint red and blue, I then used glossy accents over the title to give it a nice shiny look.The stars I used Cosmic shimmer guilding flakes to give the beautiful gold look.
 
 
The rest of the layout I used pink payslie sticker stars with gold cardstock behind them.


Memory Maze supplies used:

 
Super Star


Mini Stencils 50 x 100mm stars min buy 5  priced individually

Memory Maze star stencil

Thanks for stopping by the blog today
til next time
Happy crafting!

 
Leanne Nankervis
Memory Maze Design Team 2017


Sunday, July 16, 2017

Boys Cards

For my second post I have created a set of boys cards using the messed up arrows. 

I have used different colours from the metallic rub palette to colour the chipboard arrows. 


Thanks Jan

Saturday, July 15, 2017

Sally for Memorymaze Laser cuts

Believe In Yourself

Highlighting a new design piece heart and wire insert.
 Sentiment, new butterflies  and cracked glass stamp.


There are just heaps of new sentiments on the website 


Shattered Glass stamp 50 x 70 comes in rubber only for your stamping 
platform or ask for  clear blocks to suit