Hello again! I've been having some mixed media fun with a layout about my beautiful little Nan, who passed away in 2003, 2 weeks after my daughter was born. I came across some pics I had scanned a few years ago while sifting through old pics at Mum's. I decided it was time to record the memories of my Grandparents.
My inspiration definately started when I chose this awesome chipboard piece to work with!
Flourish circle frame 290 x 200 mm
Everything fell into place from there. It made me want to scrap a vintage photo. (This photo would've been taken, roughly about 1940!)
I used Kaszazz Watercolour paper for my background, it's thick and can take a lot of wet mediums! Then I went to town with my new Distress Oxide inks!! Wow, just love them. I used them as watercolours, by tapping them onto a small piece of transparency film and spraying with water, then smooshing on my page. There's about 4 colours there, and I love the effect after you add several colours on top of each other. You can see the colour on the right of the photo below.
I did some stenciling with this:
Oct 005 Leaves and floral stencil
And this:
micro dots stencil 4x4 or 100 x 100
(It's very subtle as I used some Metallic Distress Stains.)
I have tried to show you different angles of the Flourish Frame, to see the colour I added to it. I used Lindy's Starbursts in a dabber and some of the Colour Shots powders and sprayed with water.
It came up a treat!
I knew I needed to do lots of journaling on this page, so I have stuck an envelope behind the photo. I glued the flap down and slit the top, so as to keep the envelope fasteners on show, then I can slip my journaling into the envelope without having to worry about accessing them.
There are lots more layers over the Oxides and stenciling. I did some background stamping, added torn pattern paper strips, washi tape, a tag, and one of my favourite pieces is the packaging from a 'Typo' purchase.
I finished off with some Liquid Pearls from Ranger, in Gold, just around my cluster of flowers and embellishments.
here is the final result!
Thanks for joining me, hope you will give Distress Inks and Oxide inks a go as watercolours, you wont be disappointed!
Memory Maze Design Team 2017


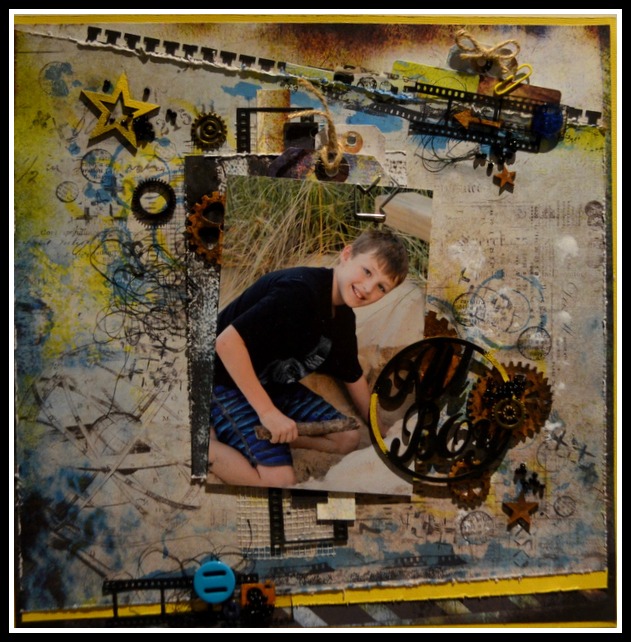

.jpg "All Boy in circle 75 x 75mm packs of 10 Memory Maze")


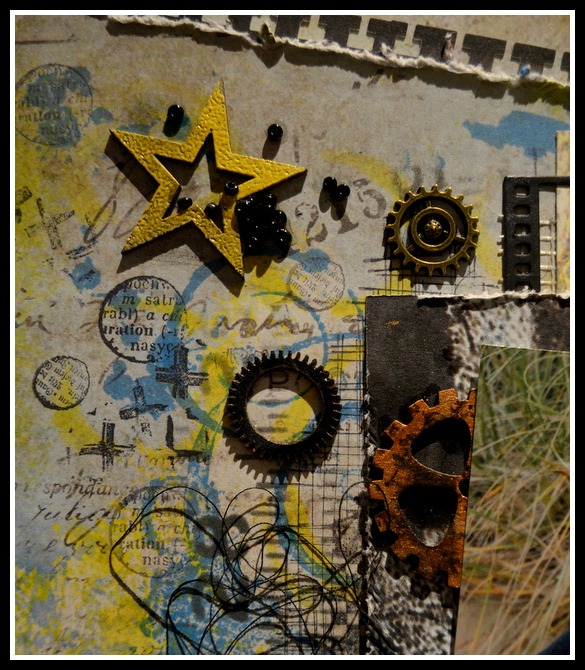
.JPG "Stencil,mask or template G5 200X200 Min buy 3")
