Wednesday, September 28, 2016

Baby Girl | Tarrah McLean

Hi everyone!

It's Tarrah back with you and today I have a new layout to share featuring some awesome chipboard from Memorymaze!


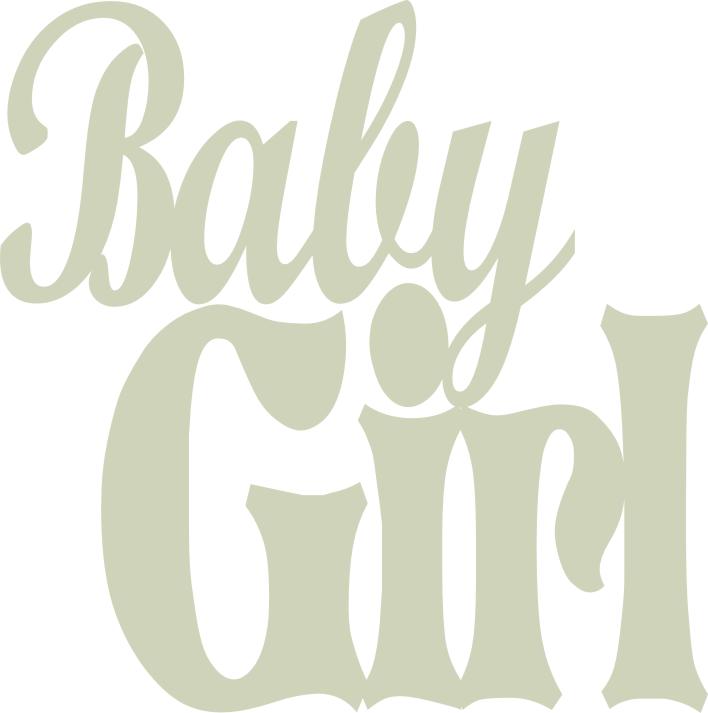
I used the Baby Girl title (inked with pink ink) as one of the main focuses of the layout along with the pretty photo of my niece...


A close up photo of some of the detail included in the layout...

I used a couple of these chippie hearts inked in gold and scattered them around the layout...

I also added the Sweet word from this pack...I inked in yellow ink!

I am not biased at all...but isn't my niece just the cutest?! Love her!

Thanks so much for stopping by the Memorymaze blog today!

Happy creating!

Monday, September 26, 2016

Perfection

Hi everyone

Marelle here to share a layout of my 3 month old Grandson Aysen - I just love Memory Maze Designs chipboard it is so versatile - you can ink it, paint it, emboss it, or use it raw! I have kept it simple using this beautiful scripted word "Perfection" on my layout.
I would love to see some of your layouts using Memory Maze Designs chipboard!
Have you seen the amazing range in our shop?


Until next time

Happy Scrapping!
Marelle xx


Sunday, September 18, 2016

Father's Day clock canvas - by Toni Herron

Good evening crafters. Toni here to bring you this cute little canvas I created for my Dad for Father's Day. As the years go by, I find it more and more difficult to buy him something meaningful or something that he doesn't have. So this time I turned to a special custom piece that I handmade especially for him instead. 

Clock Canvas


I wanted to make something that popped with colour but still metallic enough to pass as a masculine gift. 

First was the base prep. Coating the base with white gesso and then misting and making some splats with a few different sprays. Blues, Greens and a Red. 

Over the initial base I added this great gold metallic wall effect using a Memory Maze stencil with modeling paste and Gold embossing powder.  

The featured piece of chipboard is actually one Across The Page piece that I have cut in half and angled just so. It has been coloured but mixing the colour sprays with white paint. 
Some gold embossing powder sprinkled on top and also some direct spray to finish off the pieces to give added tones and depth. 

The texture of this entire piece is simply stunning. The eye travels over the canvas and the fingers really just want to touch it all of the embellishments and mixed media additions. 


Memory Maze products used; 


Thank you so much for joining me today
Toni Herron
2016 Memory Maze DT Member


Tuesday, September 13, 2016

The Start of a New Journey | Tarrah McLean

Hi everyone!

Tarrah McLean back with and today I am sharing a new design team scrapbook layout for Memorymaze Designs!

I used some of these chipboard stars by Memorymaze chipboard, I used some inks on them to add some colour...

and also the word Journey from this pack to form part of my title..

I also planned on using one of the flat banner words with word facing up but I ended up turning over to the plain side! 

Here is my little guy at his pre-school graduation with a graduates hat on and all!

I teamed the awesome Memorymaze chipboard with the Starshine collection from American Crafts/Shimelle! I just love this collection and the possibilities are endless with it!

Thanks so much for stopping by the Memory Maze Designs blog today!

Happy creating!

Sunday, September 11, 2016

Sally for Memorymaze Lasercuts ,

I have had  fun with one of the new 12 x 12 frames,these make great workshop frames and allow for heaps of creativity.
This one is all about arrows and stars. I have purposely used hot pink for my grandson, so many people avoid pinks for the boys.


Initially I covered the frame with a spotted card stock, easy to cut out. I then heavily inked the edges for a little grunge to give a good definition for the elements of the frame . You could add many more photos to this frame if you wished.


 http://www.memorymaze.com/product_info.php?products_id=21052

I have then painted up the NO WORRIES and ATTITUDE word elements ready to apply to  the layout.  I also stenciled some spots onto the title.I decided to remove the top half of the attitude circle to add effect 


J039 Stencilhttp://www.memorymaze.com/product_info.php?products_id=20830


       NO WORRIES  says it all.
I have added some coordinating papers into some of the areas  a cog and buttons to finish off 


Cogs Lots of  Cogs 

http://www.memorymaze.com/product_info.php?products_id=20757


Lots of pen stitching, and colored buttons have completed the layout 


Friday, September 9, 2016

'Believe' by Elisa Ablett

Happy Friday everyone,

Elisa here from the design team, with another project to share with you, it features loads of Memory Maze goodies.

This layout started as a watercolour background that I demonstrated at a recent retreat and also a quote that I stamped and embossed with Colour Blast Snow White Embossing Powder and watercoloured over the top with Colour Blast Shimmer Dust.

I wanted to re-use the background, so I added Colour Blast Texture Paste in Deep Water over the watercolour with a mini heart stencil from Memory Maze, once dry i used another larger heart stencil and a black pen to trace grungy hearts. I also added drops of black ink to the background.


Once the background had dried completely i added a large white circle and traced around it in black ink, i then started on my hand made dream catcher. I repurposed a chipboard heart frame from Memory Maze and gesso'd over the top of the frame and also over my chosen feathers, i then used the rest of the water colours with a paint brush to colour the frame and feathers, i also added some enamel dots to the frame using Nuvo Crystals.  

I found some embroidery thread and using a couple of metal embellishments (old Basic Grey) i threaded the metal embellishments to my watercolour frame and to the feathers as well. 

I stuck the frame down first then added my photo and quote to finish off.

Here are some close ups!!


That's it from me today, thank you for stopping by, make sure you leave some love :-) 


Here is the wonderful Memory Maze products that were used to make this layout, you can find them all here at the Memory Maze Shop.


Thank you heart, great way to say thank you for something specia
Stencil,mask or template J0142 110X180   Min buy 3

Heart to heart  poly template 8x8 sold in 3's


Micro feathers sold 3\'s


Wednesday, September 7, 2016

Two Special Projects by Jason

Welcome to my Memory Maze blog today I be sharing with you 1 layout an 1 frame .

LAYOUT


With this amazing frame YOU MAKE ME SMILE I Gesso'd the frame when the frame was dry I used Tim Holtz Distress Gritt Paste.

The leaves an flowers I used Tim Holtz Paint Fresh Lime & Cut Grass.

And the frame I used Tim Holtz paint Squeezed Orange.

The title YOU MAKE ME SMILE I used Colour Blast shimmer Spray Deep Water, when dry I clear Embossed the word for this amazing finish.

When the frame is dry I went around it with Glossy Accents . 


I  used the following memory maze products.


FRAME

With the frame I used chipboard sheets 12' by 12' I cut the back piece to the size I wanted than cut 1' strips to make the frame size I wanted .

I painted the frame with Dina Wakley sky.

the Baby name Hamish and the bib I painted with Tim Holtz Paint Fresh Lime.

An the Baby Rattle I used Tim Holtz Paint  Pure Sunshine .

The baby for his face ,arms, legs I used Cermacoat AC flesh paint , for his nappy I used Tim Holtz Pure Sunshine  an Tim Holtz Funky Fuchsia.


I used the following memory maze Products


Thank you for checking out my memory maze post
Jason Anesbury 2016 Memory Maze team member.