Thursday, April 30, 2015

A pretty page for special photos!!! and My magic memory box with Jan McKenzie

Always


 This is a layout with two of the lovely family photos that I have recently pulled out of a draw.
The chipboard are different pieces that I have chosen to enhance the photos.


 I have used pearlescent acrylic liquid to paint the "Always" and then covered with UTEE..ultra thick embossing enamel.


 The corner scrolls have been painted with silver pearlescent paint and then coated with UTEE to give it the high gloss.


 The butterfly I have used Viva Inka silver rub and then added UTEE


 I have used black UTEE to add gloss to the word family I have also added layers of paper doilies to give texture.


I have used a lace choker necklace and cut it up to use as a decoration to the top of the page, and them added pearls and pearl and silver buttons just to finish the page.

Thank you for joining me for my first project.


Shadow box frame. 

For my next project I have used the memory maze shadow box.


 This was the first time I had worked with a shadow box. This kit comes in pieces, so before I started to put it together I gave it two coats of gesso to give me a great surface to work on.


 Here I have covered the box with Tim Holtz wax paper and added some bronze stamp ink to add the vintage tones.


 After I had added two coats of ultra thick embossing enamel I then added some copper die cuts that have been embossed.


This is after I have  added some embellishments to front before I have fastened it to the box..easier to work on it whilst it is flat.


 This is the box in two parts after it had been gessoed so that I could then start to add the decorative layers.


 I have coated the top with Ranger embossing stamp pad to add a base to add the enamel to.

This shows the enamel as I am adding heat to it , its quite easy to see the areas that have not yet been heated.


 I decided as it was an old photo I didn't like the white edge showing...


 ...so I have added copper velvet ric rac in the corners and down the side of the box in order to finish the photo and add colour.


This is the final result of my second project, I hope you enjoy looking.

HAPPY SCRAPPING ...Jan
Memory Maze Design Team Member 205


Sunday, April 26, 2015

Family canvas (video) & Stencil storage box - by Toni Herron

Today, I bring to you two fun projects, another video tutorial for a canvas and a special storage box for your Memory Maze 8x8 Stencils.. 

This canvas project features a special technique of how to LAYER your chipboards.
If you're anything like me, you have so many pieces of chipboard cause you completely fell in love with it at the store and just HAD to buy it, even though you didn't have a project in mind for it just yet.. :) 
So today, I am going to show you how I have finally used up some of these awesome pieces to highlight and complement each other. 
 
FAMILY


Memory Maze products used:


Stencil Storage Box


I made this project JUST FOR ME!! :) 
It's not very often that I make myself something special for my craft room, but I love the Memory Maze 8x8 stencils so much, I wanted something special to display my collection.. 

I actually made this from scratch using the Memory Maze plain chipboard..
I've added the measurements in this photo for you in case you are inspired to do your own.. 


Next was covering the inside with paper and gluing the sides together.. 
I then covered the outside with paper, laid down strips of washi tape and randomly spread some Gesso.. Next my favourite and very over used MM stencil and impasto paste were applied under an embossed beautiful mirror shaped MM chipboard..
Finally, plenty of embellishments including stunning custom bling pieces from Jan.. 


Memory Maze products used:


PAVERS STENCIL 8X8

Toni Herron
Memory Maze Design Team Member 2015


Living everyday ANZAC by Tracey Campbell

With ANZAC Day yesterday, I thought that I would share a layout that I did which kind of reflects that. My career is with the Navy so every day I work and think of the ANZAC tradition. To me it is just not one day a year to remember .... it is every day! Proud to serve Australia! 

Women In Uniform

This layout is a tribute to some of the great friends I have made whilst in the Navy and to all the women and men that have served today and in the past. The military life is all about the work and the friends we make and lose along the way.


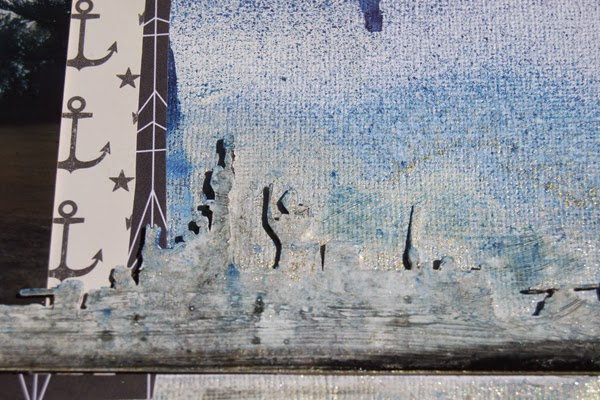
I wanted to create a wet look on my layout as there are many days at sea that are nothing but blue skies and cold water.


 I glued all the chipboard pieces to the cardstock and then painted very roughly with white gesso. Once dried I held the cardstock up vertically and sprayed a very generous amount of blue mist so that it dribbled down the page.


I have used the following Memory Maze products:


The Cold, Wet & Sea Sick, Enlisted On and Life at Sea are from Memory Maze but are not yet in the store, so if you are interested in them please e-mail Sally and she can add them to your order.

Xtreme Little Dare Devil

 I took this photos a few years ago on an extremely high outdoor climbing adventure play ground. I had a hard time climbing up some of the heights but Bronte just scaled it and never stopped or looked back. Needless to say she is one brave little Dare Devil


For the title words I simply inked them a teal colour and then applied a red ink through one of the very versatile Memory Maze Stencils.


The arrows I just left raw as I wanted them to reflect the rope net in the photos.

I have used the following Memory Maze products:

Xtreme Title


 Thanks for stopping by and hope you all take time to remember all our ANZACs.

Hugs
Tracey


Friday, April 24, 2015

For the boys with Sally McIntyre


Sally here. I have been out of the loop this month with a new bionic knee,
 so I hope you enjoy my post.
I am really into the greens, one for the girls and one for the boys.

One for the Boys


I have added this page to a canvas for effect. A real boys page. The new barb wire fence 
and the super giant boys chipboard. I have used the 20 mm alphabet to  make the family name.
Inking this card stock was lots of fun using home made sprays, food dye and perfect pearls.
I have wrapped the  canvas with twine and added a bronze flower for effect.


I have used the reverse  brick stencil to stencil texture paste onto the boys chipboard
leaving both raw for effect.


Now one for the girls 


I had an amazing time with these flowers (lilies) they come in 3 sizes and are beautiful.
I put pure paint in the bottom of a  tray added a few drops of water and let the flower drop. This gave an amazing density of colour I then heavily glossed them and let them dry,before adding amazing bling to the centres.


I had used the top leaf flourish painted with Gesso as a base for my florals 


I added some acrylic flowers and the word "Adorable" to complete.


Sally
Memory Maze Design Team Member 2015