Hi all. Jodie back with you again today. I hope you all had an enjoyable and safe Easter break. For me this time of year usually means organised chaos, with the kids home for the school holidays. Now I must admit that I did have some help with todays items. All of my kids love being able to come and craft with me in my craft area, but Miss 3 hasn't quite got grasp of the concept that sometimes mummy needs to do 'Mummy Only' craft. Anyway you will see what I mean a little into the post.
Ocean's View Canvas
This Ocean's View canvas does contain quite a few Memory Maze pieces so this will be quite photo heavy. I warn you in advance. The idea for this canvas actually started a while back when our DT members had a little challenge. I made these adorable little seahorses.
I covered the chipboard pieces in green acrylic paint, then the magic begins. After cleaning some egg shells and allowing them to dry, I have added a layer of tacky glue to the top of the chipboard pieces. The egg shells were then placed onto the top of the chipboard and then pressed down into the glue. This process will crack the shells into small pieces. Let the glue dry completely and then place drops of alcohol inks over the top. As the egg shells are porous they soak up the colour and you are left with this great mosaic like effect. I have added a layer of glossy accents over the top to finish them off.
So with my seahorses in hand, and a stash of other sea related chippies on board also, I set about creating a mixed media style canvas of the ocean. Here is the finished product.
And a few close-ups.
I initially set about working on the layout for the canvas. I roughly worked out the skyline, sea bed and where each of the chippies would be placed. I wanted to add a bit more dimension to the canvas so found a heap of nautical themed stencils and added some texture paste. As you can see from this next picture I turned my back for a minute and Miss 3 decided that the canvas needed a little something extra. LOL!
Never mind. Nothing a little Gesso and some water colour paint couldn't hide.
All of the chipboard pieces were covered in a layer or two of white Gesso to begin with.
The sharks were just covered with dark grey ink. The anchors, beer bottle and wheel were covered in alcohol inks and then sat in salt to give a distressed look.
The seagull and pelican were coloured with felt pens and then the white sections were covered in a layer of white glue and then some fuzzy flocking was added to the top.
It really gives a great appearance of feathers.
After it was all glued down I covered the canvas in a layer of matt medium to finish it off.
Love Tag
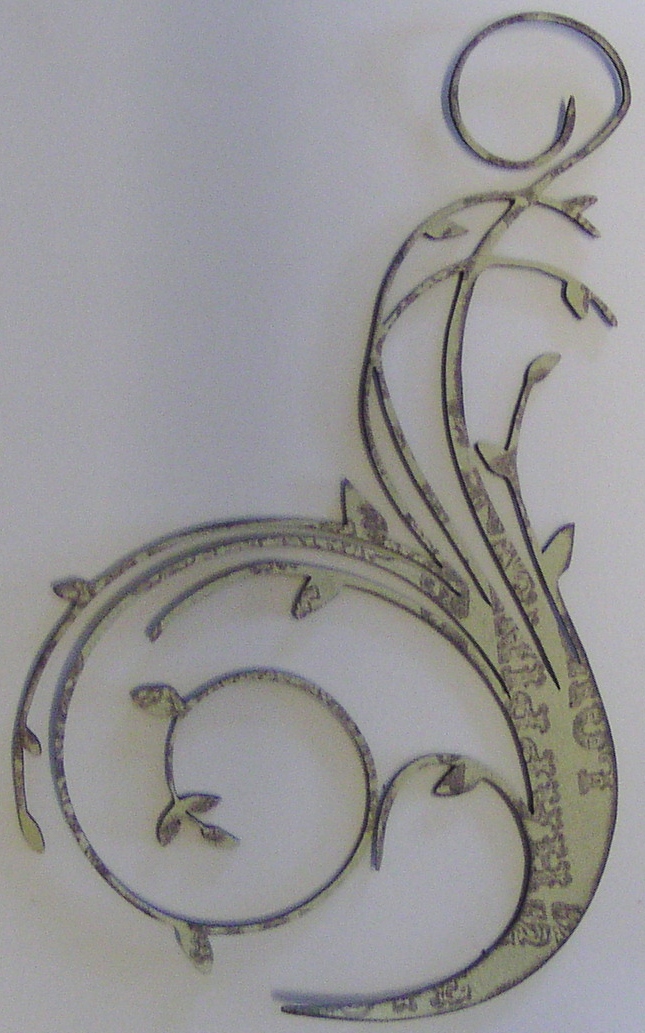
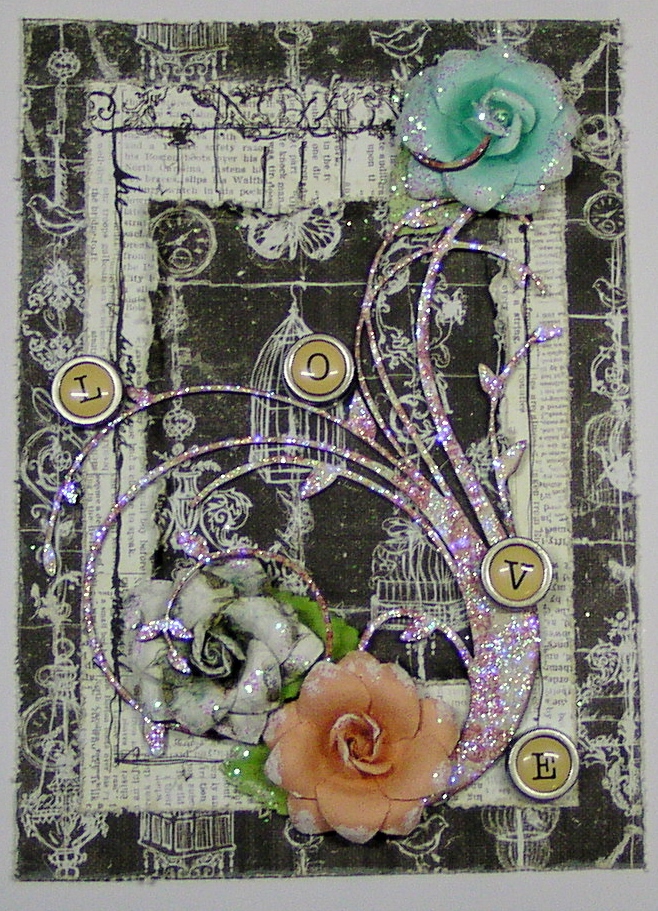
This one is a nice, quick and easy one. To begin with I covered this leafy swirl in liquid chalk ink.
Then stamped on some of my favourite stamps.
And finished off with a layer of star dust stickles. Add some papers and a few other embellishments and ta-da!
You'll have to tune in to my personal blog later in the month to see how I am planning on using this for a mother's day present.
Until next time,
Keep Crafting.
Jodie.
Memory Maze Design Team Member 2015
Memory Maze Design Team Member 2015


Absolutely love your descriptions of how you have made those birds look so real.
ReplyDeleteJust love the details and your tag is really creative!
I love the sea horses and that card is beautiful
ReplyDelete