Wednesday, May 6, 2015

Moments Like These with Mel Barnicoat.

Hi Everyone and welcome to my post this week.


Moments like these


I have had these papers sitting around for a while. I love any shade of teal at the moment and was waiting for the perfect project to use these papers on.

I have used plenty of chipboard on these projects and for something different I have used chalk ink and then Stampendous Tarnished Mica Fragments. This product is like tiny little peices of plastic that are a gorgeous colour and suit this project. I covered parts of my title with chalk ink, then glossy accents and then applied a large amount of the fragments. Once dry, just shake off the excess. They catch the light and look great when they are shimmering.
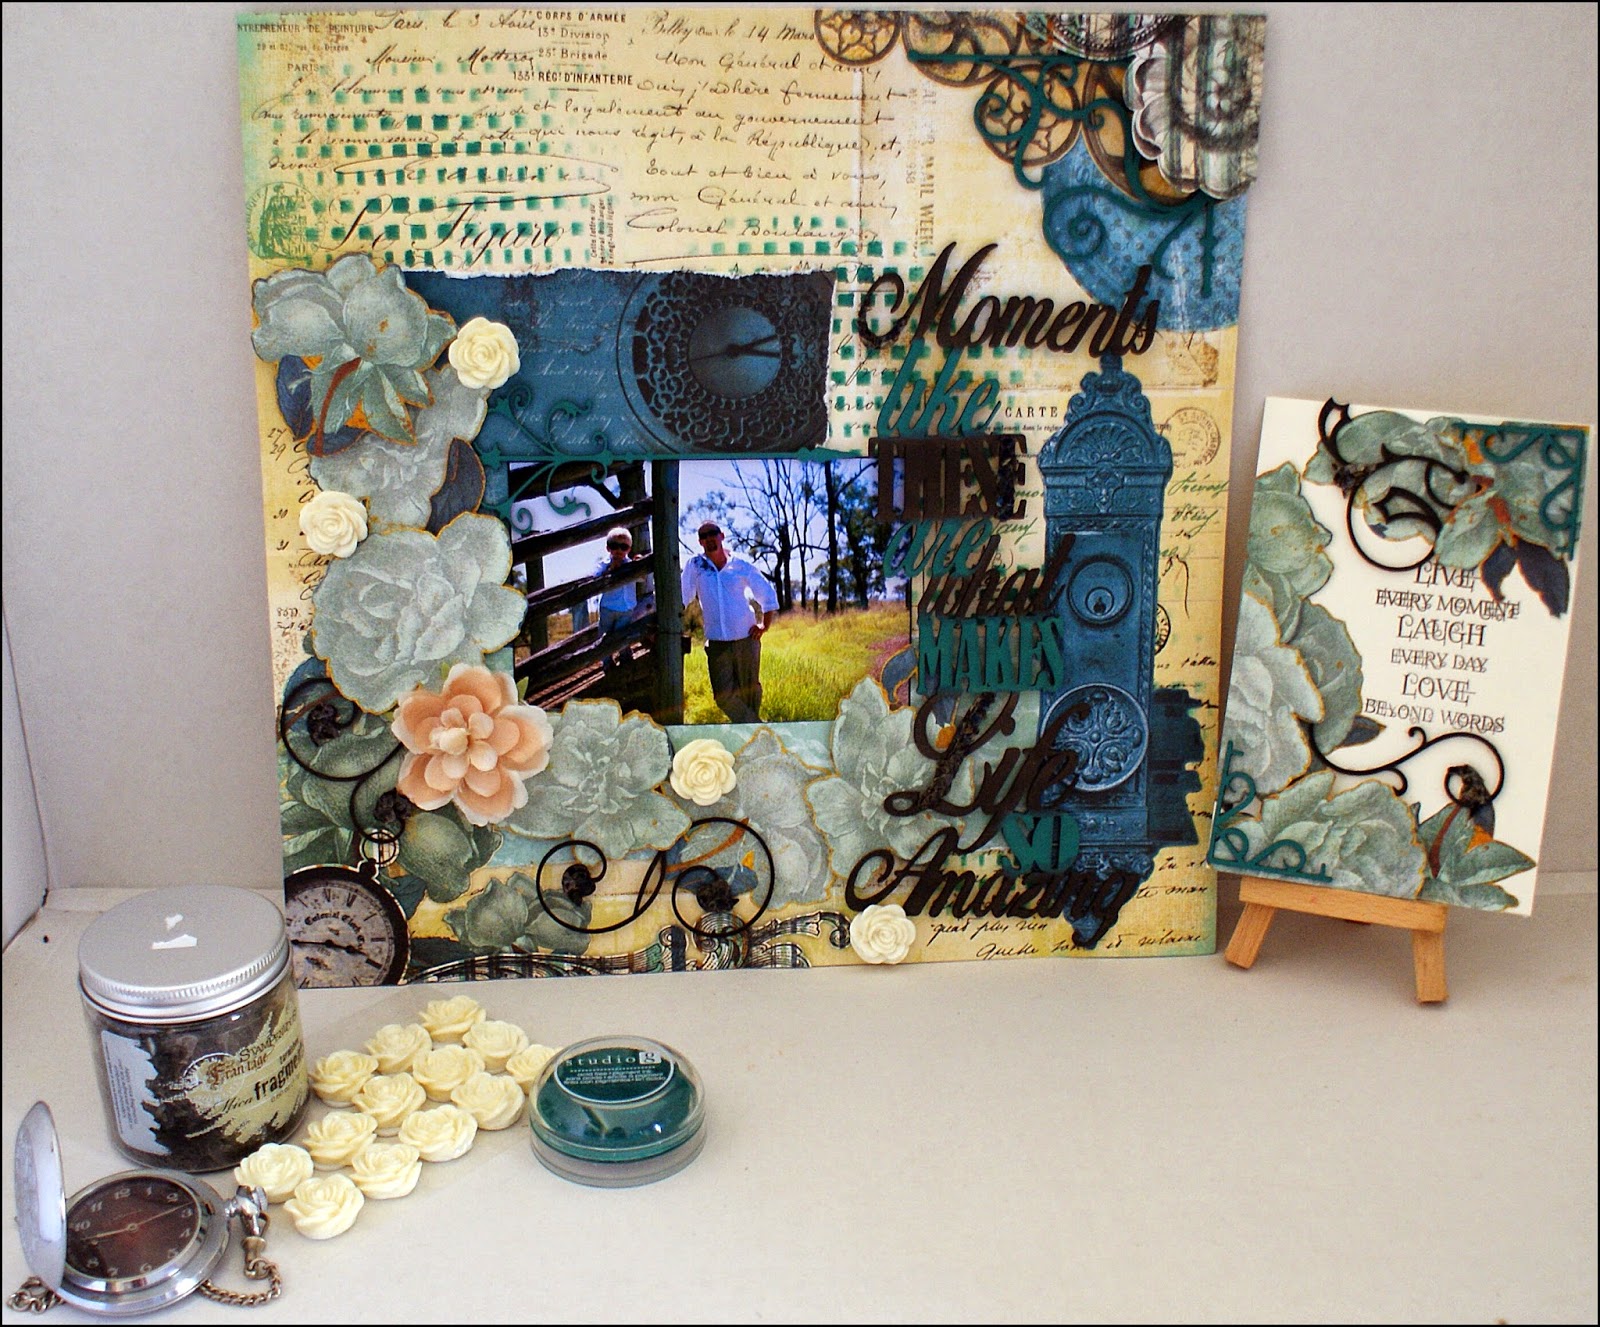


I have added some cute little cream resin flowers as well as lots of fussy cutting.


Wrought Iron 23. Which I cut into two separate pieces.


Border Chipboard. This border piece I cut in half and only used one half of it.


Live every moment

For my card this week I used some of the left over flowers that I fussy cut from pattern paper. I also used the same technique on the chipboard pieces with the Mica fragments.


Wrought Iron 45. Cut in half.


Thanks for coming along and having a look at my work. Make sure you keep coming back every day to see come more work from the fantastic Design Team.

Mel
Memory Maze Design Team Member 2015

Monday, May 4, 2015

CAUGHT IN THE ACT by LIZ HOCKING

I am back to share with you my latest work using some incredible Memory Maze products.  At the moment I am loving creating my own backgrounds and playing around with my new Gelatos. 

Caught in the Act

To begin with I trimmed down white cardstock, which I then scribbled some Gelato colours randomly onto, and then applied a little water to blend. When dry I used a Memory Maze stencil with some Gesso.

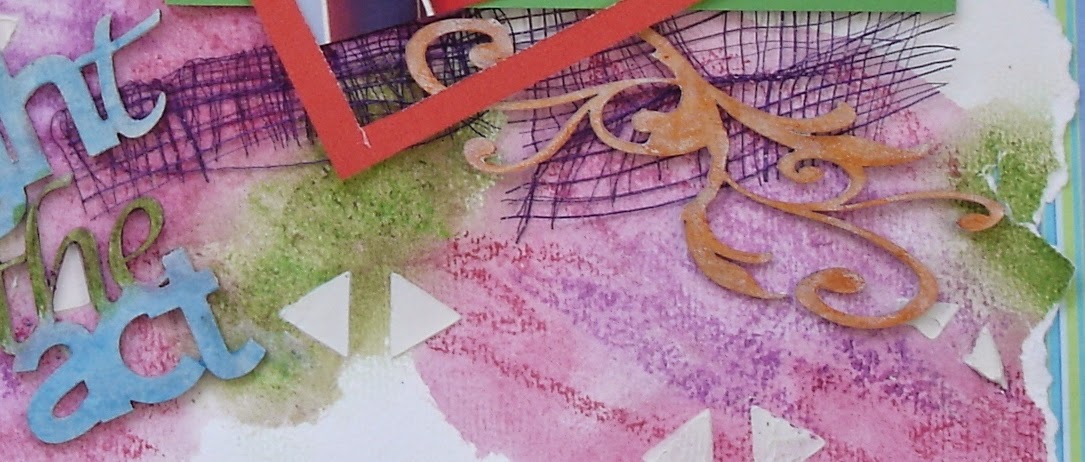
Here, you can see the Memory Maze 'Caught in the Act'  along with the flourish I treated with Gelatos.

Memory Maze Products:-


Family

For my next layout I chose some vintage pattern paper from Webster that I did have in my stash for sometime.  I teamed it with some fussy cutting as well.


  I used the Memory Maze 'Family' chipboard which I embossed.  I have not embossed for some time and enjoyed playing with a couple of colours to get the ideal effect.


Thanks for taking the time to look.
Memory Maze Product.
Liz Hocking MM Design Team Member 2015


Saturday, May 2, 2015

Love Frame and Rooster Card by Jodie Mason

Welcome back to another post from Memory Maze. With the weather outside on the east coast of Australia being so horrible at the moment it is the perfect time to do some crafting. Want to see what I've been working on?

Love Frame

I started this frame by tracing around the border pieces down the two sides of the frame piece. I then filled in these sections with Liquid Pearls to give some more dimension to my base piece. The border pieces were then glued down in position with craft glue and once everything had dried it was all given a coat of white gesso. The arrow ends were removed from the border pieces so that these sat flush with the edges of the base piece. I found some metal accents from my stash and stuck these on with gel medium, and once again covered the entire piece (minus the love accent as can be seen in this picture) in a coat of gesso. I then just went over the metal accents with another coat of gesso.


I then added some white flowers from my stash to the piece, and again used gel medium to stick them down. After this it was time to get down and dirty. I added some Tattered Angels sprays, Ranger Adirondack inks and Pearl Ex to the entire piece in various colours of greens, yellows, browns and reds. I continued on until I was happy with the colour. The love embellishment has had black ink wiped over it to help it stand out. I have added some metal keys with some split rings to finish it off.


Now I just want to get a picture of my mother and my 3 kids on Mother's Day to put inside the frame and include a little quote saying 'You've got the keys to our Hearts'. Do you think that will work?

Memory Maze pieces Used: 


Rooster Card

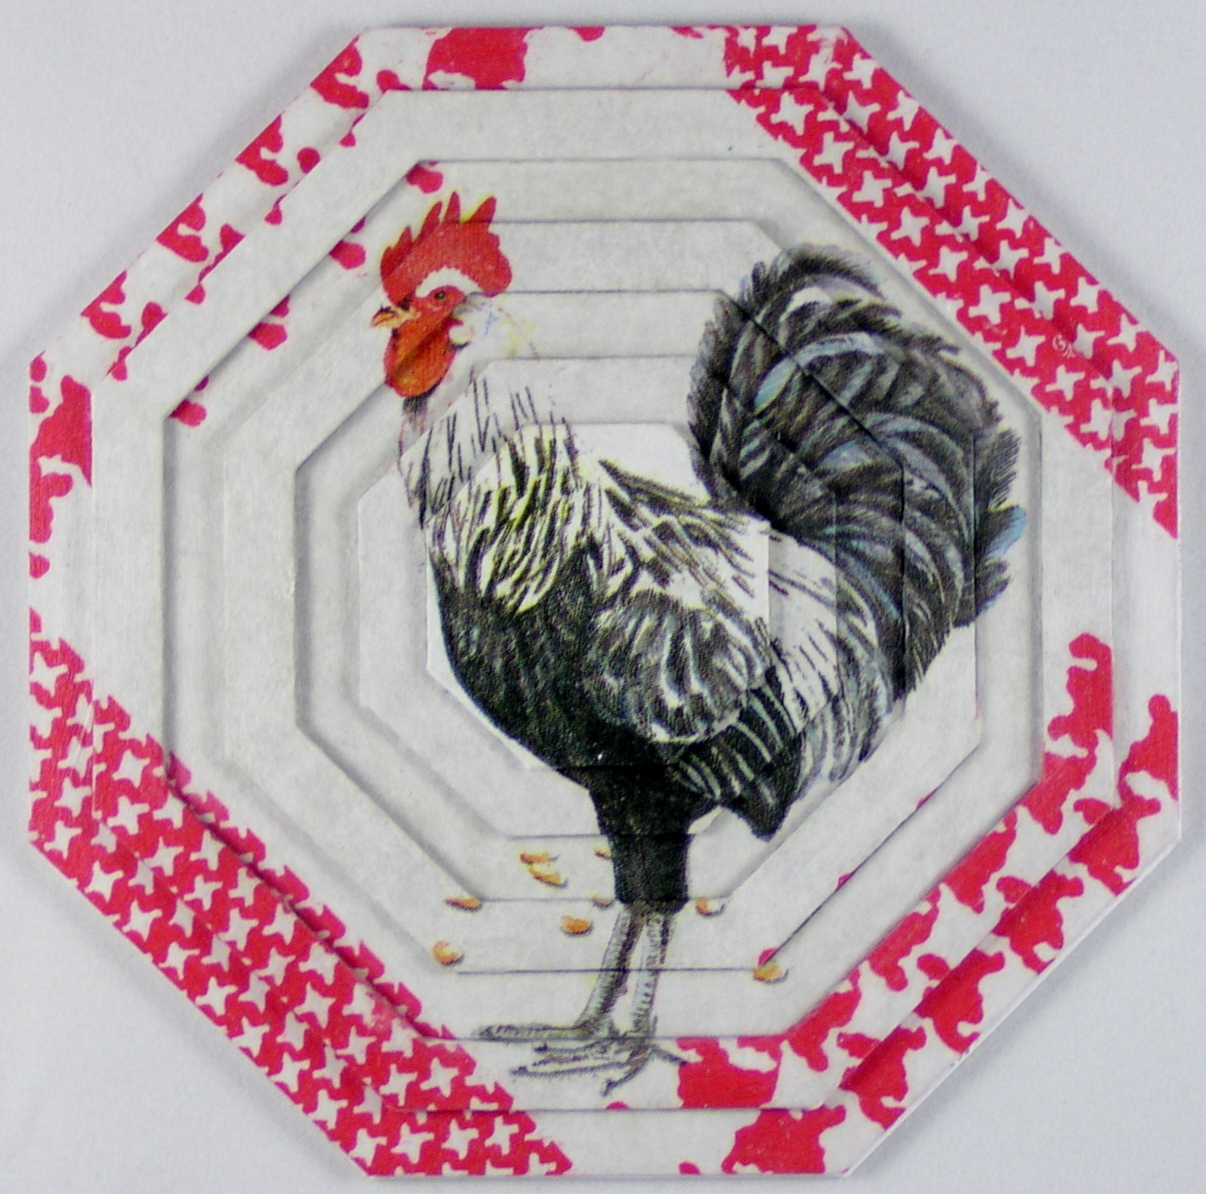
Using the new set of Nested Octagons I have created this card by covering all of the pieces in a coat of white gesso. I have taken 2 identical images from a napkin and used these to cover the chipboard pieces. Once a coat of gel medium over the top had dried it was time to put these together. Applying a layer of gel medium to the underside of the centre piece (around the outside edges), this is then stuck down onto the 2nd piece of chipboard (the second smallest one). You must make sure that you line up the image as best you can before it dries in place, and wipe away any excess medium that comes through the top of the shapes. Continue in this manner until all of your chipboard pieces are stuck together and your image is formed. Let this dry. For the card base I have traced around the outside of the largest chipboard piece onto a piece of 12 1/4" card stock 3 times. 2 of these share one side in common (the fold line). Cut the 2 shapes out of the cardstock and fold the larger one in half, so you should now have 2 full sized octagons (1 is a single layer and the other is a double layer). Glue the single layered one to the back of your chipboard image. With one side of the double layered piece fold this in half so that the edge meets the other fold line. Now put glue over the bottom half of your chipboard image and stick this to the section you just made (so the outer edge is at the bottom and the new fold line is at the halfway mark of your chipboard image). Let this dry and you have now created your easel card.


Memory Maze pieces used:


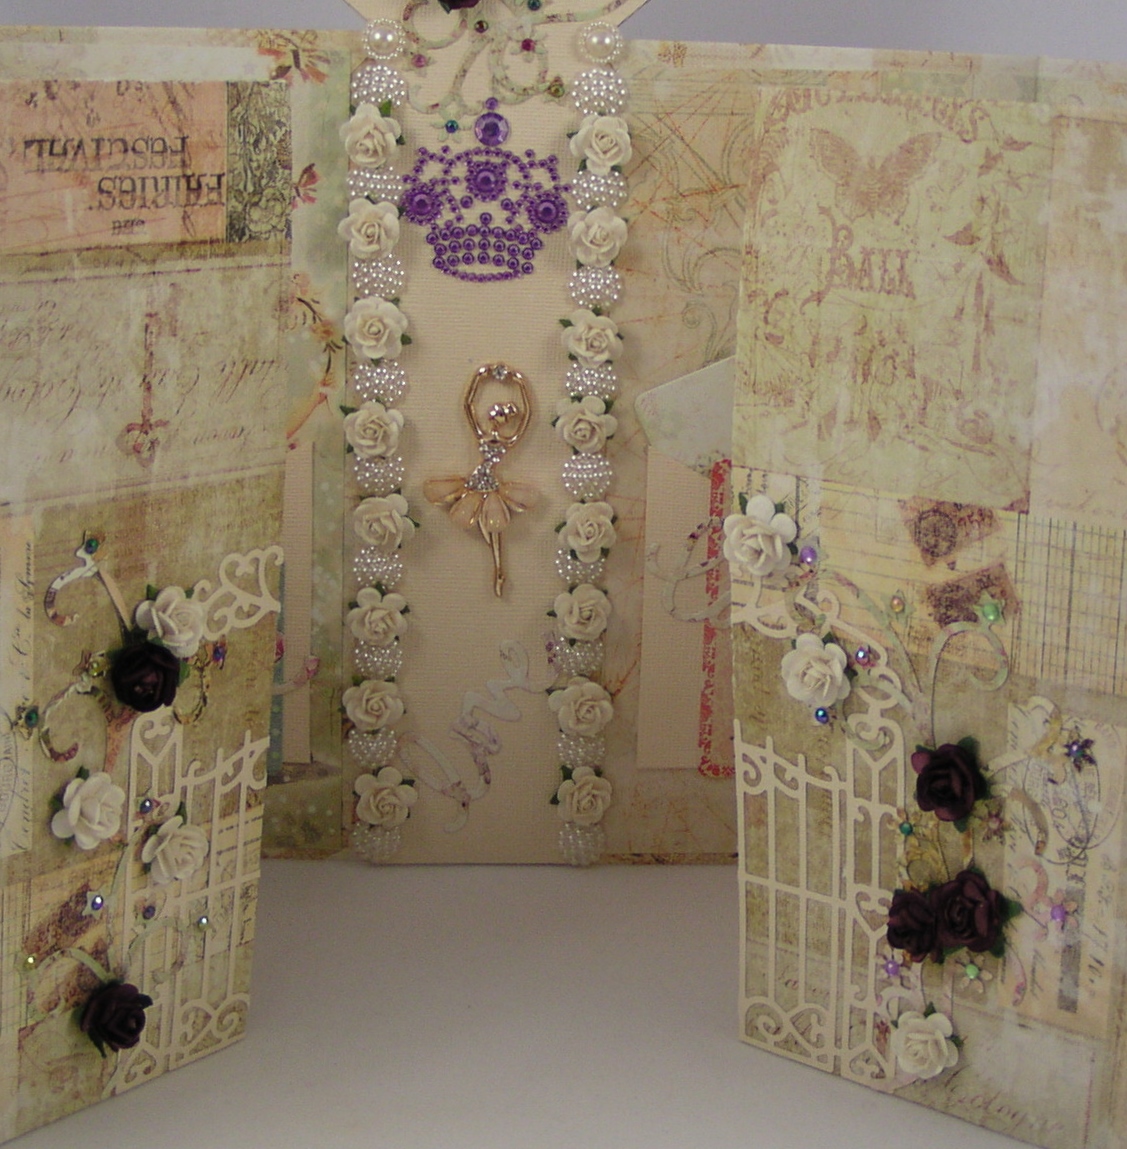
And while I'm at it I thought that I would give you a sneak peak at something else I created during the week, and it features one of the beautiful Ballerina charms from Memory Maze. More pictures and details can be found on my blog here.


Until next time,

Happy Crafting.

Jodie Mason.
Memory Maze Design Team Member 2015

Thursday, April 30, 2015

A pretty page for special photos!!! and My magic memory box with Jan McKenzie

Always


 This is a layout with two of the lovely family photos that I have recently pulled out of a draw.
The chipboard are different pieces that I have chosen to enhance the photos.


 I have used pearlescent acrylic liquid to paint the "Always" and then covered with UTEE..ultra thick embossing enamel.


 The corner scrolls have been painted with silver pearlescent paint and then coated with UTEE to give it the high gloss.


 The butterfly I have used Viva Inka silver rub and then added UTEE


 I have used black UTEE to add gloss to the word family I have also added layers of paper doilies to give texture.


I have used a lace choker necklace and cut it up to use as a decoration to the top of the page, and them added pearls and pearl and silver buttons just to finish the page.

Thank you for joining me for my first project.


Shadow box frame. 

For my next project I have used the memory maze shadow box.


 This was the first time I had worked with a shadow box. This kit comes in pieces, so before I started to put it together I gave it two coats of gesso to give me a great surface to work on.


 Here I have covered the box with Tim Holtz wax paper and added some bronze stamp ink to add the vintage tones.


 After I had added two coats of ultra thick embossing enamel I then added some copper die cuts that have been embossed.


This is after I have  added some embellishments to front before I have fastened it to the box..easier to work on it whilst it is flat.


 This is the box in two parts after it had been gessoed so that I could then start to add the decorative layers.


 I have coated the top with Ranger embossing stamp pad to add a base to add the enamel to.

This shows the enamel as I am adding heat to it , its quite easy to see the areas that have not yet been heated.


 I decided as it was an old photo I didn't like the white edge showing...


 ...so I have added copper velvet ric rac in the corners and down the side of the box in order to finish the photo and add colour.


This is the final result of my second project, I hope you enjoy looking.

HAPPY SCRAPPING ...Jan
Memory Maze Design Team Member 205