Showing posts with label colour paste. Show all posts

Tuesday, November 6, 2018

Butterfly by Suzanne Franin


Hey Everyone Suzanne

This weeks project I created a canvas with a quote that I  think a lot of us should listen too especially me

Make sure you visit our Facebook Page Memory Maze to see what's happening and keep up to date with what's going on

The photo is very dark so I wanted to go with soft colours to make it look how we should feel after the change - different

It's a simple canvas with not a lot on it but I wanted the quote to speak for itself and the embellishments. just to soften it


I started off by using the Door Wire Stencil in random places on the background paper (I love this stencil it works with anything you're doing)
I then mixed a bit of Colour Blast Colour Paste -Blush and Sunshine each with a bit of water to make a thin paint consistency so I could make it drip through the lines of the stencil the Sunshine worked great but I think I put too much water with the Blush


On the Butterfly Corner Flourish I spritzed some Colour Shimmer Dust in Sunshine first and then a little bit of Lollipop I have them made up already in bottles very lightly over the top 


With the Heart with Wire insert I spritzed that with the Colour Shimmer Dust in Peacock for a contrast


Here you can see the Sunshine Colour Past in the grooves of the stencil 


I then just finished off with my favourite embellishment - flowers and some tiny metal pieces and that's it 

Memory Maze products I used


Thank you for visiting and I hope you will come back soon x

Tuesday, August 28, 2018

Whoo by Suzanne Franin

Hey Everyone Suzanne here

This weeks project includes my favourite animal and you will see thatI use them a lot in my projects they are just so beautiful and I can only use so many pictures of people LOL 
I made a process video of this one on YouTube so please watch and subscribe to my channel, give me a thumbs up and leave me some feedback good or bad I'm happy for creative ideas

So I turned the canvas around and used modelling paste along the edge to cover the timber and staples
Then covered the whole thing with gesso as well as all my chipboard

With the Branch from the Young Wild and Free I painted it with Colour Shimmer Spray Leather, then the feathers that are cut out I used Colour Shimmer Dust Amber, Candy, Lush and Cobalt and the other feathers I used clear gesso mixed with Colour Mica Powders Polar, Cool Mint and Watermelon and the little leaf I used some Colour Paste Apple of My Eye 


With the Colour Mica Powders Polar, Cool Mint and Watermelon after the clear gesso dried the Colour Mica Powders dried with no shimmer so I went over them again with a little bit of the powder and water and the shimmer was back


Here I rusted the Owl Steam Punked and the cogs with some brown paint that I had mixed some fine sand with then add some Rusty Paper Paint randomly over them
I then added a Flutterby Design Flair Button (one of my favourite embellishments) to give him a heart and add some more detail to him


I used Colour Shimmer Dust Lollipop and Colour Shimmer Spray Sunshine on the canvas sides and background
I used some little white flowers and some glass cabochons randomly for some added texture


Here you can see the Mayhem chipboard which I painted with Colour Shimmer Dust Peacock
I added a metal piece across the middle of the canvas


I added the three different sized Finnabair Art Stones mixed with some Helmar Super-Tac Glue and stuck them in different places over the canvas with some more metal


Here you can see where I added some muslin to the background for another texture and more metal and flowers yes I really do love metal and flowers


Products I used


Thank you for visiting and I hope you will be back soon x

Saturday, August 25, 2018

One by Suzanne Franin


Hey Everyone Suzanne here

My project this week was centred around this frame I found at an Op Shop I love looking for different things this time I found some more frames 
It had no back to it just the frame and I knew I had this photo at home of my daughter and son in law from their wedding
I just love it, she was really upset after dancing with her father (she's a very shy person and was very embarrassed having everyone watch her dance) so when she finally got to dance with Dave he had to calm her down and the photographer caught him kiss her on the top of the head it's so beautiful  

I have a YouTube video of the process so please make sure you take a look and subscribe to my channel 


I attached the frame to a canvas with some Helmar Super-Tac Glue  


I then covered the canvas and frame with white gesso (the frame was painted white but not very well you could see it had been silver underneath)


On the canvas I used the Door Wire Stencil this is one of my favourite patterns and I used it with some Colour Paste Snow White I love how it has the shimmer to it 


Here you can see the shimmer of the Colour Paste Snow White


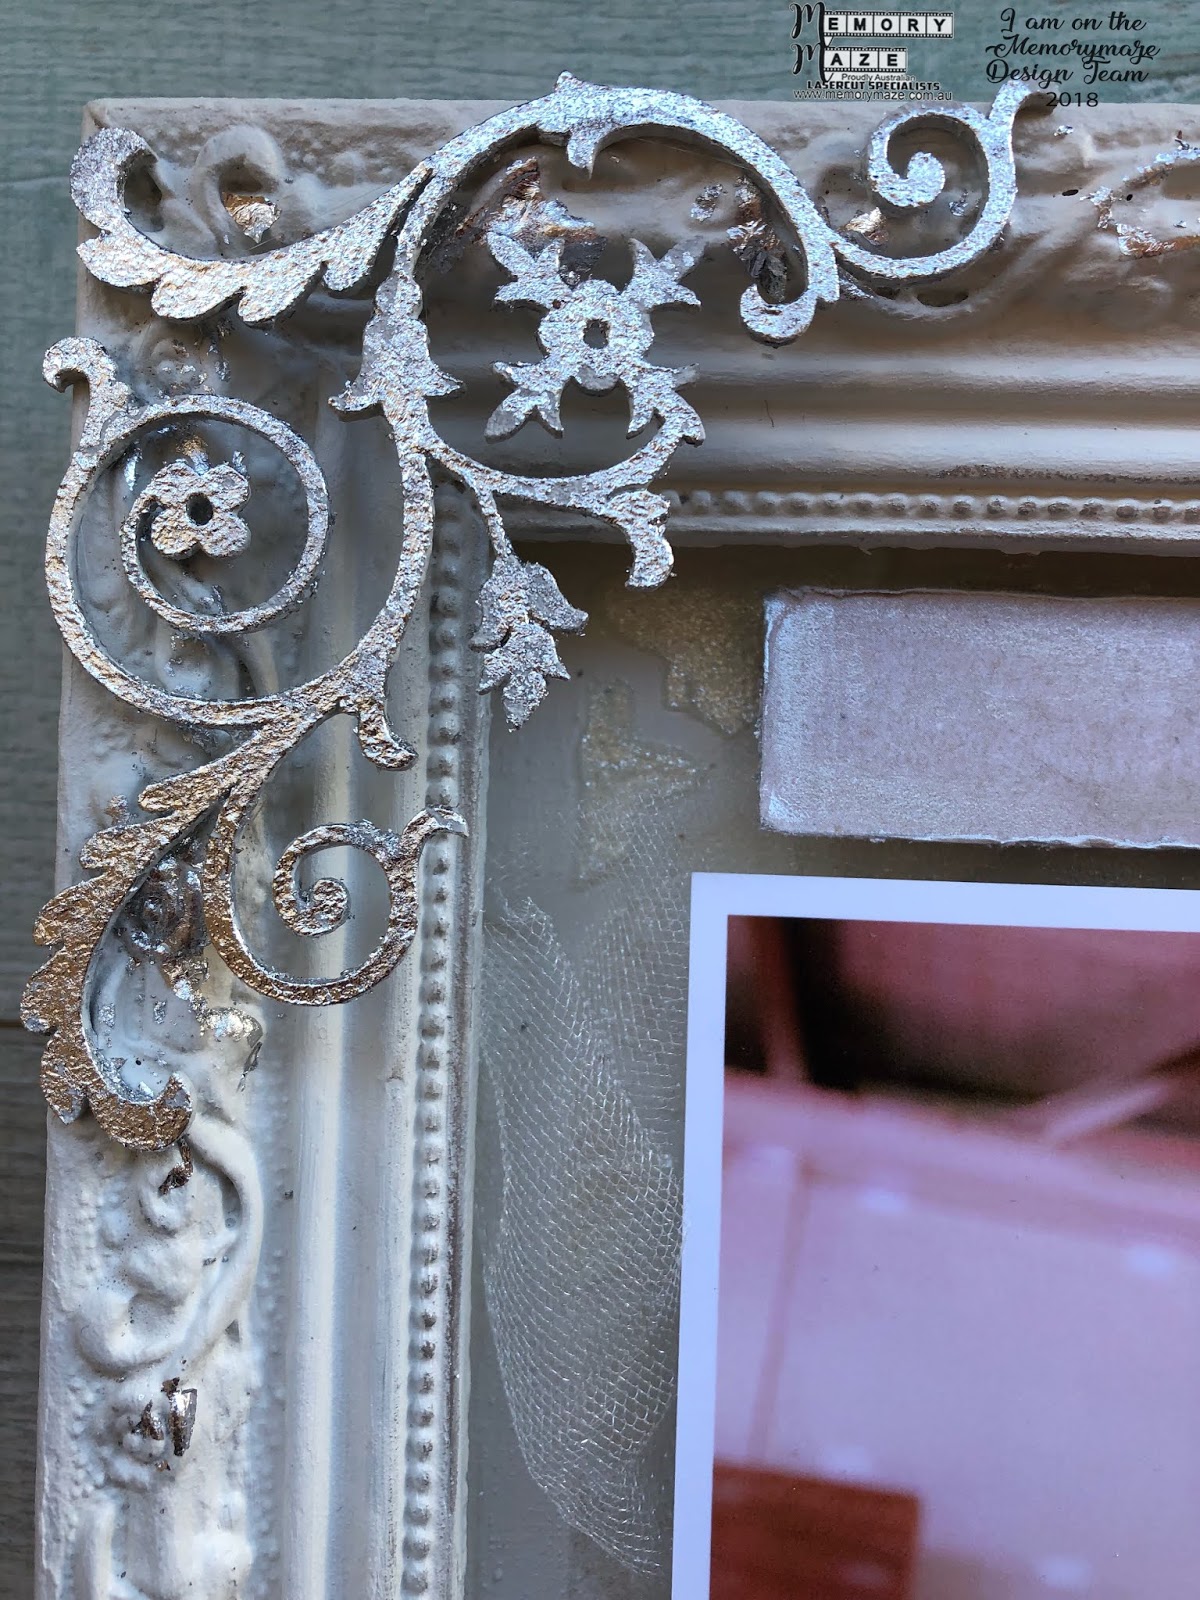
I used silver leaf on one of the Flourish's from the 12 x 12 Flourish Corner Set just for a pop as well as little bits on around the frame


This quote was on the Program that was handed out at the wedding and I thought it was perfect for this photo (well I could probably use it for a lot of the photos that were taken on the day)
I had a paper clay scroll and I used some silver leaf on that too


I had bought this Pearl and Bling pendant and was waiting to use it on something special
You know how you hang onto things just incase (well I do) well this was perfect for this project
I love metal and have a huge stash of bits and pieces and thought this double heart would go nice on the corner of the frame just right


I used some sheer material on the background which looks like bridal veil material just to add another  texture and layer 


And as always I added some little white flowers but before I put them in the frame I used some Colour Embossing Powder Snow White It's so pretty it has bits of bling in it ( the only bad bit is it gets everywhere so I have sparkles all over the place) 
I used another of my metal piece LOVE cause thats what these two have for each other nothing but love and it showed even more on the day
Around inner edge of the frame I rubbed some Inka-Gold Silver to tie the silver leaf 


Products I used


Well that's it for me I hope you enjoyed my project 

Thanks for visiting and I hope you will be back soon x