Showing posts with label mini stencil. Show all posts

Sunday, May 27, 2018

XOXO with Sarah

Hello crafty friends, Sarah here with another 6x8 inch scrapbook layout using some Memory Maze acrylics, chipboard, stamps and stencil.
This layout is of my younger son cuddling our puppy - it's just adorable and I wanted the photo to be the main focus of the layout with a subtle but effective background. I used a brayer to create the various colours in the background, taking the palette from the photo - mainly reds with a bit of blue. I then used Memory Maze rubber stamps coloured with Posca paint pens to stamp on the background.
The title was also coloured using a white Posca paint pen. The title is a chipboard piece that can be found online here. I added some stencilling with black paint to the layout using the Noughts and Crosses mini stencil.
I finished the layout with adhering the photo and heart acrylic embellishments. I love how the red hearts compliment the colours in the photo.
I hope you enjoyed this layout and will give this mixed media look a go on your projects. If you are interested in any of the Memory Maze products, be sure to contact your local craft store or Memory Maze for your local stockist where we can place our local sales reps in contact with them.

Saturday, May 19, 2018

Gel print tutorial with Sarah

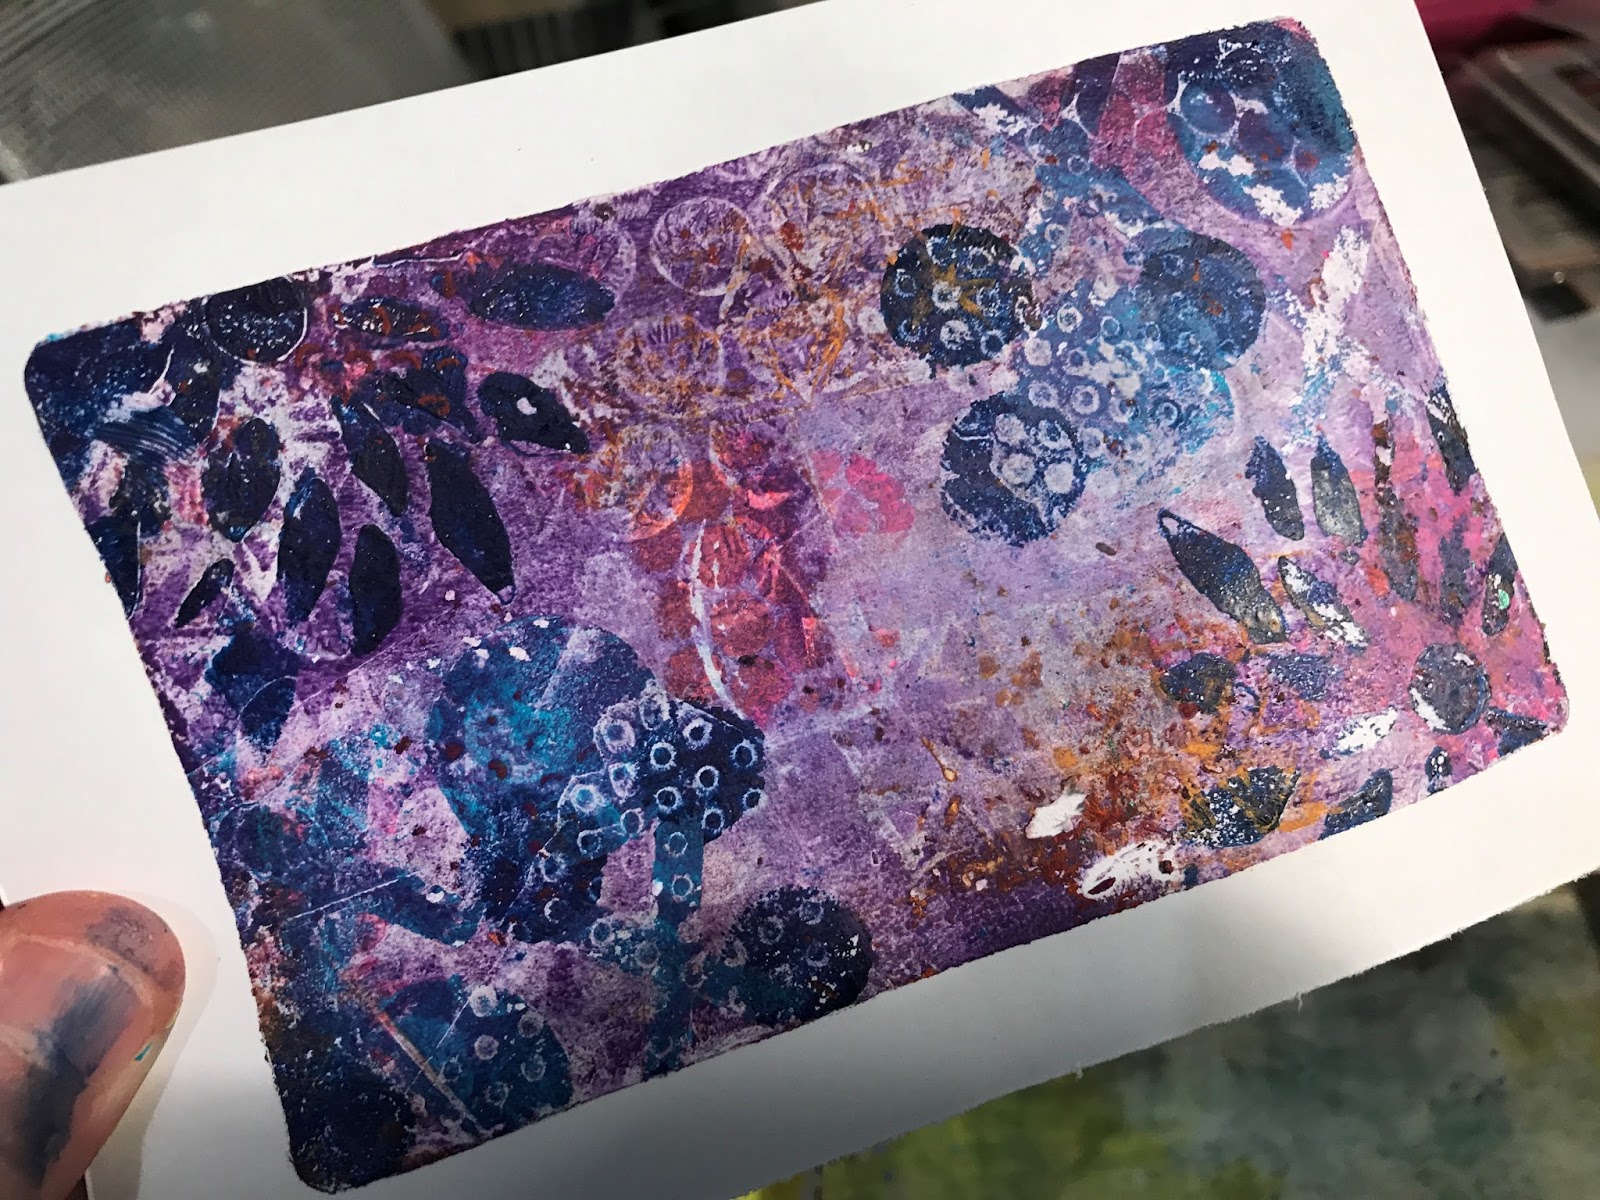
Hello crafty friends, Sarah with you today with my greatest love....gel prints using a number of layers but in just one single pulled print....lets take a look...
For these prints, I have used my 3X5 inch gel plate and the idea is to add layers on to the plate, allowing them to dry in between. I have broken this down step by step as below;
Firstly, apply your paint on to the plate and begin by adding some layers - here I have used some bubble wrap and the Memory Maze noughts and crosses stencil.
I then applied some paint to my rubber stamps and added this to the plate. The range of Memory Maze rubber stamps can be found online here.
Then using another of the Memory Maze mini stencils, I applied a darker contrasting colour.
A bit more stamping and now to let it dry.
Next we apply a thin layer of white paint. This must be thin otherwise it will only pull off the last layer added to the plate.
Press a piece of cardstock or paper firmly over the plate, rubbing all over to ensure there is good contact between the paint and the paper. Pull it up gently to reveal the print.
This is so much fun! Stay tuned for more projects where I do a similar technique on various sized Gel plates! Lets take a close up look at this print.
If you are interested in any of the Memory Maze products, be sure to contact your local craft store or Memory Maze for your local stockist where we can place our local sales reps in contact with them.

Tuesday, March 13, 2018

New mini kits by Memory Maze

Hello crafty friends, another new idea from Memory Maze - mini kits. Available for retailers to sample all of the Memory Maze product goodness....
These new mini kits, provide you with a little bit of love from each section of the product range from Memory Maze. These kits include a 100 x 100mm stencil, chipboard or wooden words in different themes, some acrylic and perhaps other embellishments. Each kit type will be themed differently. Great for retreats, workshops, customer gifts and prizes. If you have a particular theme in mind for a mini kit, please do not hesitate to contact us. Similarly if you have an upcoming retreat, get your order in early for bulk purchases. Remember that Memory Maze can custom design a mini kit just for you!

If you are interested in any of the Memory Maze products, be sure to contact your local craft store or Memory Maze for your local stockist where we can place our local sales reps in contact with them.