Tuesday, January 29, 2019

Help by Suzanne Franin


Hey Everyone Suzanne here

My project for the Memory Maze Blog was created around the quote

Make sure you visit the Memory Maze Laser Cuts Store and see what's new 
And check the blog for all the latest inspiration the Team have created for you 


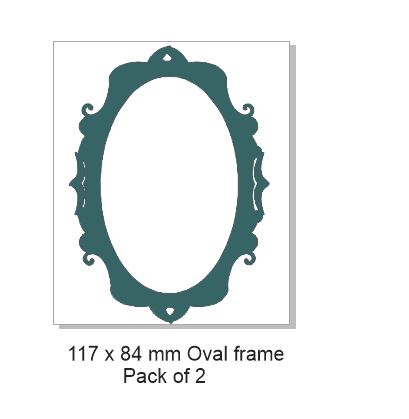
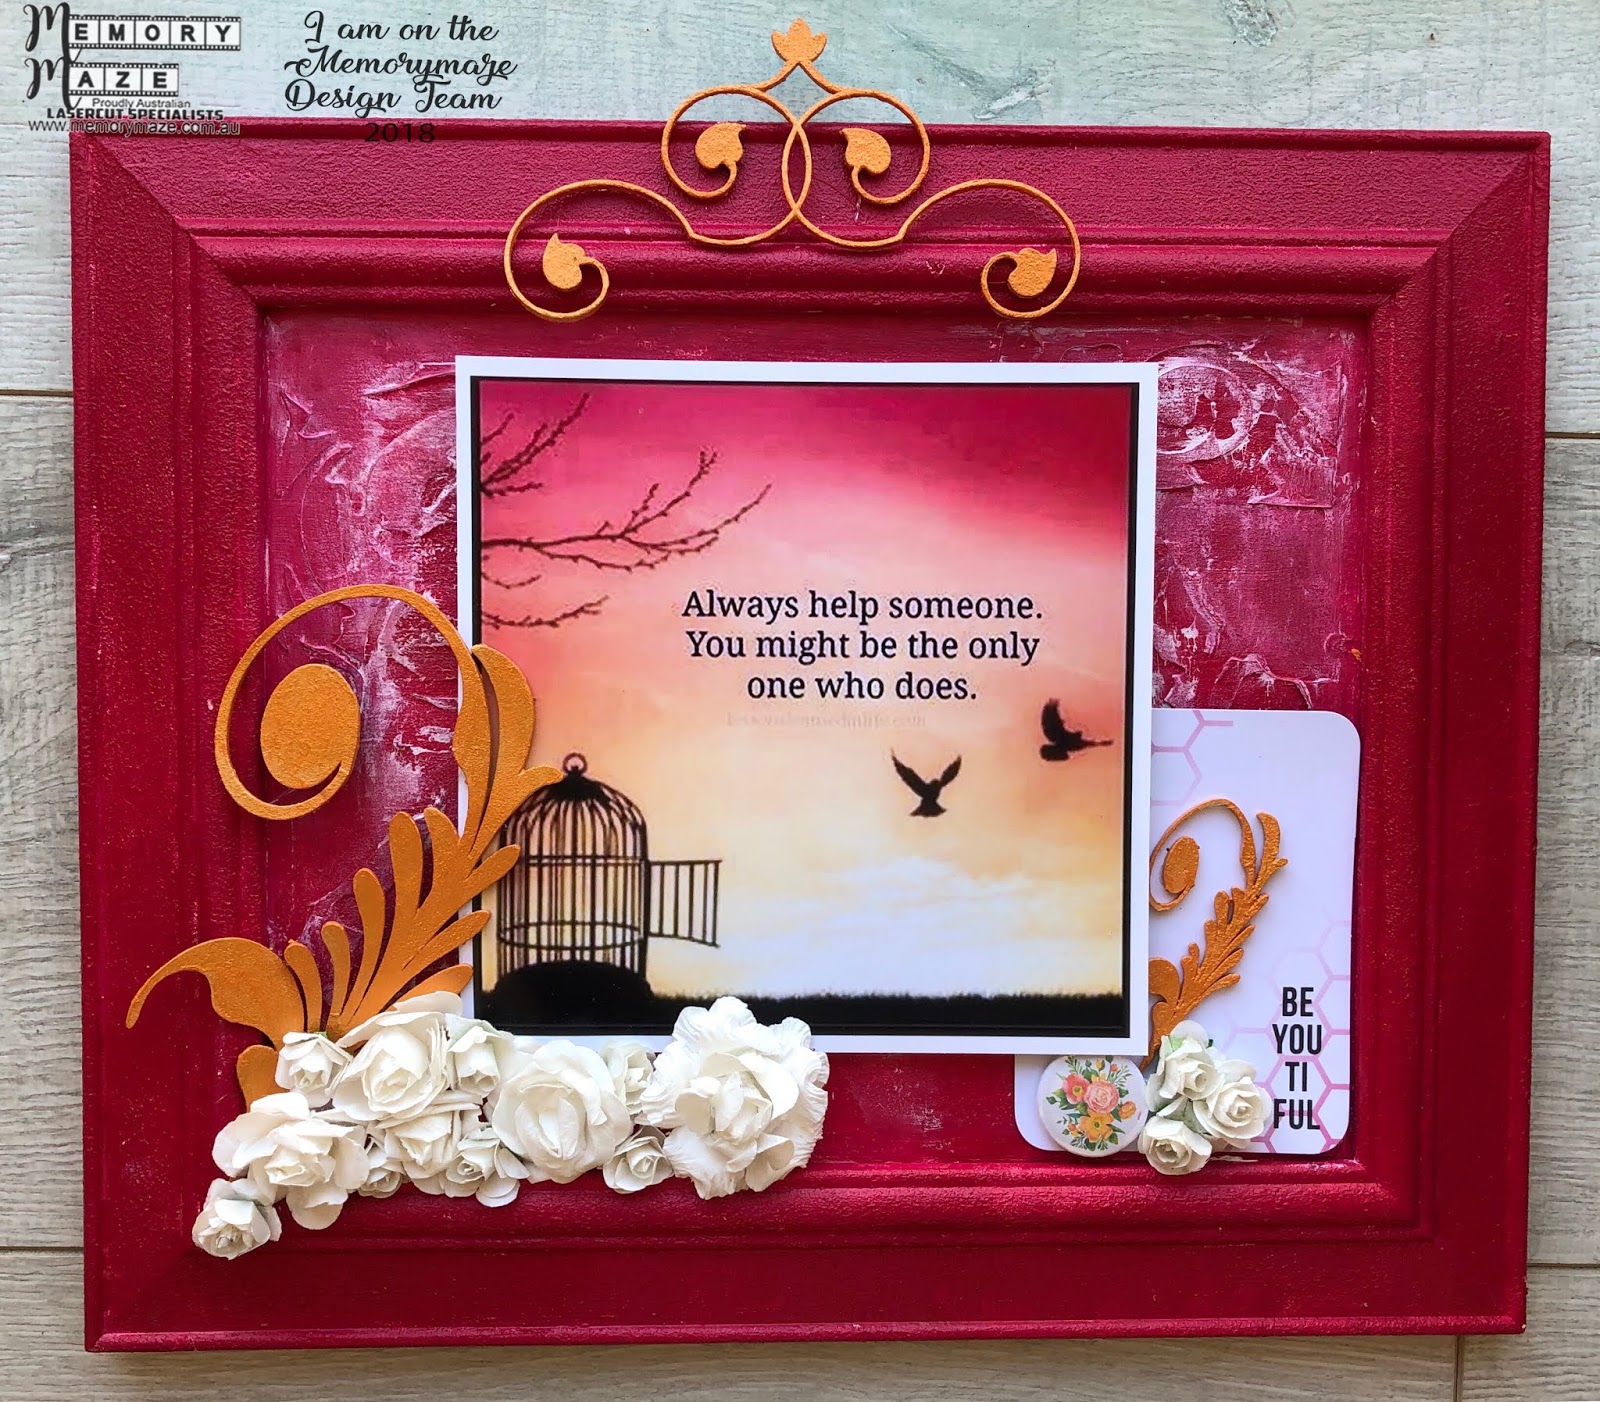
I had a timber frame and painted it with some Colour Blast Heavy White Gesso so that the Dylusions Paint in Cherry Pie


I used 3D Matte Gel through the Swirl Stencil onto some plain card once it was dry I painted that with Cherry Pie as well


When that was dry I scrapped some of the white gesso across the raised pattern so you could see it


I painted the Wrought Iron 22 with some Art Alchemy Fresh Orange and glued it down with the Helmar Premium Craft Glue


With the Feather Flourishes I used the Art Alchemy Fresh Orange again and then glued them down with the Helmar Premium Craft Glue


I then added some flowers, a flair button and a journal card


Thank you for visiting and I hope you will visit again x

Sunday, January 27, 2019

January new stencil release from Memory Maze

Hello crafty friends, today we have a few more new release designs for January - this time some stencils. We have seen earlier in the month the new designs in chipboard pieces, now for some awesome stencil designs!
Memory Maze stencils are made from a high quality material that is designed to be durable but flexible for all kinds of projects. Whether it be stencilling on cards, art journalling, monoprinting, scrapbooking layouts or off the page projects, we pride ourselves on a top Australian made product.

The range of products can be found online at http://www.memorymaze.com.au/. If you are interested in any of the Memory Maze products, be sure to contact your local craft store or Memory Maze for your local stockist where we can place our local sales reps in contact with them. The range of products available from Memory Maze are available online here.

Saturday, January 26, 2019

Gorgeous by Suzanne Franin


Hey everyone Suzanne here

This weeks project for Memory Maze Blog is a photo of my daughter and two of her besties having fun

Don't forget to check out the rest of the Memory Maze Blog for inspiration and new products that come out quite regularly 


I painted the cardstock with black gesso
I used the Swirl Stencil on the background cardstock with 3D Matte Gel then covered it all with the gesso
I then went over the pattern with Art Alchemy Opal Magic Vintage Silk Wax


I painted the Fancy Frame with Art Alchemy Jade Impasto paint then used the 3D Matte Gel to give the frame a textured pattern 
Once the gel was dry I rubbed the Vintage Silk wax over the whole frame


On the chipboard word Gorgeous I used the Raspberry Pink Art Alchemy Impasto Paint for a pop of another colour
Added one of my favourite embellishments - a flair button


Behind the frame I put on of the Project Life cards I've had in my stash for ever and never got around to starting the album


The 3 metal flowers I painted with the Raspberry Pink Impasto then rubbed the Vintage Silk Wax and then added some crystals to the centres

Memory Maze products I used

and a chipboard word Gorgeous


Thank you for visiting and I hope you come back soon x

Thursday, January 24, 2019

January new release designs from Memory Maze

Hello crafty friends, today we are excited to share with you some more new products from Memory Maze for the month of January. Let's take a look...
All of the new designs shown here are available in chipboard - sized as 168 x 168cms or 300 x 300cms. They are also available as wood veneer in the 168 x 168cm size.
If you are interested in any of the Memory Maze products, be sure to contact your local craft store or Memory Maze for your local stockist where we can place our local sales reps in contact with them. The range of products available from Memory Maze are available online here.

Tuesday, January 22, 2019

2018 Planner Page with Sarah

Hello crafty friends, Sarah here again to show you another use for your Memory Maze acrylic pieces. I just LOVE the 2018 design of the acrylic pieces - I think I have one in every colour! Take a look at this planner page I created using a black one.
I am in the process of completing my 2018 Memory Planner and felt I needed to alter some of the month divider pages. January was no exception and besides that it had snowflakes on the background, it is the first page you see as you open the book. I covered the page with white gesso, leaving some of the background designs to be seen. Using some Dina Wakley paints, I painted some opposing corners in colours to match my youngest son's outfit.

I layerered some pocket cards under the corners of the 5x7 inch photo. I used black and white for these and also the sticker adhered to the edge of the photo. The round details chipboard piece is from Ali Edwards and the 'Here and Now' sticker is from a Happy Planner sticker book in my stash.
Lastly I adhered the 201 black acrylic piece from Memory Maze and I love the simplicity and ease of how this page came together. The range of acrylic pieces can be found online here. If you are interested in any of the Memory Maze products, be sure to contact your local craft store or Memory Maze for your local stockist where we can place our local sales reps in contact with them.

Monday, January 21, 2019

Altered Book-By Leanne Nankervis


Hi Everyone!
Leanne here to share a project with you today, using wonderful chipboard products from Memory Maze.

Altered Book

Today I'm sharing and old book which I have altered, I have used lots of Memory Maze Chipboard on this book cover. Finnabairs metallic paints, waxes and rust pastes, and a old book, prima artifacts and some metals.


I have used lots of different chipboard from memory Maze to create this cover, firstly I painted the old book with black Gesso. I then arranged my design in layers, painting with black gesso in between, to have good coverage of my chipboard. I then used Finnabair metallic paints, in several colours adding the layers, until I had the desired effect. I wanted the grunge steampunk loook I added some metals and artifacts, and finishing off with waxes and rust pastes.


I'm going to use this book as journal art book, at the moment its art piece on my coffee table.

Memory Maze products used:


12 x 12 all there is is cogs, cogs for everything


Thanks for stopping by the blog today!
Don't forget to stop by the store at http://www.memorymaze.com/index.php
Leanne Nankervis Design Team Member 2019

Leanne Nankervis


Sunday, January 20, 2019

Just for you with Candy

Hi everyone I am up again with another tutorial
using Memory Maze products.
Today I have made a 6x6 inch card for you


Firstly start with your 6x6 inch card base, I have used white for this.
Cut your pattern paper at 5 7/8 x 5 7/8 inches
and tape to your card base.
 Then cut a second pattern paper at 5 3/4 x 5 3/4 inches. 
Now with the second paper tear approx a 4 inch strip off the right hand side.
Curl the torn edge and tape to the left side of your card base.
Cut the smaller piece at 5 5/8 inches length wise.
Curl the torn edge and tape to the left side as well.

Paint all your chipboard pieces and while they are drying 
cut a piece of the white glitter paper to fit inside the oval chipboard. 
I turned my glitter paper over and traced the oval with a pencil then
cut it out making a little bigger so I could glue to the back of the oval frame.

Cover the oval frame, butterflies both metal and chipboard with the
shabby white embossing powder.
Cut the end parts of the spring arrives flower and swirl piece.
And cover the three pieces with the gold embossing powder, also the word phrase.

Using foam tape under the oval frame tape to the front of your card.
Then add the 2 small scroll pieces to each side of the frame.
Then slide the larger piece under the curled paper.
Add your flowers , pearls and butterflies to your card.
Then go around the inner edge of the oval frame using the white liquid pearls.
Also add a little in the centres of the small gold flowers.


Memory Maze products


Other Products

6x6 inch card base
Pattern paper, assorted flowers, metal butterfly
White glitter paper, Pearl embellishments,
White gesso or paint
Versamark
Stampedous shabby white embossing enamel
Ranger Ancient princess gold embossing enamel
Liquid pearls
Cutter and scissors, double sided tape and foam tape.

Thank you for visiting
Candy Chelepy
2019 Design Team


Saturday, January 19, 2019

Acrylic mini pieces...now available with Memory Maze!

Hello crafty friends, have you seen the new mini acrylic pieces available from Memory Maze? Take a look here...
We have a range of acrylic mini pieces that are ideal for brooches or earrings. Make your own jewellery or alternatively, use the pieces to embellish your scrapbook pages, pocket page spreads, mixed media or off the page projects. The acrylic is a beautiful 3mm thickness and just perfect for any project.
The range of products can be found online here. The brooch sized pieces come in packets of 4 and the earrings in a packet of 10. The range of the acrylic colours include white, black, red, hot pink, yellow, blue, green and purple. Pieces are also be available in wood veneer. The options are available for selection online. Here are some of the colour range....so pretty!
If you are interested in any of the Memory Maze products, be sure to contact your local craft store or Memory Maze for your local stockist where we can place our local sales reps in contact with them.

Friday, January 18, 2019

Birthday Canvas

Welcome to my Memory Maze blog post. Today I am sharing a canvas.

Canvas 

For the background I used a Memory Maze heart stencil with gesso then let it dry and sprayed with Dylusion sprays.

For coverage on the happy birthday Amy chipboard pieces, I used Dina Wakley Lemon and Ruby paints.

For the chicken wire I used Dina Wakley's Umber and White mixed together.

For the chickens, I used Dina Wakley Lime and White together.

For the horses I used Dina Wakley's Umber and White mixed together.


I used the following Memory Maze products;


Thank you for checking out my Memory Maze post
Jason Anesbury 2019 Memory Maze Design team member.