Wednesday, March 27, 2019

Amazing by Suzanne Franin


Hey Everyone Suzanne here

My turn on the Memory Maze Blog
Remember to check out the rest of the Design Teams work for some inspiration
And ask your local or online store to order in the Memory Maze products you see that you really MUST have - they have new stock all the time so make sure you check out the site yourself 

This photo is just is just beautiful and speaks volumes 
This is my cousin's husband - Kadex
He's Balinese and as you can see a very calm person they look like they really have a connection

I kept the page simple because the photo says it all


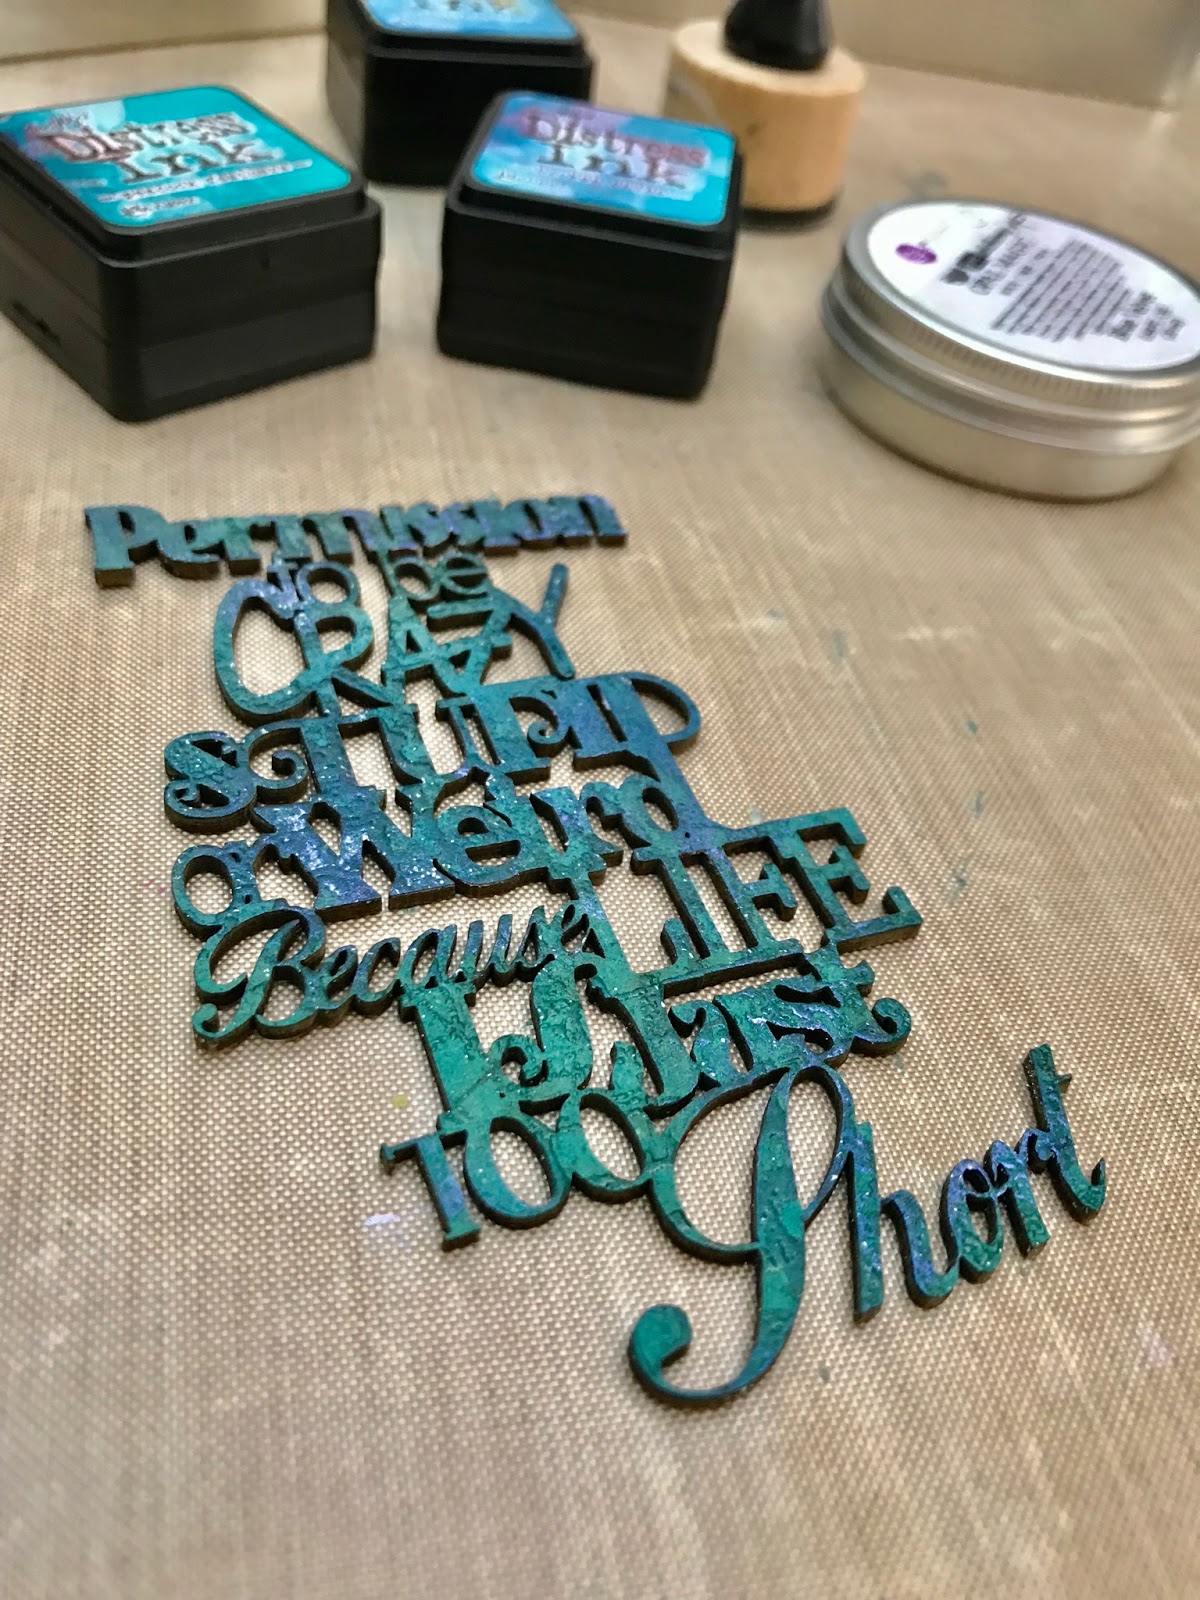
I used clear gesso on the paper first to prep it for any mixed media products I may use on it

I used the Flower Stencil with some 3D Matte Gel on the background paper just for some dimension


Then with all the chipboard  Hearts a pair and Moments Like These I used some Colour Blast Colour Embossing Powder in Sienna - I picked up the colour on the Elephants trunk

I used some Finnabair Mechanicals they look like lotus flowers 

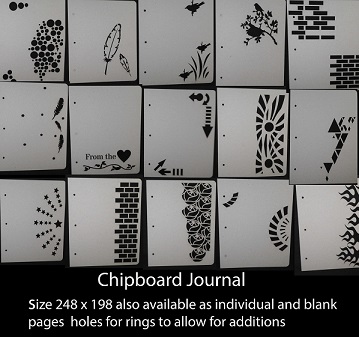
Memory Maze Products I used


Thank you for visiting and I hope you will come back again soon x

Sunday, March 24, 2019

Permission by Sarah

Hello crafty friends, Sarah here with a pocket page layout for you today.
This 6x8 layout is of my youngest son who I thought of when I saw this chipboard piece from Memory Maze. The chipboard piece is the perfect size for a 3x4 inch pocket.
I coloured the chipboard piece using Distress Ink in three colours then clear embossed it. I added some Finnabair wax in Velvet Blue to add some highlights.
The paper used for this layout was from the Elle’s Studio January release. I layered the photos with some labels, stickers and other Elle’s studio die cuts.
To finish off the cards, I added some doodling around the edges with black fineliner. Be sure to check out the range of Memory Maze chipboard products and MORE online at www.memorymaze.com

Saturday, March 23, 2019

Create by Suzanne Franin

Hey Everyone

For my Memory Maze project this time I felt like colour and randomness LOL 
So I used one of the Chipboard Journal pages gathered up some bits picked some colours and off I went


I started with some 3D gel and the Diamond Stencil and just chose a few spots to put the diamonds to go with the pattern on the chipboard page

After arranging things how I wanted them and glueing them down I painted everything with white gesso (I painted in layers so I made sure everything was covered) 

 I then chose 4 Colour Blast Colour Shimmer Dusts to use put only used 3 - Lollipop, Sunflower and Amber

 I started with the Lollipop as you can see it's very vibrant 

 Then adding the other colours you start to get a mix so you end up with more than just 3 colours

Here you can see I used the Silver Micro Beads which I mixed with some Helmar Super-Tac Glue and placed them randomly over the Journal

I used the some of the small 12 x 12 All there is is Cogs together 


This is one of the birds and nests that is part of a set (I couldn't find them on the site so you can message Sally at Memory Maze and I'm sure she will find them for your local shop) 

Here is one of the many feathers from the Feathers, Feathers mixed Dreamcatcher Feather they have some many sizes and shapes it was hard to choose 

 Because I've called this page Creative I added a music note, scissors, buttons, a screw, a zip and more that you can use while being creative 

 I love flowers so I couldn't not use some 
I think the pop of white also breaks up the colour


I love these scissors they are paper clay that my mum has the  mould for 
Once I was happy with the colours over the Journal I used some Art Alchemy Opal Magic Vintage Silk Wax over the top of everything to give it an extra shimmer


Memory Maze Products


Birds and Nests (Ask for those)


Thank you for visiting and I hope you will come back soon x

Monday, March 18, 2019

Live Laugh and Be Fantastic- By Leanne Nankervis


Hi Everyone!
Leanne here to share another project with you today, using wonderful chipboard pieces from Memory Maze Lasercuts.
Today I'm sharing a layout of my best friend Jenny and I, I flew up to Queensland to see her for her birthday. Well what a surprise! she wasn't expecting me to be there on her door step, so here are some snappy pictures of our night out for her birthday. And believe me we took so many more photos in the few days I was there for a visit. It had been 5 years since we last had a good catch up! lots of laughs to be had.

Layout
Live Laugh and be Fantastic 

I used part of the scribble from Memory Maze, which I painted in black gesso and featured it behind my photo.
Lindas scribble with butterflies dragonflies and birds sold indi


I have used the Memory Maze title Live, Laugh, and be Fantastic. I painted the title with black gesso and used two colours of Finnabairs waxes on the title.
Live Laugh and be fantastic 107 x 66 mm  can be cut in Chipboard
Thanks for Stopping by the blog today!
Don't forget to stop by the store at www.memorymaze.com.au/

Leanne Nankervis Design Team Member 2019
Cheers! x


Monday, March 11, 2019

Altered planner-By Leanne Nankervis


Hi Everyone!
Leanne here to share another project with you today, using products from Memory Maze Lasercuts.
Today I'm sharing a planner, which I altered and made extra pockets for and embellished. I used some chipboard embellishments from Memory Maze, to personalize my planner. Memory Maze stocks lots of things you can personalize in your planners, small chipboard word packs, all types of chipboard elements. They stock shabby flowers as well which you can make your own flower dangles for your planners.

Planner

 Flower dangle I made and beaded

Close up of planner opened

Inside cover of planner using Kaisercraft Blessed Collection

I used one of the wire butterflies and some small chipboard hearts, from Memory Maze. I embossed them using Lindys two toned embossing powders. 

Another butterfly I used on another page.

 Close up of pages , I covered all the tab pages, using Kaisercraft Blessed collection.

More altered pages 

I used some of the word greeting packs, which I embossed using Lindys embossing powders. Word greeting packs are great for personalizing your planners.

Memory Maze Supplies Used:

card sentiments 1

Wire butterflies 100 x 120  min buy 3


Thanks for stopping by the blog today!
Stop by the store for all your Memory Maze Lasercut products.

Leanne Nankervis Design Team Member 2019


Saturday, March 9, 2019

'Learn' with Sarah

Hello crafty friends, Sarah here with another project in my Travelers Notebook. Following on from my blog post on the 2 March 2019, here is another layout idea using the mixed media paper I created and Memory Maze wooden circles. These photos were taken on my youngest son's first day of school. Let's take a look...
This layout is created in my A5 Travelers Notebook from The Travelers Notebook online. I just love this size - it's big enough for a 4x6 photo on either side with room to spare. For this project I used the wooden nested circles and backed them with the mixed media paper I created using Memory Maze stencils and stamps. Check out my previous blog post to see this tutorial.
I splattered black paint on the background before adhering down the photos. The photos were backed with book paper, black cardstock and layered with some Project Life cards. I used the Ali Edwards 'Learn' kit for those green circle stickers and 'Learn' acrylic word.
If you are interested in any of the Memory Maze products, be sure to contact your local craft store or Memory Maze for your local stockist where we can place our local sales reps in contact with them.