Showing posts with label DT Sarah Rosse. Show all posts

Sunday, April 28, 2019

School Rocks with Sarah

Hello crafty friends, I have a quick and easy layout for you today using Memory Maze stencils and chipboard.
I created the background of this layout using Distress Ink and the packaging technique. Once you open up your chipboard, you can use the packaging to create this effect.
Simply apply the ink to the packaging, spritz with water and turn over and press gently on your layout. I then used the Memory Maze arrow stencil with some distress ink to create more texture to the background.
Another great use for your packaging is to place the chipboard on it while you paint it. This chipboard title was painted using Dina Wakley’s black acrylic paint.
I then matted my photo and adhered to the layout. Here are some close up shots. Thanks for stopping by to take a look at my project.

Saturday, April 13, 2019

Spectacular by Sarah

Hello crafty friends, today I have another page from my Vicki Boutin Junque Journal to share with you.
Today’s layout is celebrating Fathers Day at kinder for my youngest son last year. The patterned paper to the left of the layout was created using acrylic paints, stamps and stencils.
The other elements of the layout are from Studio Calico and Elle’s Studio. The Memorymaze small acrylic pieces finished off the layout nicely and drew together the white background and colourful accents.
If you would like any of your local stores to stock Memorymaze products (if they don’t already), please be sure to get in contact and will arrange for one of our representatives to be in contact with them. All products can be found online at www.memorymaze.com

Wednesday, April 10, 2019

All the Moments by Sarah

Hello crafty friends, Sarah here with a double layout showing you how you can easily create a mixed media background using Memorymaze stencils and stamps.
I started these pages in my Vicki Boutin Junque Journal by spreading texture paste through two Memorymaze stencils. This journal is for my son to showcase some of his photos at kinder with his friends so I wanted to add colour and texture. The stencils by Memorymaze are of a great quality and are fantastic and durable for any mixed media project.
One dry, I sprinkled on some Brusho powder and spritzed with water. These really make the page pop and highlight the textured areas.
Using some Memorymaze rubber stamps, I then applied some black ink to create more background texture. Once this was done I got to work on matting the photos with black cardstock. I then adhered them down, adding some of the word die cuts from the Cocoa Vanilla Midnight collection. I also used some strip sayings from my stash.
Here’s some close up shots from the finished layout of that gorgeous texture. Please be sure to check out the Memorymaze website for the full range of stencils, stamps and much more at www.memorymaze.com

Saturday, April 6, 2019

Love this Boy by Sarah

Hello crafty friends, Sarah here with a project showcasing one of the Memorymaze chipboard pieces.
This layout is actually one of the dividers in a Vicki Boutin Junque Journal. The background paper was created using acrylic paints, stencils and stamps. The range of Memorymaze stencils and stamps is vast! Check them out online at www.memorymaze.com
The chipboard title piece is of the quality you would come to expect from Memorymaze. A lovely thick chipboard which is easily altered to suit your project needs. Picking up the red of the scooter in the photo, I painted this title red to highlight this colour on a busy background. I hope you will take the time to check with your local craft stockist about the Memorymaze products they have in store. You can contact us and have one of our sales representatives be in touch with your local provider.

Sunday, March 24, 2019

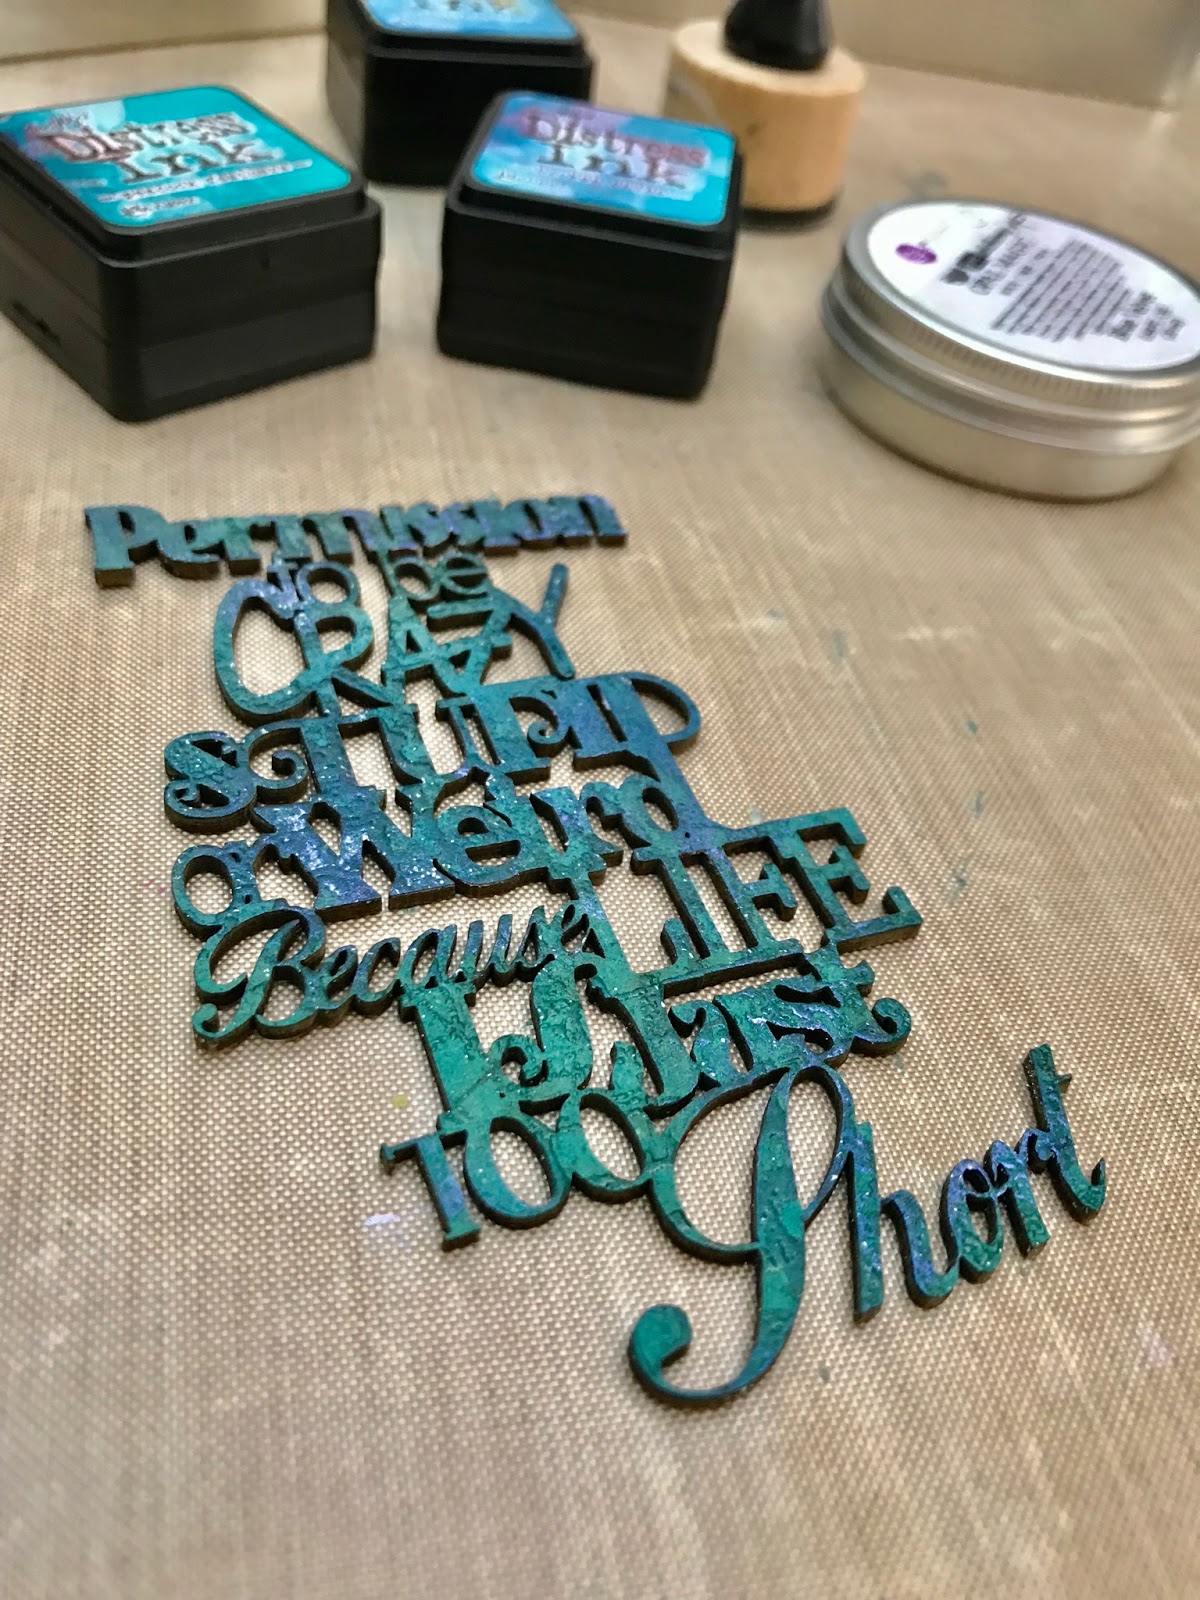
Permission by Sarah

Hello crafty friends, Sarah here with a pocket page layout for you today.
This 6x8 layout is of my youngest son who I thought of when I saw this chipboard piece from Memory Maze. The chipboard piece is the perfect size for a 3x4 inch pocket.
I coloured the chipboard piece using Distress Ink in three colours then clear embossed it. I added some Finnabair wax in Velvet Blue to add some highlights.
The paper used for this layout was from the Elle’s Studio January release. I layered the photos with some labels, stickers and other Elle’s studio die cuts.
To finish off the cards, I added some doodling around the edges with black fineliner. Be sure to check out the range of Memory Maze chipboard products and MORE online at www.memorymaze.com

Saturday, March 9, 2019

'Learn' with Sarah

Hello crafty friends, Sarah here with another project in my Travelers Notebook. Following on from my blog post on the 2 March 2019, here is another layout idea using the mixed media paper I created and Memory Maze wooden circles. These photos were taken on my youngest son's first day of school. Let's take a look...
This layout is created in my A5 Travelers Notebook from The Travelers Notebook online. I just love this size - it's big enough for a 4x6 photo on either side with room to spare. For this project I used the wooden nested circles and backed them with the mixed media paper I created using Memory Maze stencils and stamps. Check out my previous blog post to see this tutorial.
I splattered black paint on the background before adhering down the photos. The photos were backed with book paper, black cardstock and layered with some Project Life cards. I used the Ali Edwards 'Learn' kit for those green circle stickers and 'Learn' acrylic word.
If you are interested in any of the Memory Maze products, be sure to contact your local craft store or Memory Maze for your local stockist where we can place our local sales reps in contact with them.

Saturday, March 2, 2019

First Day with Sarah

Hello crafty friends, Sarah here with you today with a Travelers Notebook layout using the handmade paper from my 'mixed media bckgrounds' blog post on the 17 February 2019. Be sure to check that out if you haven't seen how I made that yet. Let's take a look...
For my youngest son's first day of school, of course I took a myriad of photos! My older son is not so keen on classroom pics anymore (apparently he is too mature for that now) so I wanted to capture this special first day of school for this little man. The perfect way to do this was in the A5 Travelers Notebook (TN) from The Travelers Notebook online. I plan to capture my memories this year by using a TN with key stories / photos in it each month.

The Memory Maze pocket pieces are perfect for this! If you havent heard of the Pocket Piece collection, this is a series of acrylic pieces designed to be used together for memory keeping particular topics of interest - this one being a focus on school / education. This layout showcases the gorgeous "First Day" acrylic piece in the shape of a red apple.
This acrylic piece, and many more, can be found on the Memory Maze website here. The background paper I made using a variety of stencils and stamps was cut and adhered to the pages of the TN. The photos were backed using book paper and black cardstock. The circle stickers were from the Ali Edwards 'Learn' kit. I loved how the green stickers complimented the colours in the background paint colours. Lastly, I adhered the acrylic piece using Helmar Quick Dry glue.
If you are interested in any of the Memory Maze products, be sure to contact your local craft store or Memory Maze for your local stockist where we can place our local sales reps in contact with them.

Sunday, February 17, 2019

Mixed Media backgrounds with Sarah

Hello crafty friends, Sarah here with some mixed media backgrounds I have been working on this weekend. These are great for art journal pages, to use for cards or in your scrapbooking.
Using a range of stencils and stamps from Memory Maze, I firstly brayered on acrylic paint to create the first layer. I then used stencils and stamps with coloured ink and paint to add further layers. Here are a small selction of my favorite stamps for this kind of project. I love the flexibility of rubber stamps - being able to bend and move them to stamp on the page. The full range of stamps can be found here.
For this background I used some bubble wrap and applied some white embossing powder to make it pop on the darker background. The mini stencils offered by Memory Maze are perfect for this - they are 4x4 inches or 100X100mm in size and are great to easily manouevre around a wet background.
Here are some of my favorite stencils (I love them all, but these are very versatile for creating backgrounds or for mixed media projects).
I like to work on many pieces at the one time so I dont have to get my paints and inks out at various times. Here is another background using some Memory Maze stamps and stencil. I have also used other stamps from my stash for these backgrounds, including Paper Artsy and Aall and Create. Paint used here is from Dina Wakley. div class="separator" style="clear: both; text-align: center;">
I hope you enjoyed this project. Stay tuned for some layout ideas coming up using these backgrounds in my memory keeping! Until next time, dont forget if you are interested in any of the Memory Maze products, be sure to contact your local craft store or Memory Maze for your local stockist where we can place our local sales reps in contact with them. The range of products available from Memory Maze are available online here.

Saturday, February 9, 2019

Memory Maze acrylic numbers

Hello crafty friends, Sarah here with you today to show you the amazing large acrylic numbers from Memory Maze.
I am just about to kick off a marathon effort to complete my 2017 family pocket style album. I pulled out the albums and they had a few scratches on them from being moved around the last couple of years. What a better way than covering up some of these dings with these large acrylic numbers.
The numbers are 100mm in height and are cut from a lovely 3mm acrylic. The acrylic comes in a number of coours and can be seen on the Memory Maze website here. These numbers would be great on any scrapbook layout, pocket page, on cards, journal pages or off the page projects. They look fantatsic on any project coupled with Memory Maze other 'pocket pieces'. Check them out on the Memory Maze website here.

Tuesday, January 22, 2019

2018 Planner Page with Sarah

Hello crafty friends, Sarah here again to show you another use for your Memory Maze acrylic pieces. I just LOVE the 2018 design of the acrylic pieces - I think I have one in every colour! Take a look at this planner page I created using a black one.
I am in the process of completing my 2018 Memory Planner and felt I needed to alter some of the month divider pages. January was no exception and besides that it had snowflakes on the background, it is the first page you see as you open the book. I covered the page with white gesso, leaving some of the background designs to be seen. Using some Dina Wakley paints, I painted some opposing corners in colours to match my youngest son's outfit.

I layerered some pocket cards under the corners of the 5x7 inch photo. I used black and white for these and also the sticker adhered to the edge of the photo. The round details chipboard piece is from Ali Edwards and the 'Here and Now' sticker is from a Happy Planner sticker book in my stash.
Lastly I adhered the 201 black acrylic piece from Memory Maze and I love the simplicity and ease of how this page came together. The range of acrylic pieces can be found online here. If you are interested in any of the Memory Maze products, be sure to contact your local craft store or Memory Maze for your local stockist where we can place our local sales reps in contact with them.

Saturday, January 12, 2019

Live the Life You Love by Sarah

Hello crafty friends, Sarah here with you today to share a double 6X8 scrapbooking layout I completed our latest visit with friends to the gorgeous Wilsons Promontory here in Victoria.
To create this layout, I used a 6x8 inch paper pad of Cocoa Vanilla Studio's Midnight collection, available from The Travelers Notebook. I tore, cut and layered a number of the beautiful papers under the photos and I embellished it with some pieces from the Mermaid seaside chipboard 12x12 inch sheet from Memory Maze. I painted some Dina Wakley paint on to the chipboard and ink the edges with distress ink. Let's take a closer look;
This is the chipboard set that can be found online here. I added some enamel dots from my stash and the layouts were done.
I just love that Memory Maze chipboard is so thick and versatile to allow for any type of embellishing - paints, inks, gesso, embossing etc. Let's take a closer look at each page.
If you are interested in any of the Memory Maze products, be sure to contact your local craft store or Memory Maze for your local stockist where we can place our local sales reps in contact with them.